Country of Origin: Mainland China
Renovation and Construction Scope: Procurement of Main Materials
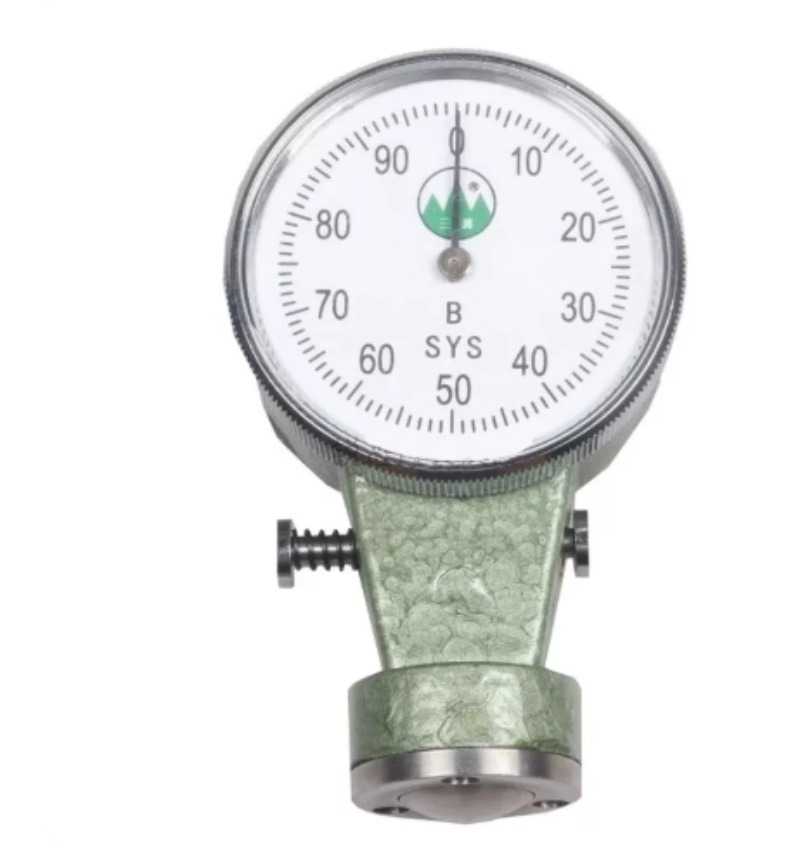
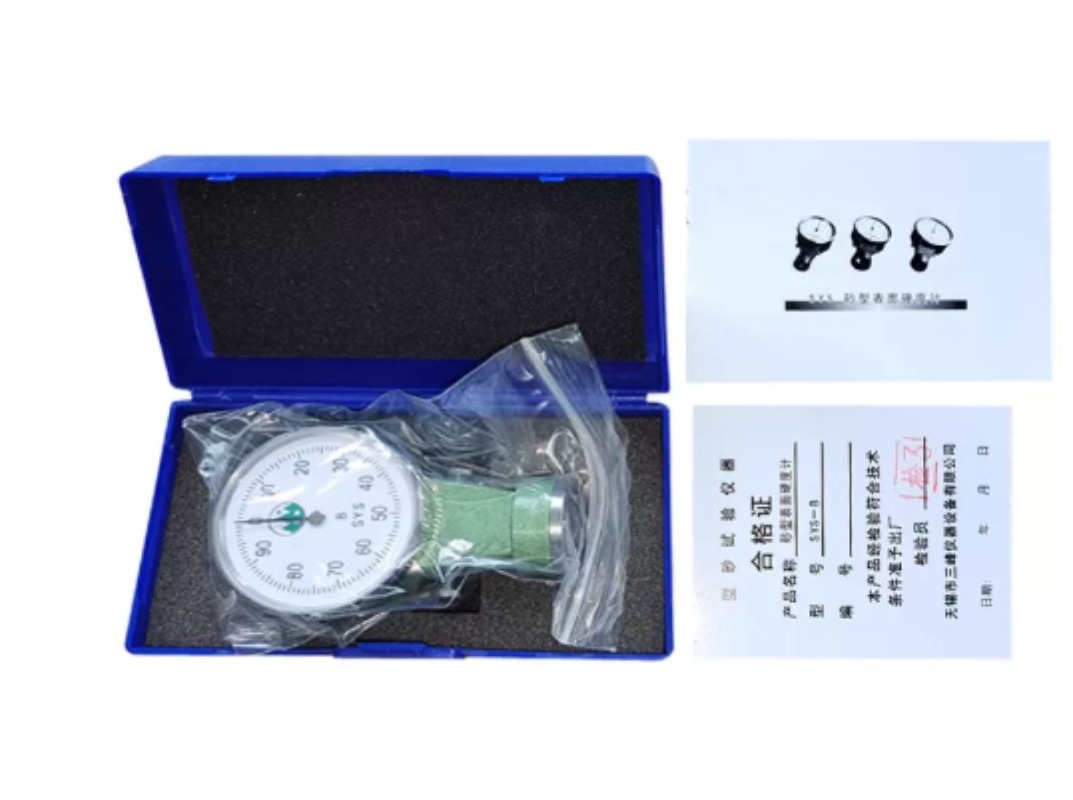
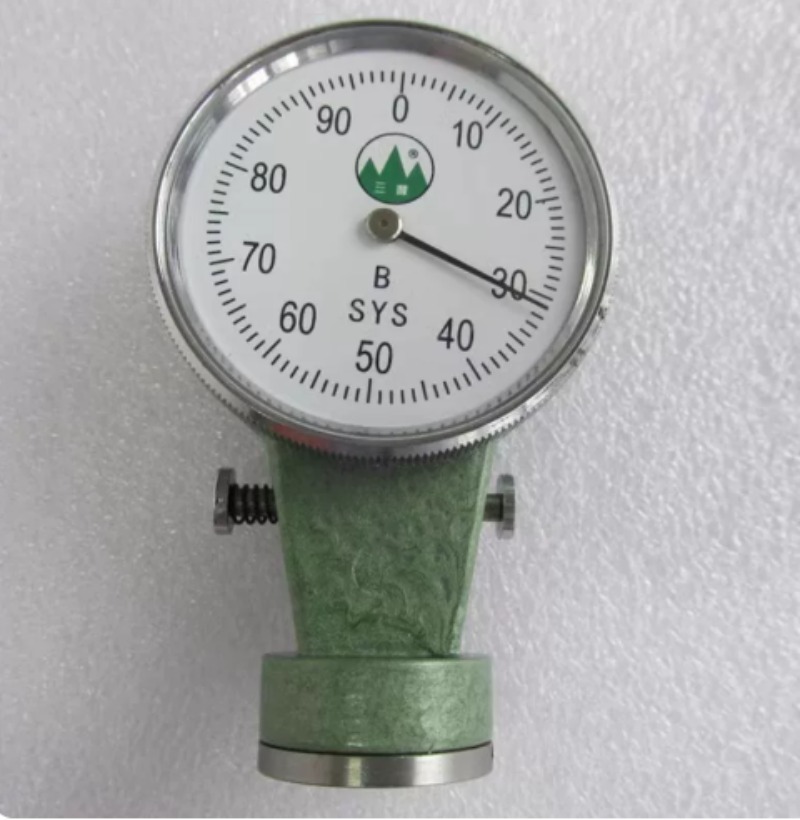
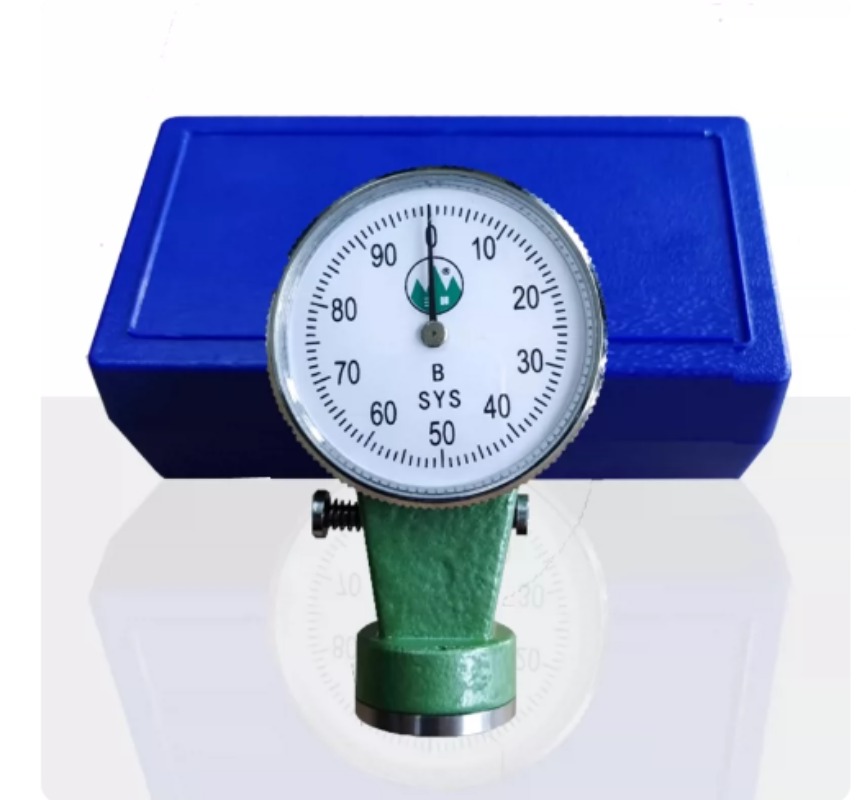
Model: SYS-B
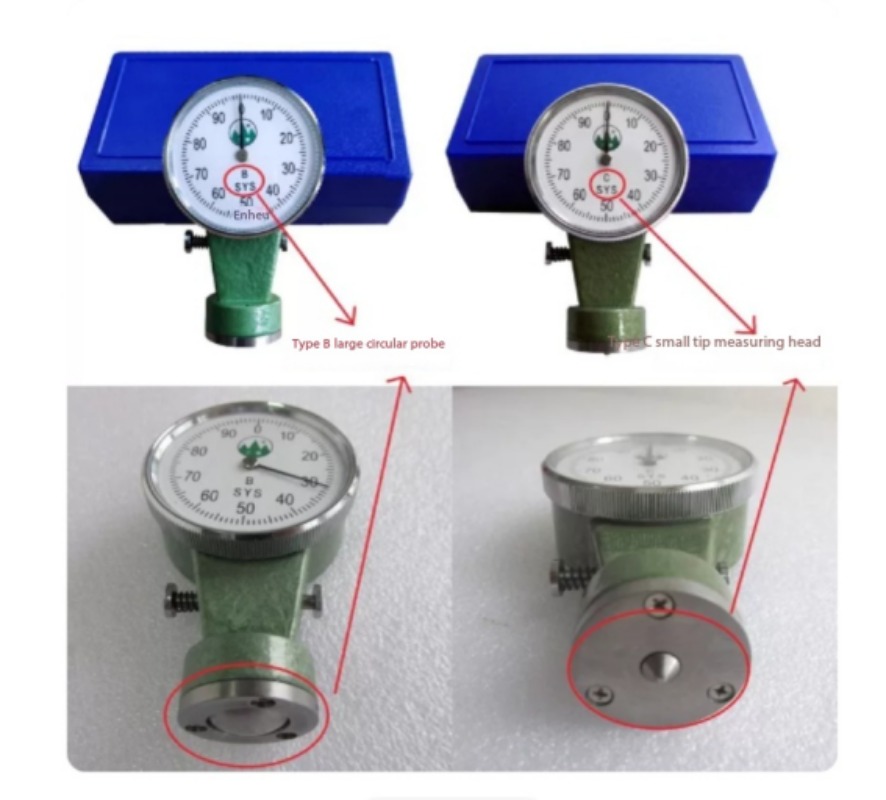
Color Categories: SYS-B, SYS-C
Compression Stroke: 2.50 mm
Maximum Load: Type A 237 g, Type B 980 g, Type C 1500 g
Preload: Type A 90 g, Type B 50 g, Type C 180 g
Indenter Shape and Dimensions: Type A spherical R2.50, Type B spherical R12.70, Type C spherical R1.20
Accuracy: When the pointer is at any reading, the corresponding force on the indenter has a tolerance of ±5%; when the pointer returns to the 0 position, the tolerance is ±1 degree
Dimensions: 90 × 55 × 28 mm
Type A Application: Suitable for surface hardness testing of fine sand molds and cores produced by manual or mechanical low- to medium-pressure molding
Type B Application: Suitable for surface hardness testing of fine and coarse sand molds and cores produced by manual or mechanical low- to medium-pressure molding, such as clay sand
Type C Application: Suitable for surface hardness testing of sand molds produced by high-pressure molding
Working Principle: Based on the principle that the force applied to a spring is linearly related to its stroke, the stroke is transmitted via a gear-and-rack mechanism and indicated by the surface pointer. The unit of sand surface hardness is (g/mm²), but it is customary to refer to it simply as “hardness” without specifying the unit. This is because the numerical values are correlated and consistent; a higher unit value (g/mm²) corresponds to a higher hardness value.
Instructions for Use: Adjust to the “0” position. If the pointer is not at the “0” position, turn the adjustment ring until the pointer aligns with the “0” mark. To use the instrument, press the hardness tester firmly against the flat surface of the sand mold being tested (ensuring the tester’s axis is perpendicular to the mold’s surface) so that the face of the tester’s dial is in close contact with the mold’s surface. When the pointer stops at a specific value, press the locking pin to secure the reading, record the measured value, and then release the locking pin to return the pointer to the “0” position. During testing, take 3 to 5 readings at each test point, then calculate the average—which represents the hardness value for that area.