
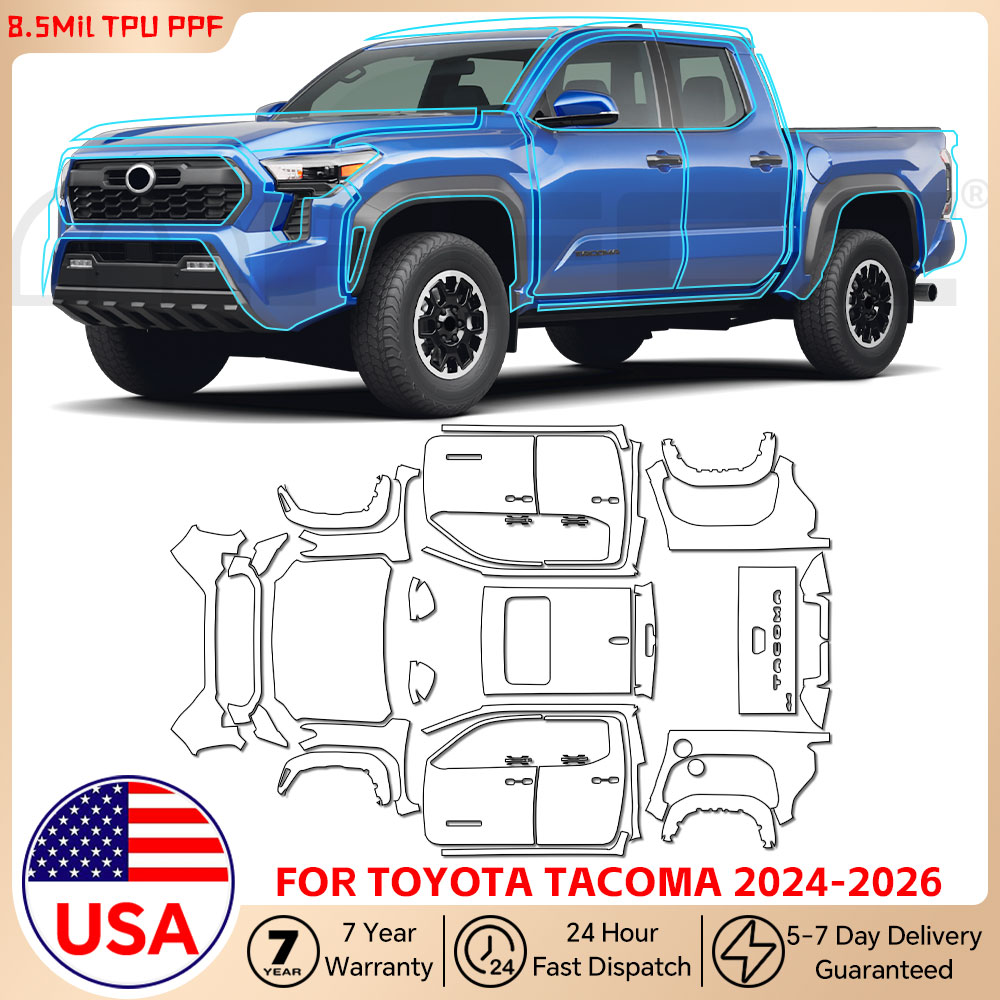
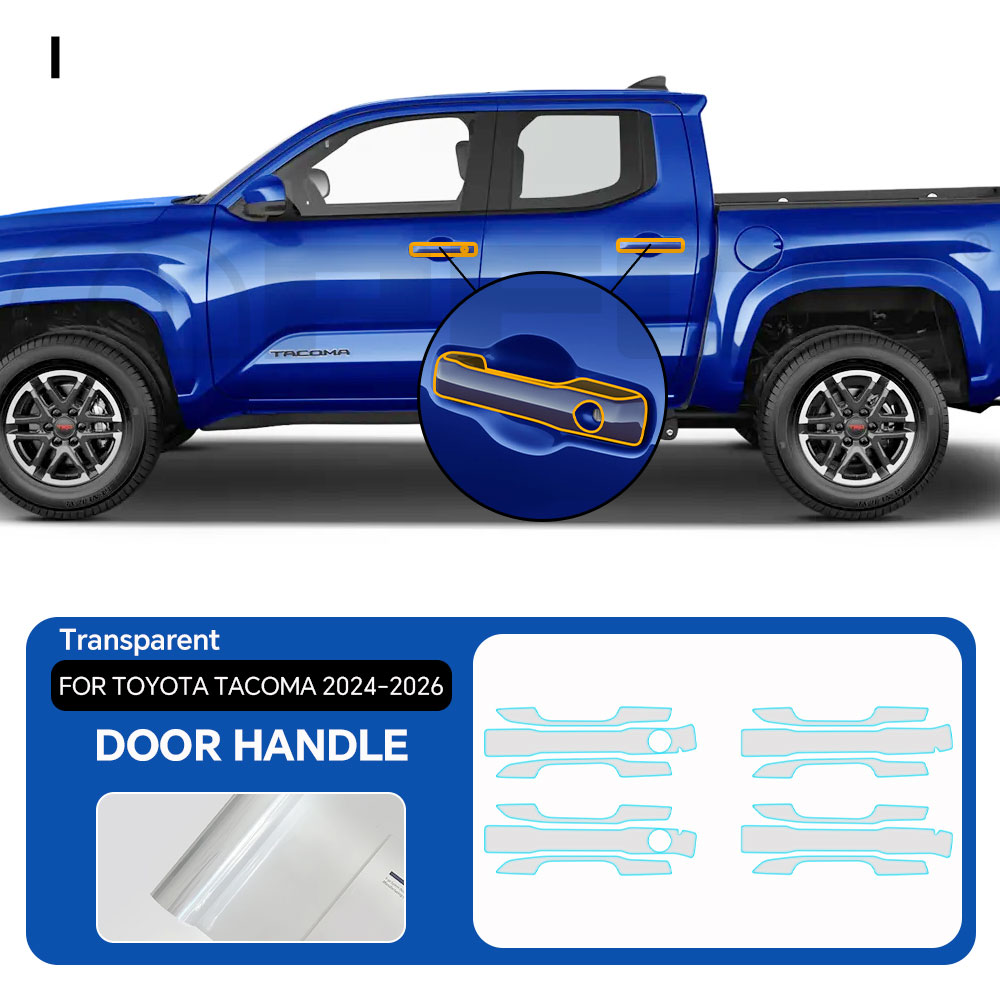

Precut PPF For Toyota Tacoma 2024-2026 Gloss Clear Car Paint Protective Film Scratch Protector Exterior Accessories
❗ IMPORTANT NOTICE ❗
Please use the “Message to Seller” button during checkout to provide your vehicle’s Year, Make, Model & Body Type.We CANNOT ship your order without this information.
About This Item
【Perfect Custom Fit】Our PreCut PPF is exclusively designed for the Toyota Tacoma 2024-2026.
Precisely laser-cut using 1:1 original vehicle data for a seamless, gap-free fit—no messy trimming required for a factory-like finish.
Precisely laser-cut using 1:1 original vehicle data for a seamless, gap-free fit—no messy trimming required for a factory-like finish.
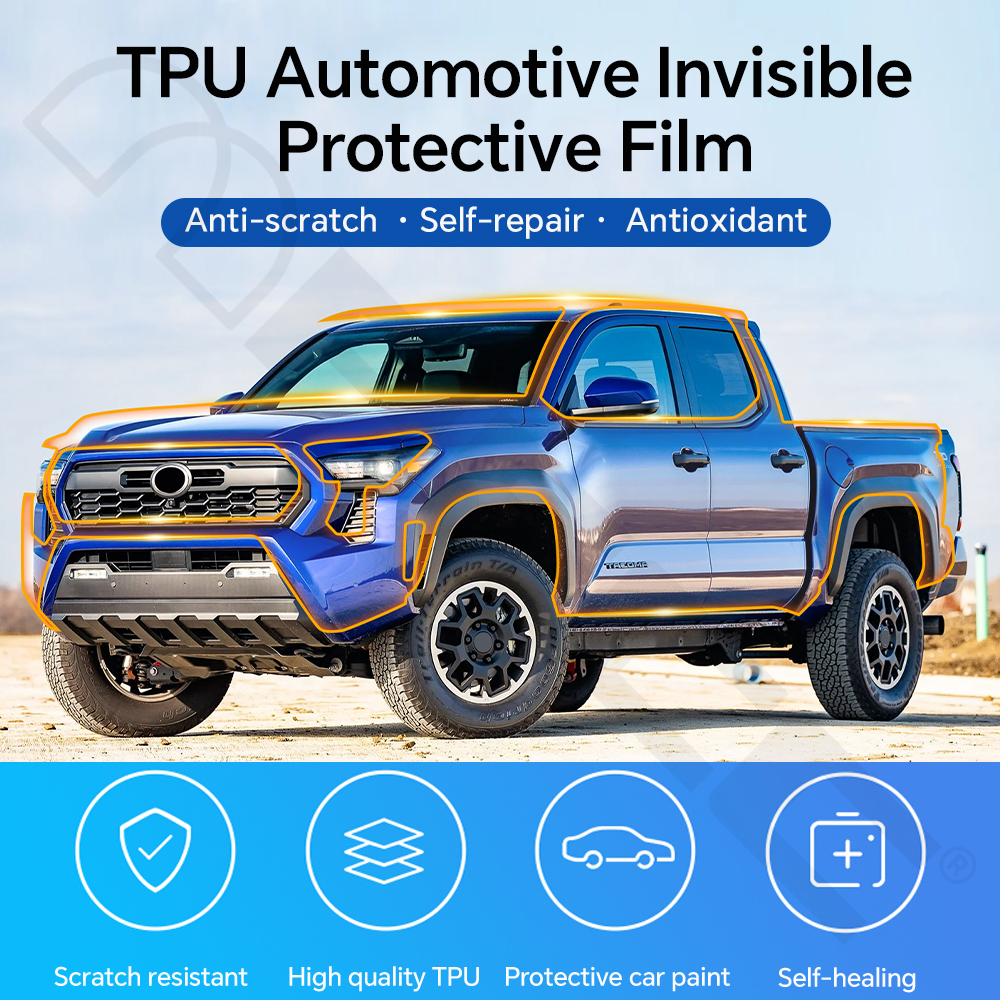
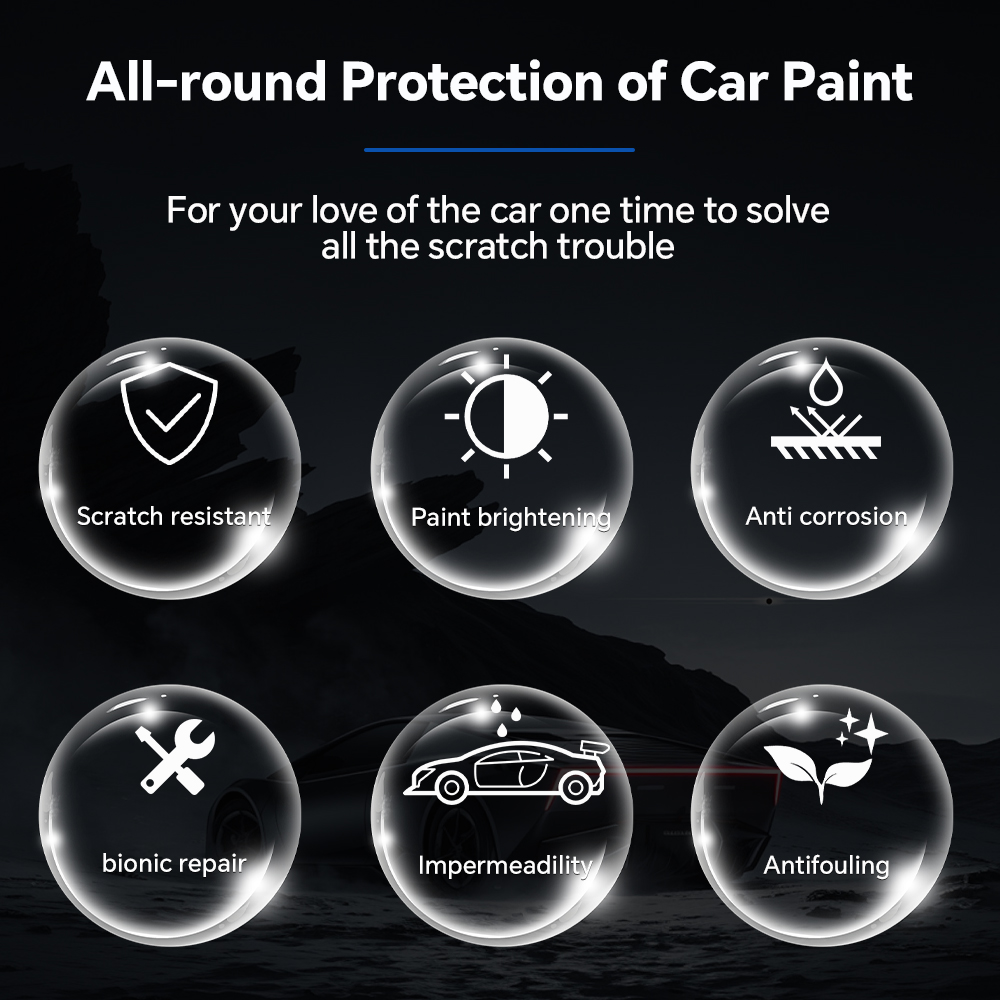
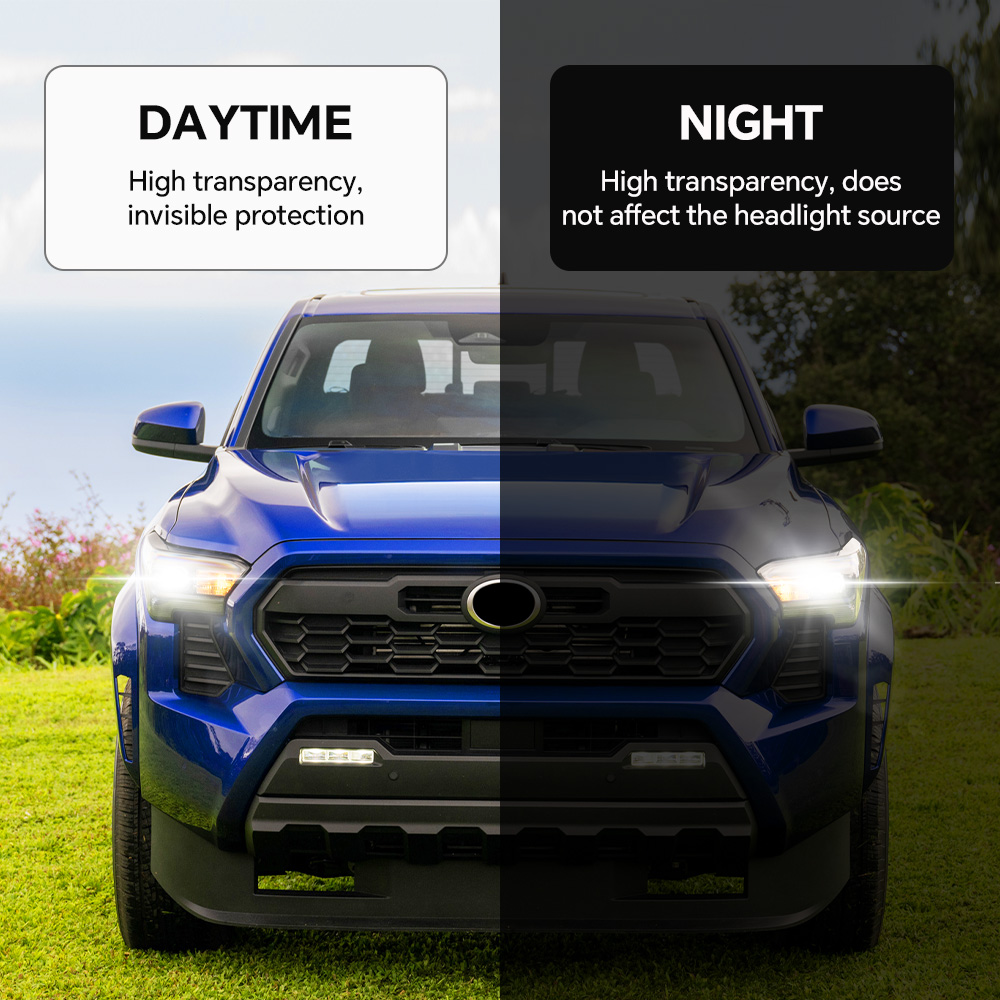
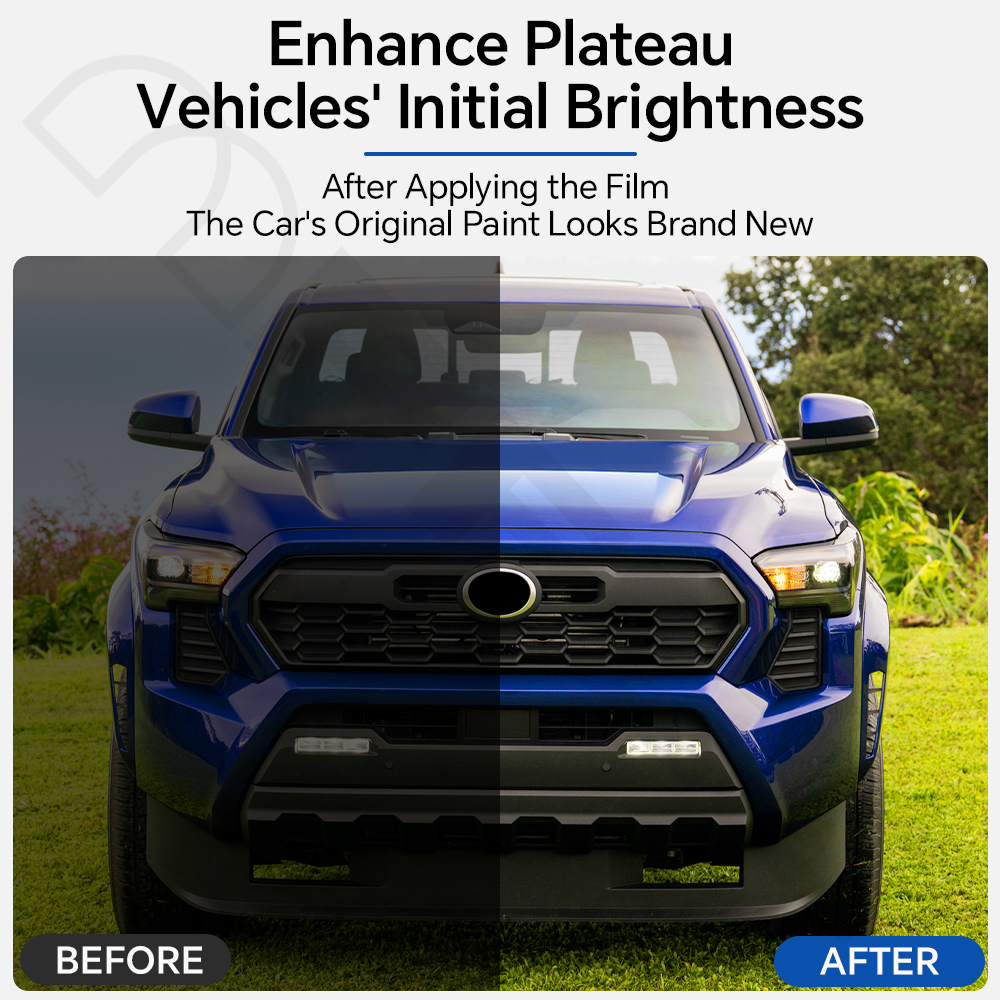
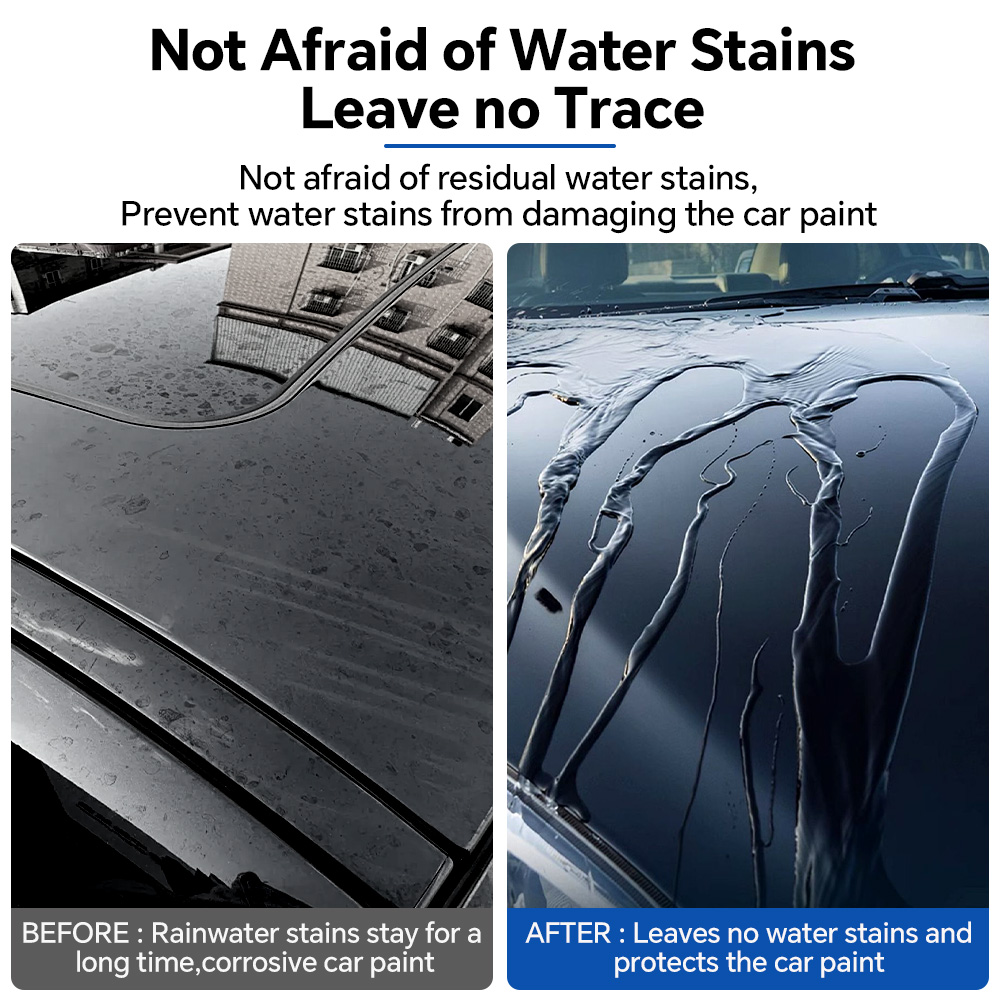
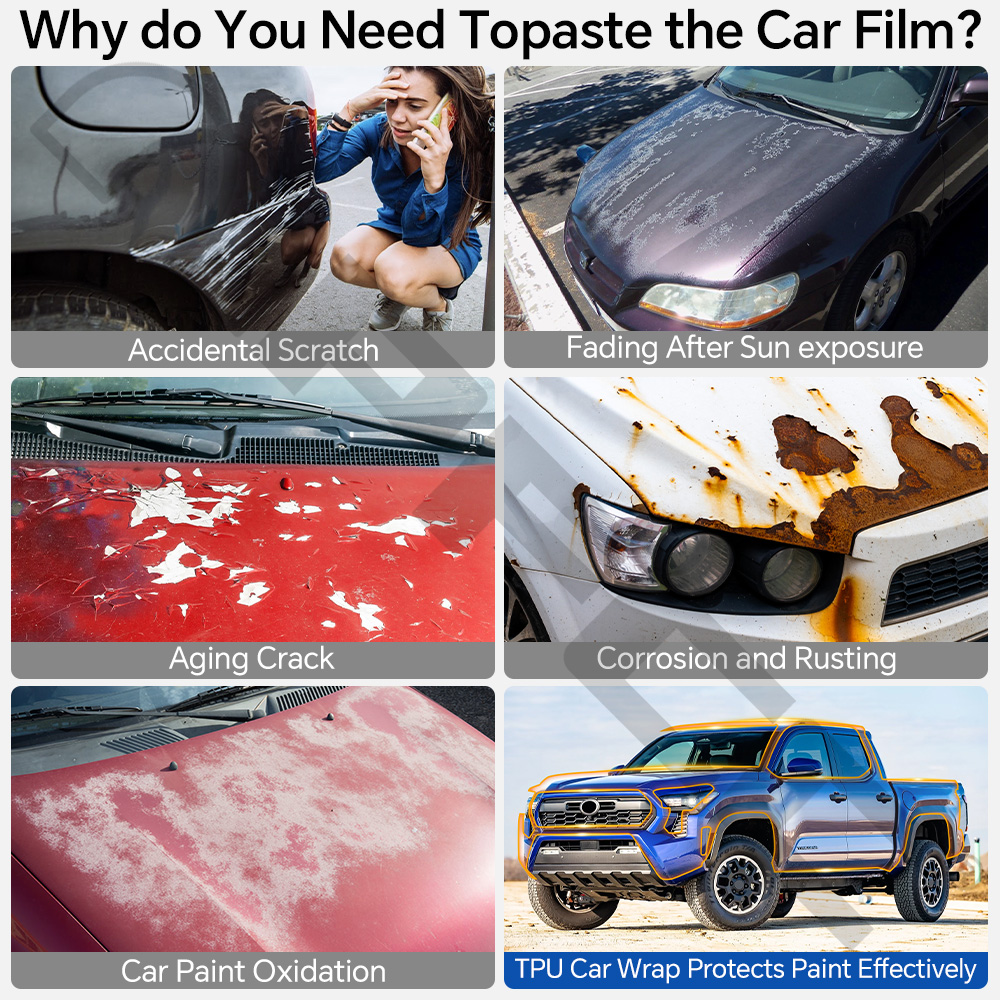
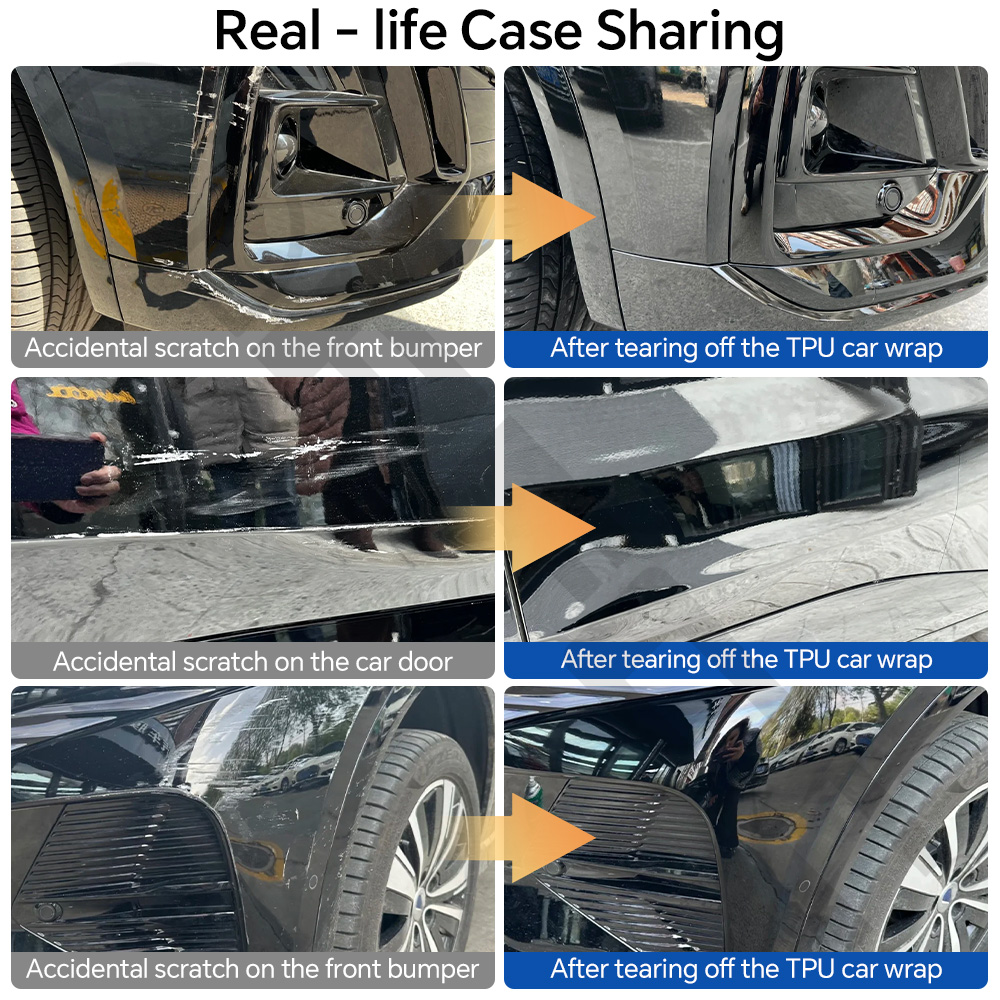
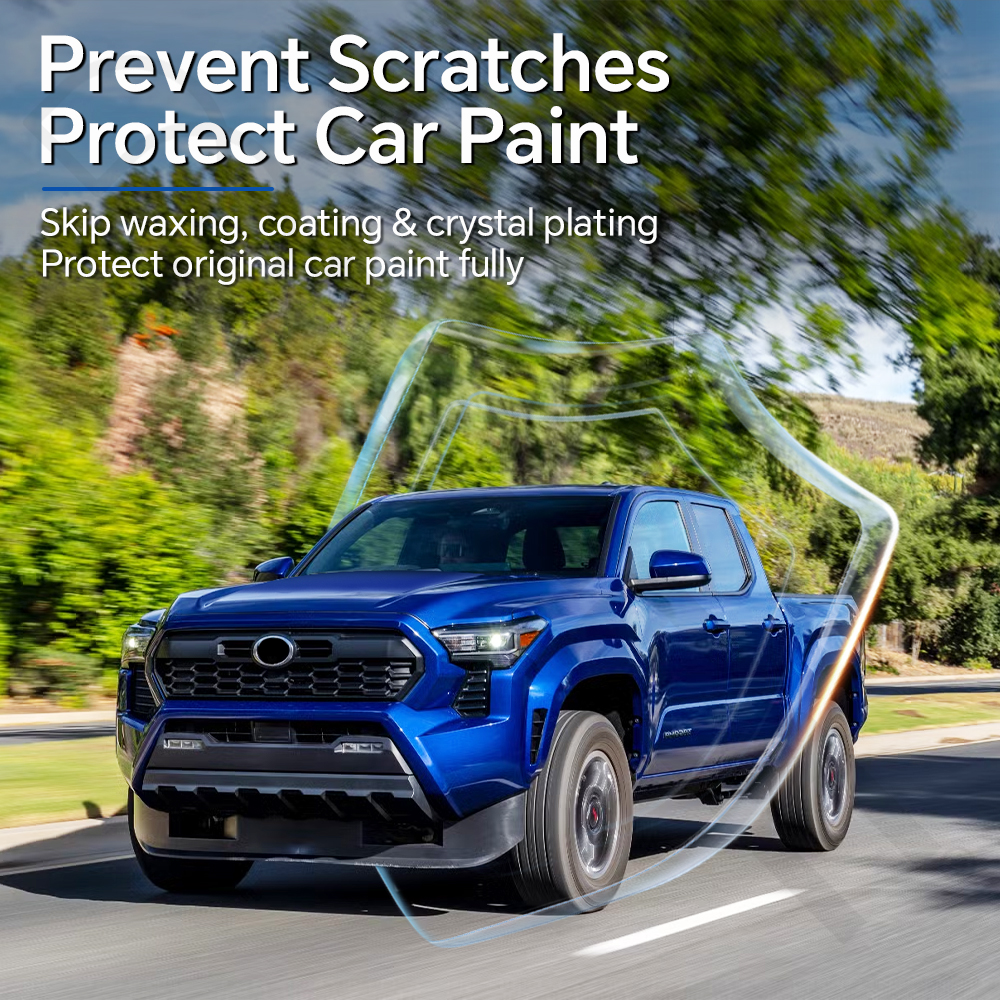
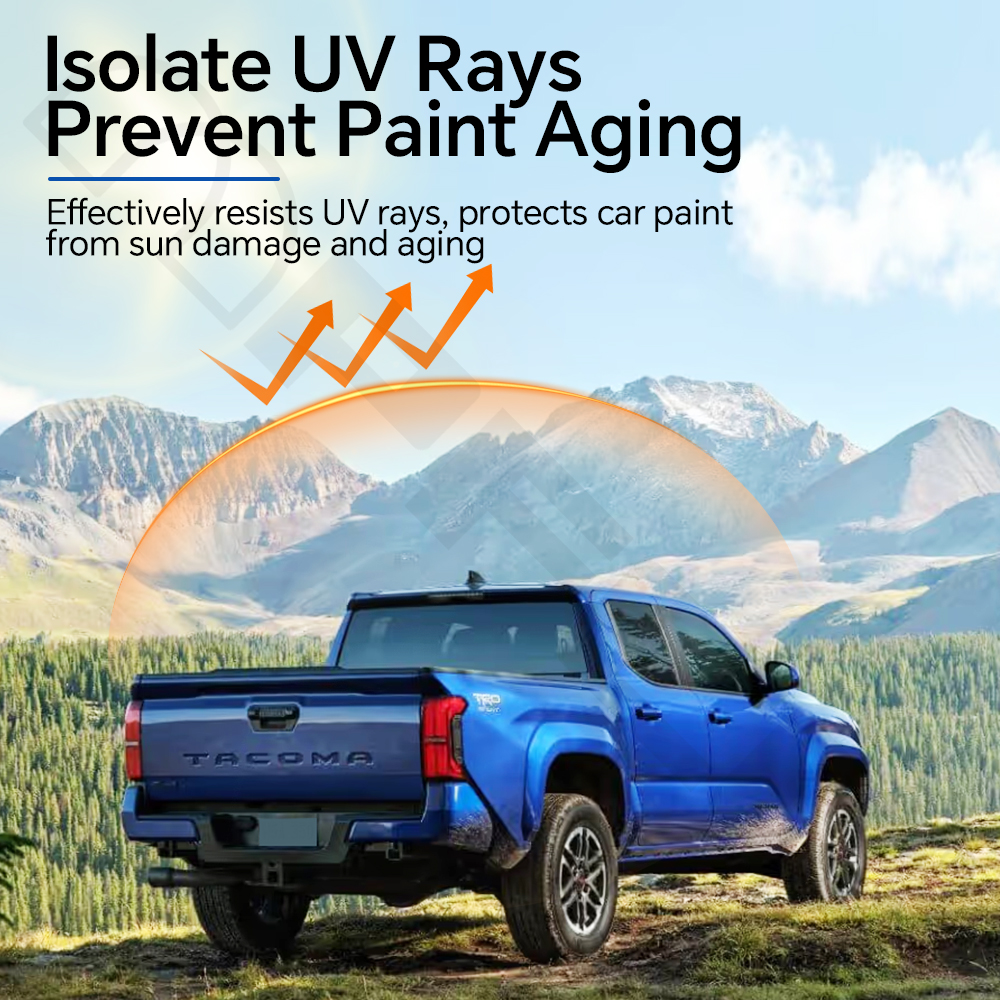
【All-Round Paint Protection】This high-performance film provides reliable long-term protection against daily scratches, rock chips, road debris, UV damage, and minor abrasions while preserving your vehicle’s original finish.
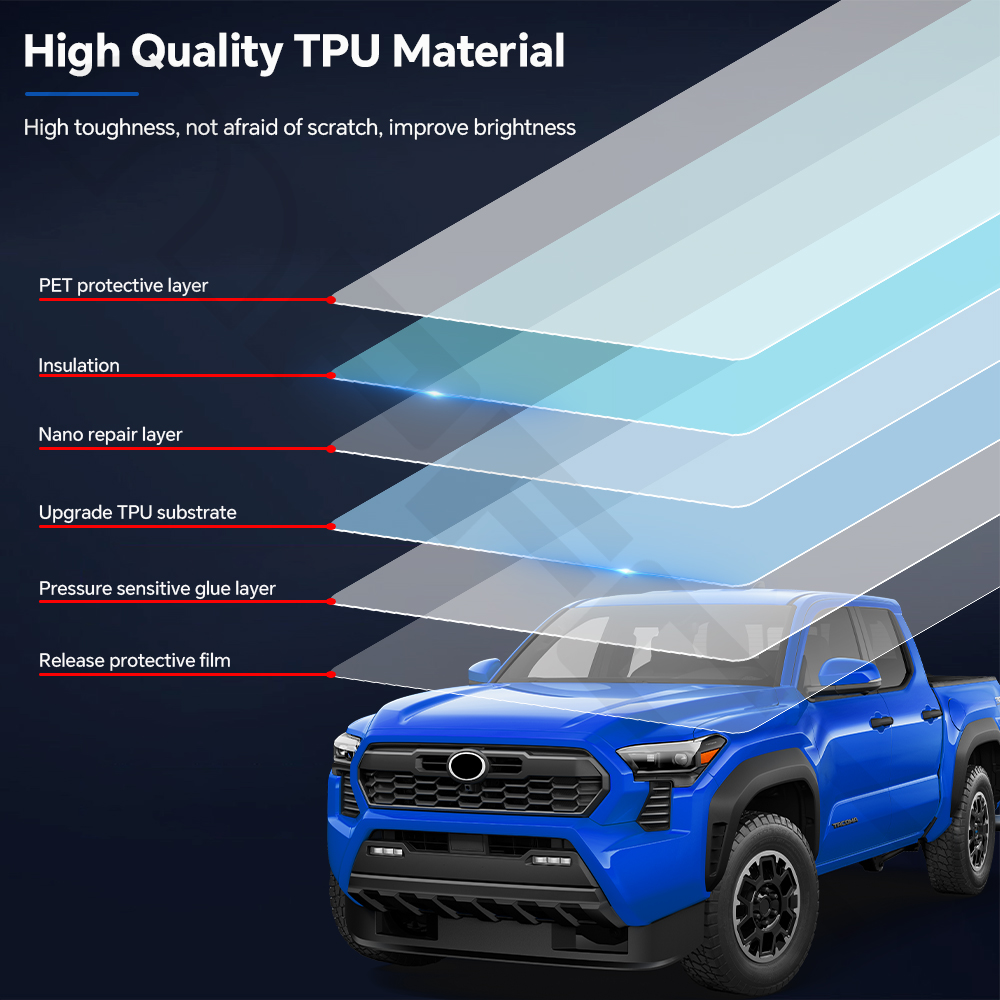
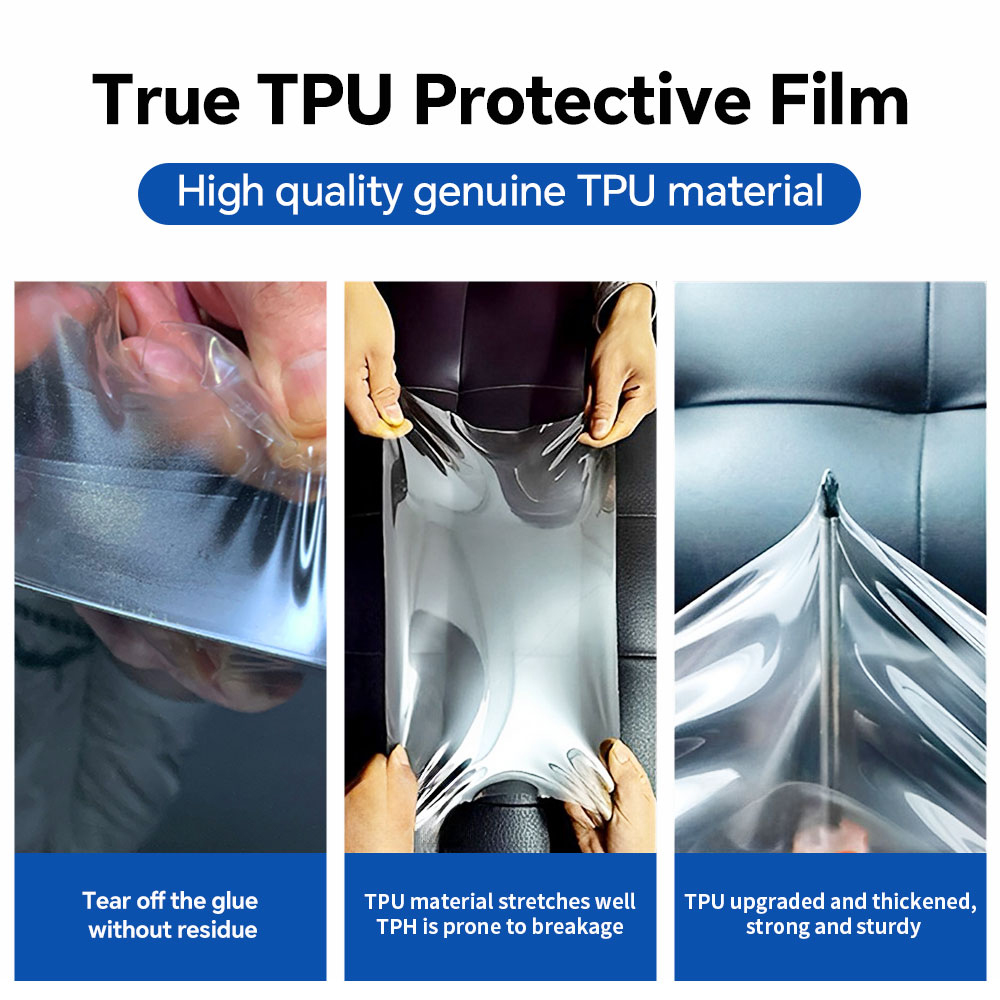
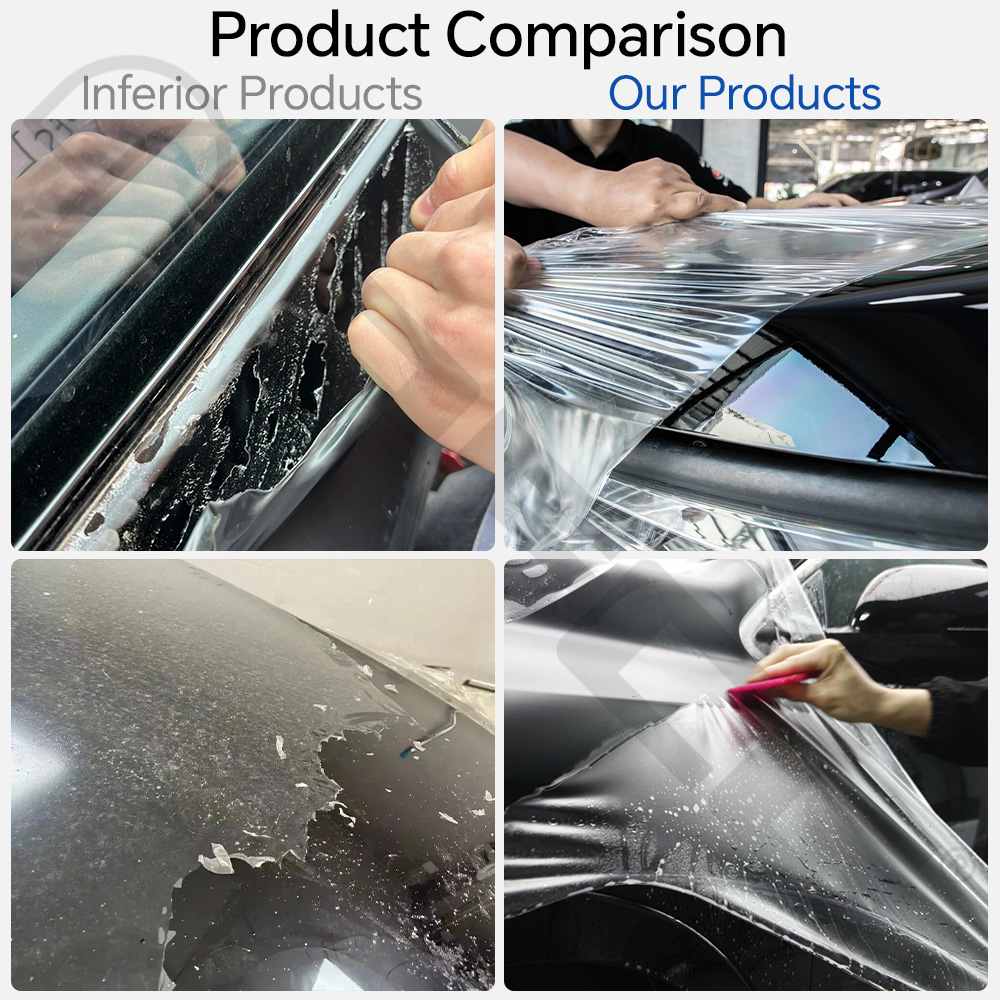
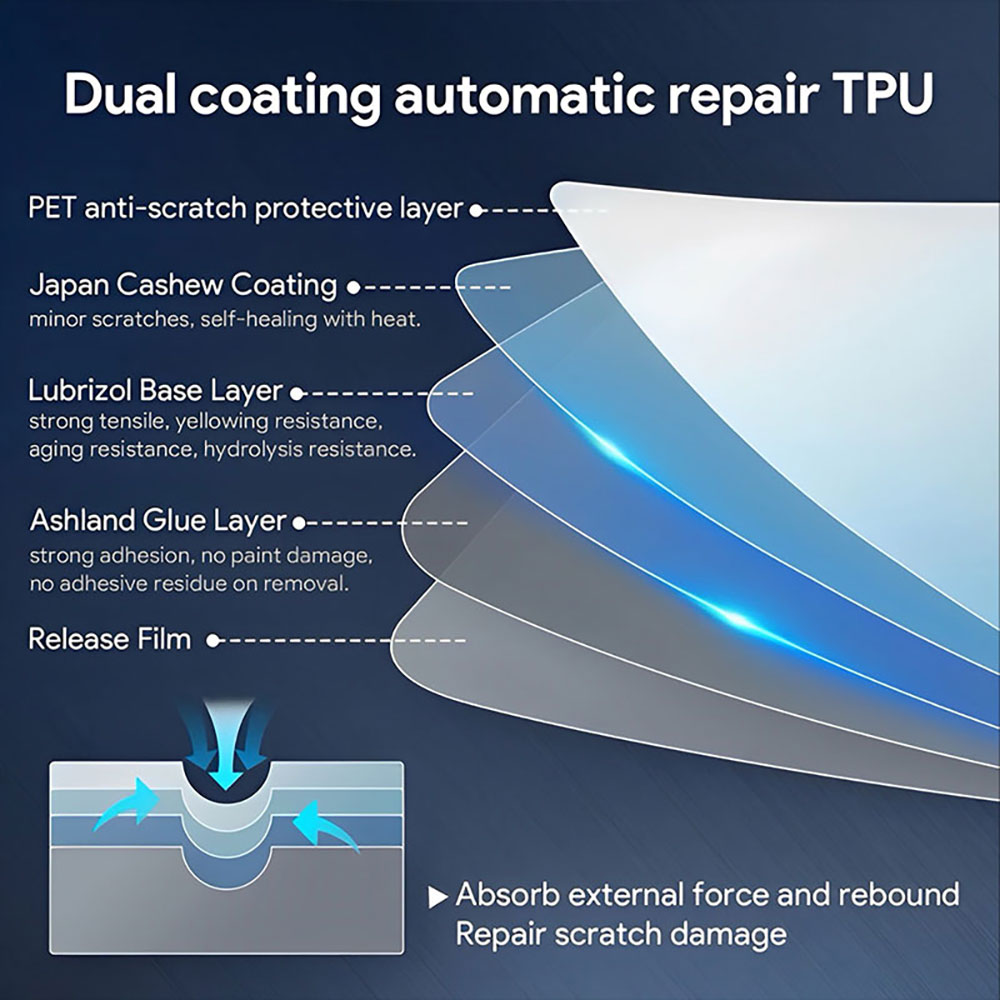
【High-Grade TPU Material】Made with premium thermoplastic polyurethane (TPU) for excellent clarity, strong adhesion, high durability, and anti-yellowing properties.Removes cleanly with no sticky residue left behind.
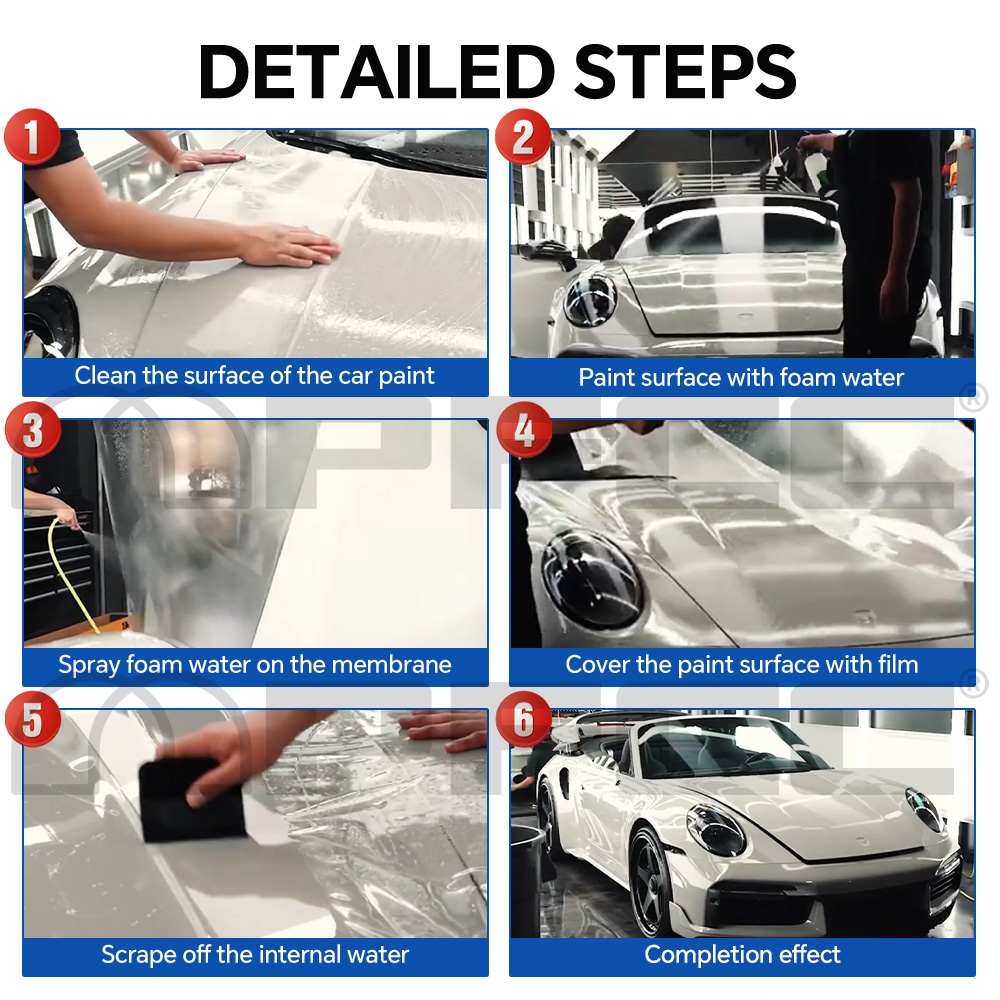
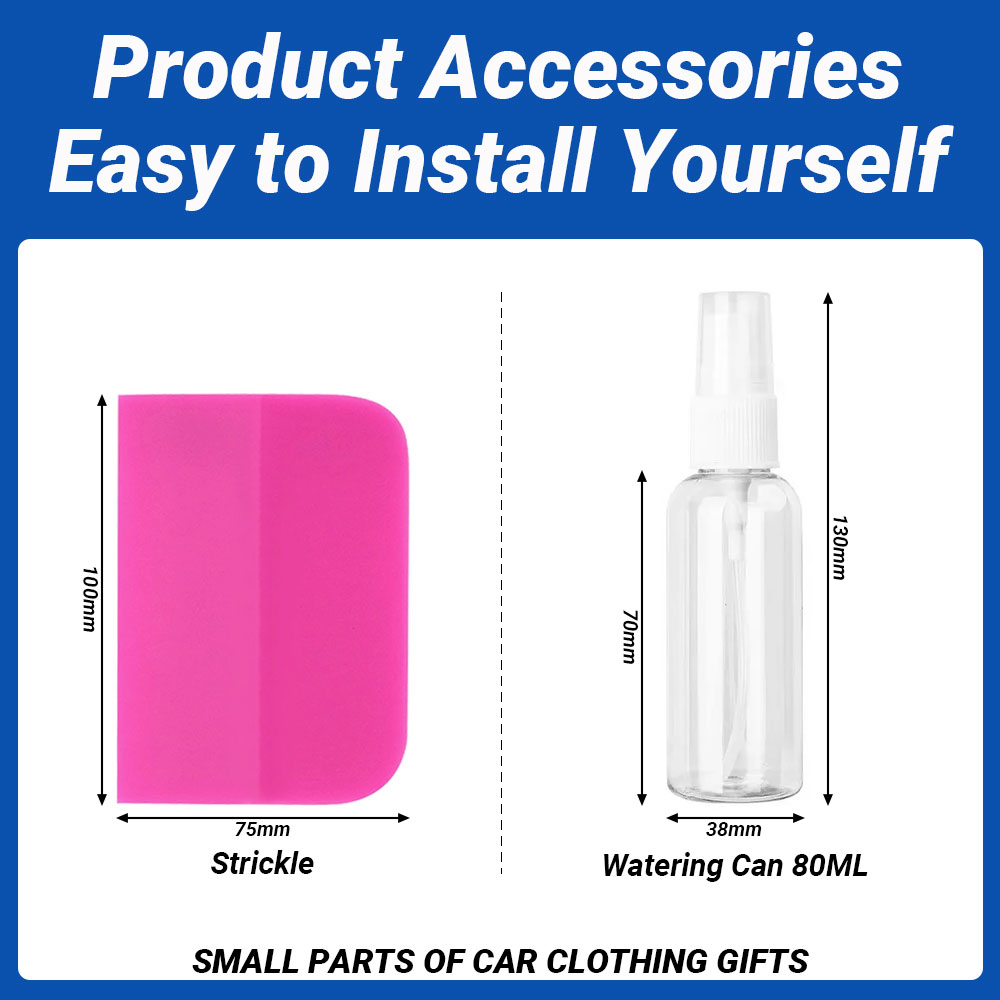
【Hassle-Free DIY Installation】User-friendly pre-cut design makes home installation simple and straightforward.Just clean the surface, spray the application fluid, position the film, and smooth out water and bubbles with the included squeegee.
【Reliable Customer Service】If you have any questions before or after your purchase, please contact us via eBay Messages.We guarantee a response within 24 hours and will resolve any issues promptly.
Key Features
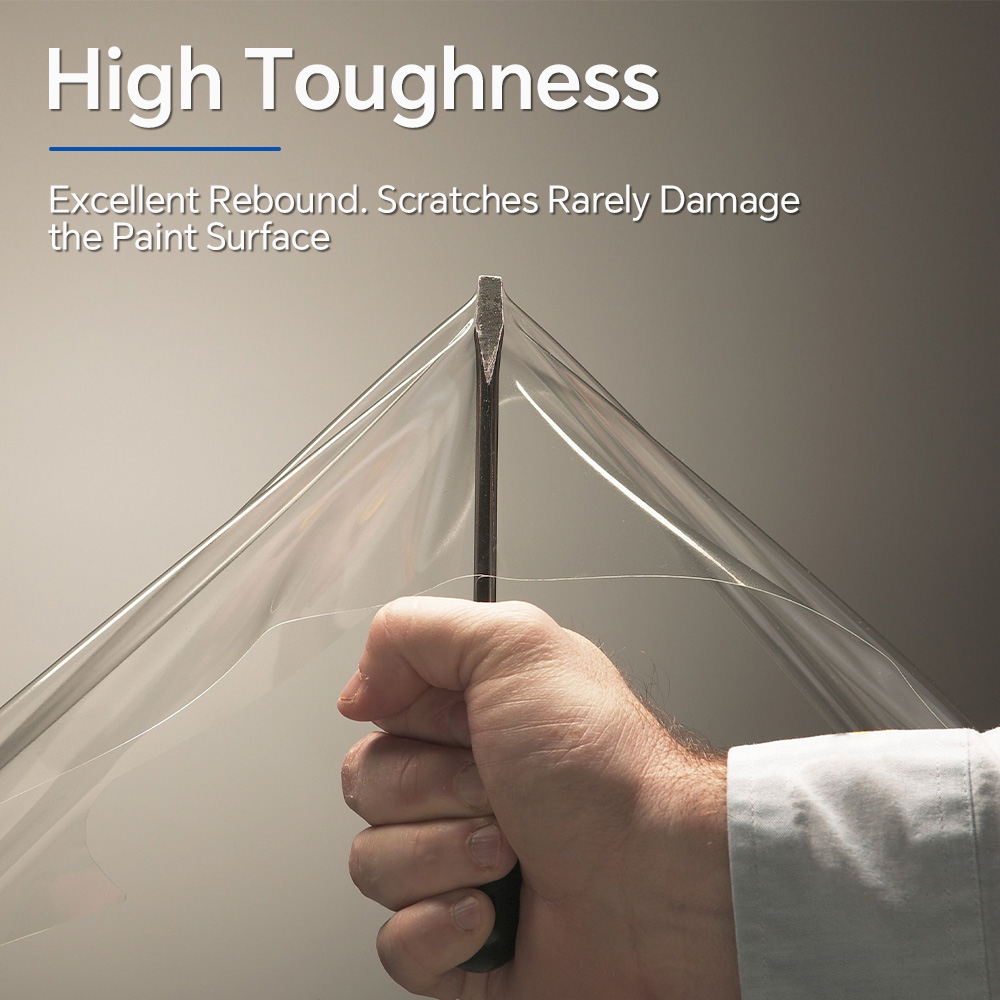
- Professional-Grade PPF: High-density TPU forms a strong, long-lasting protective layer without changing your car’s original appearance.
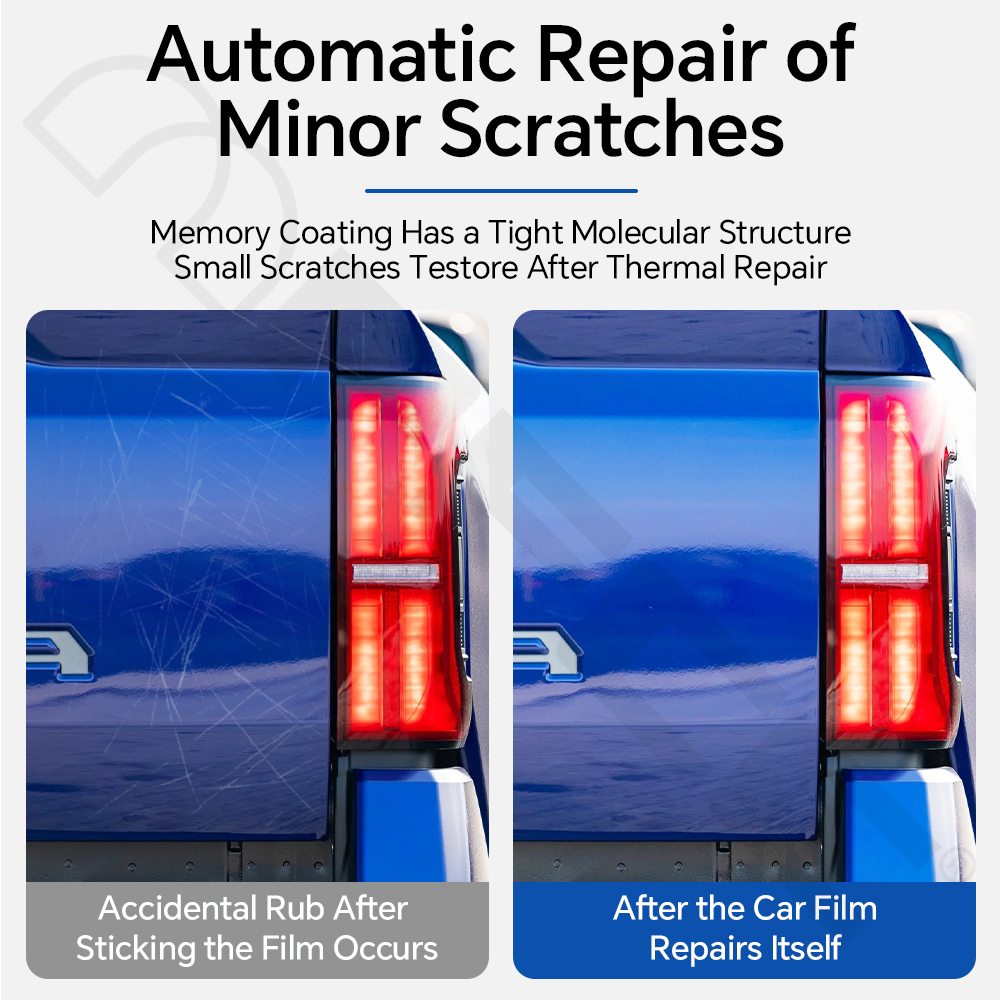
- Self-Healing Technology: Minor scratches and swirls automatically repair under sunlight or low heat, keeping the surface smooth and flawless.
- 8.5Mil Heavy-Duty Thickness: Provides superior toughness, high gloss, strong UV resistance, and long-term anti-yellowing performance for up to 6+ years.
- Multiple Finish Options: Default is Gloss Clear. We also offer Matte Clear, Gloss Black, and Matte Black.
Package Includes
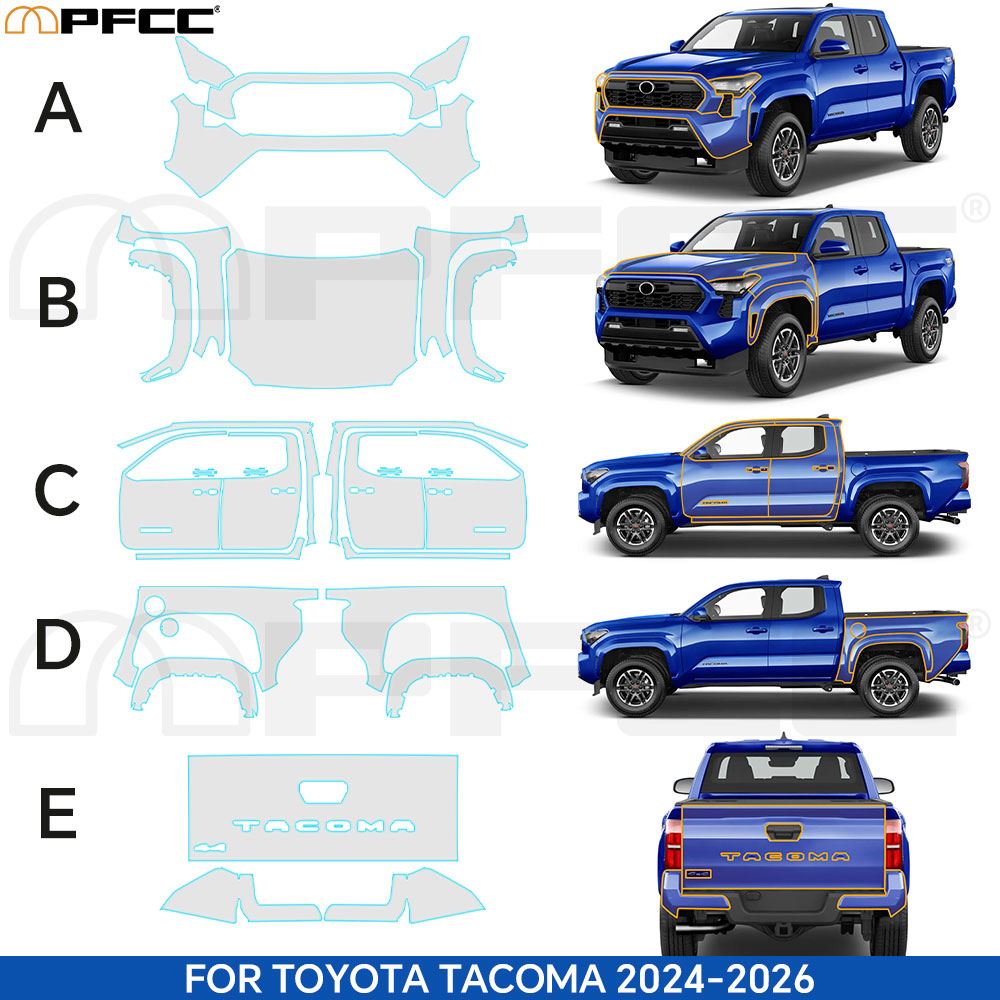
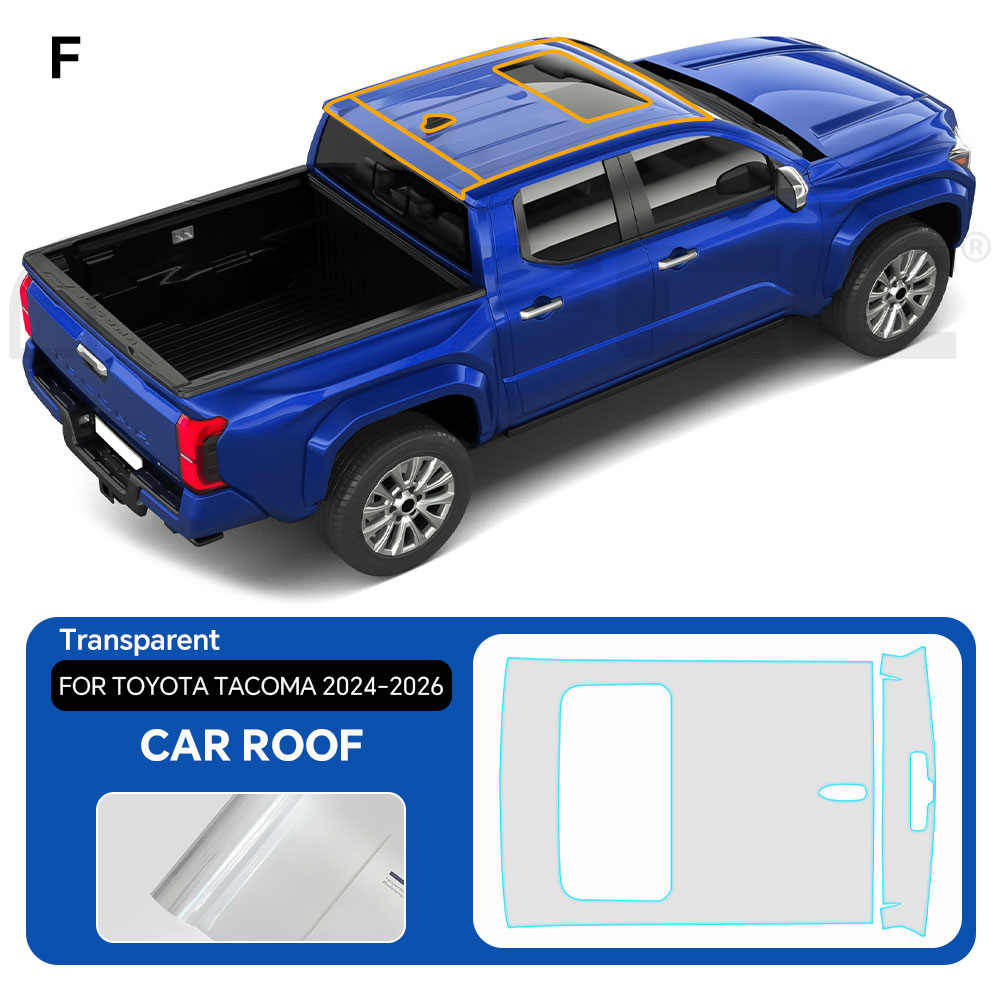
- PreCut Full Vehicle PPF Kit (for Toyota Tacoma 2024-2026)
- Installation Scraper
- Spray Bottle
FREE Bonus Gift
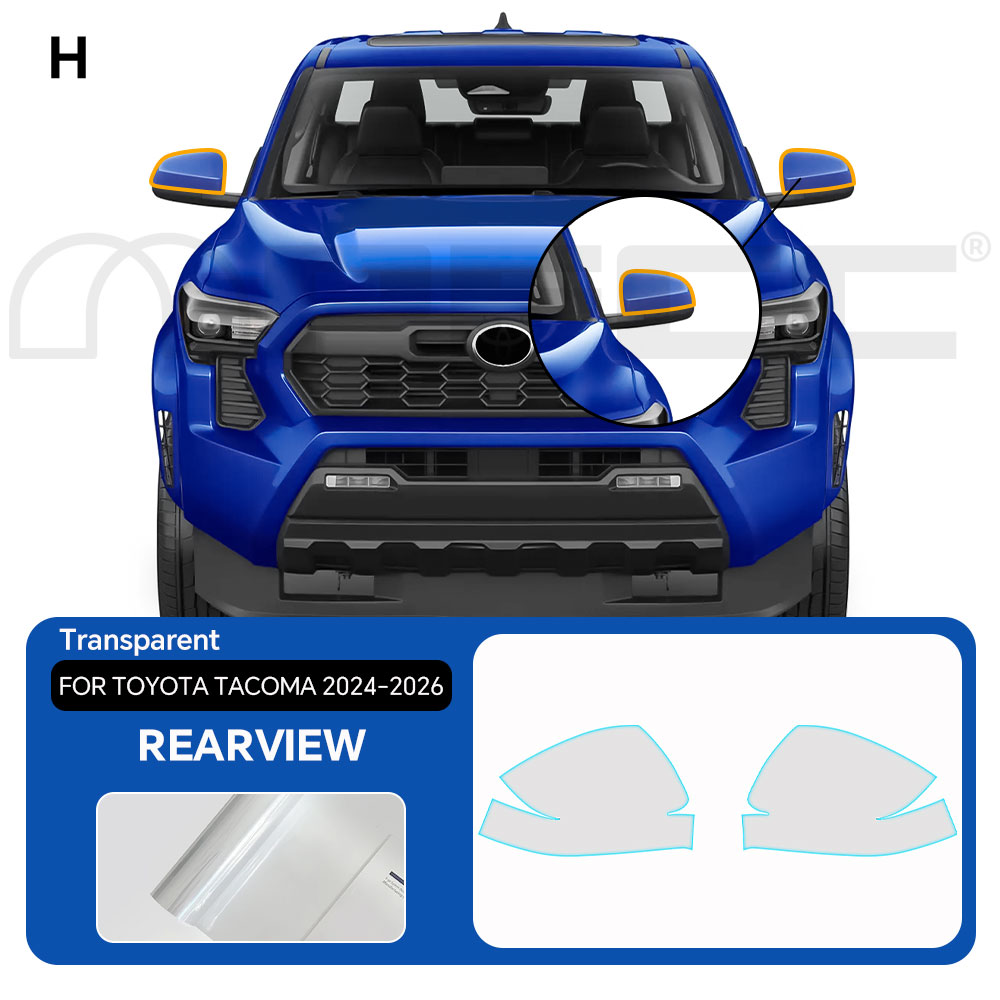
Every order includes free extra pieces (Headlight and Rearview Mirror film) for practice, making your DIY installation easier and worry-free!
Shipping
We ship worldwide via UPS Orange Union Express for fast delivery and efficient customs clearance.
Installation Instructions
Materials Needed
- Pre-cut PPF kit
- Microfiber towels
- Squeegee / application tool
- Spray bottle with water + a few drops of dish soap (for lubrication)
- Heat gun or hairdryer
- Isopropyl alcohol / automotive surface cleaner
- Clean, lint-free cloths
Preparation
- Clean the Vehicle
Wash the surface thoroughly with car soap and water.Remove all dirt, dust, and contaminants, then dry completely with a microfiber towel. - Prepare the Installation Area
Wipe the installation area with isopropyl alcohol or automotive cleaner to remove oils and residues for strong adhesion.
Application
- Position the Pre-Cut Film
Lay out the pieces on a clean, flat surface.Use the kit template to identify each piece and its corresponding location on your vehicle. - Apply the Film
- Lightly spray the vehicle surface with the soapy water solution to allow repositioning.
- Peel the backing off carefully and place the film onto the surface.
- Align perfectly with the edges of the panel.
- Squeegee the Film
Starting from the center, gently squeegee outward to remove water and air bubbles.Be careful not to stretch or damage the film. - Heat & Shape
Use a heat gun or hairdryer on low heat to make the film more flexible.Shape it to the vehicle’s curves and contours. Avoid overheating. - Trim & Final Adjustments
Trim any excess film along edges for a clean, precise fit.Smooth out remaining bubbles or wrinkles. - Final Cleaning
Wipe edges and surfaces with a clean microfiber cloth to remove soap residue.
Post-Installation Care
- Curing Time
Allow the film to cure for at least 24 hours without water or harsh conditions. - No Washing for 48 Hours
Do not wash the vehicle for 48 hours to ensure full adhesion. - Regular Maintenance
Clean gently with mild car soap and water.Avoid abrasive cleaners or tools.Check edges periodically to ensure they are secure and clean.
Tips
- Work in a clean, dust-free environment to prevent debris under the film.
- Take your time during alignment and squeegeeing for best results.
- If needed, ask for help from a friend or professional installer.
By following these instructions, you can achieve a clean, professional installation and protect your vehicle for years to come.

