 |

|
 |
||||
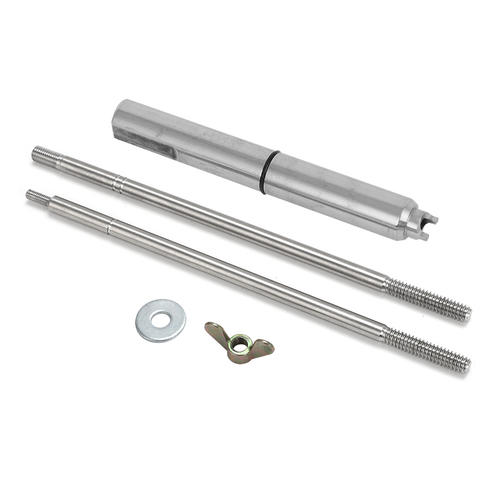
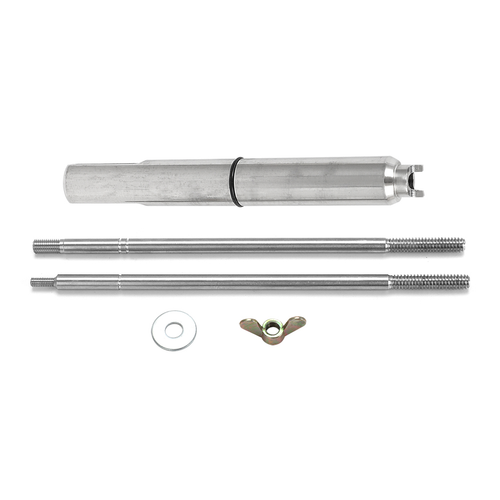
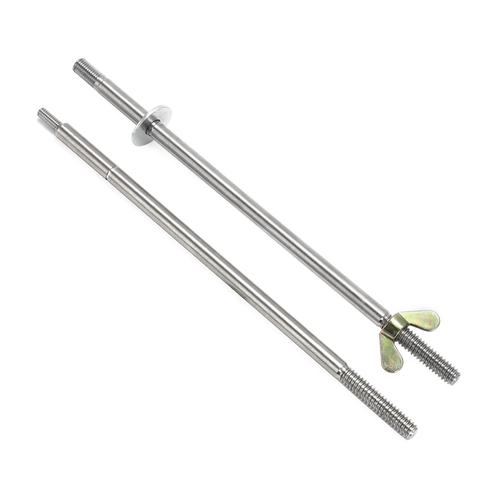
For 200A 220 222 Lamp Furnace Stove / Lantern Check Valve Removal Tool Wing Nut
|
||||||
 |
 |


- Feature:
Condition: Brand New
Type:Lantern / Stove Check Valve Removal Tool
Color:As pictured
Material:Medium-carbon Steel / Metal
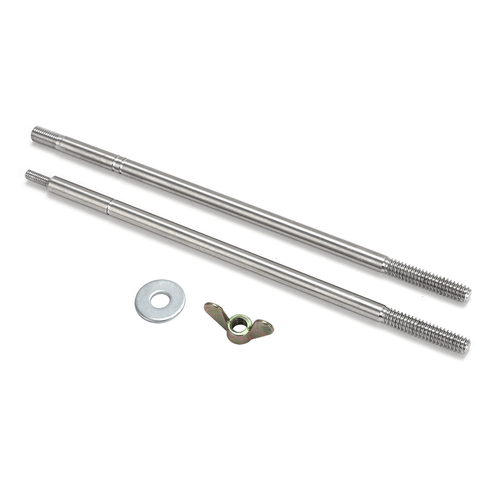
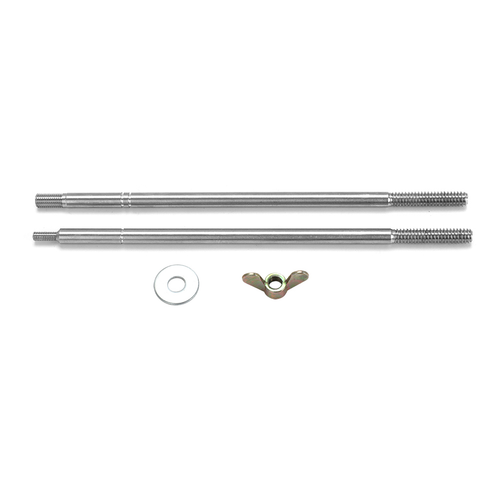
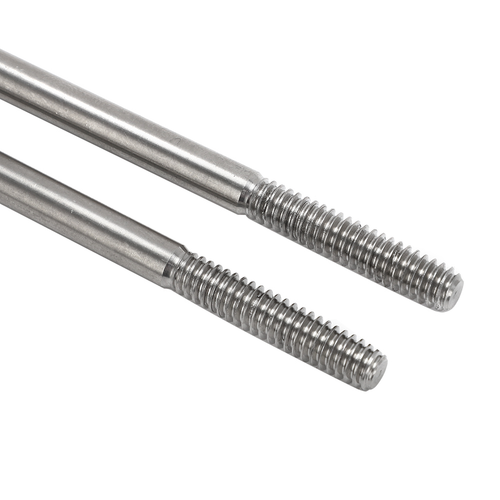
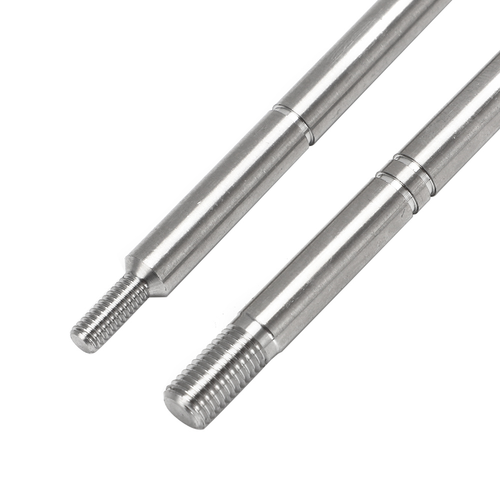
Size of Threaded Rod:8-32 and ¼-32
Upgraded Feature:Rods with wing nut, Easier to use.
Feature:
1. Remove the air stem from your lantern's check valve in order to determine which of the two threaded rods to use (8-32 or ¼-32 thread)
2. Hand screw the rod into the check valve at least finger tight. Engage as much thread as possible.
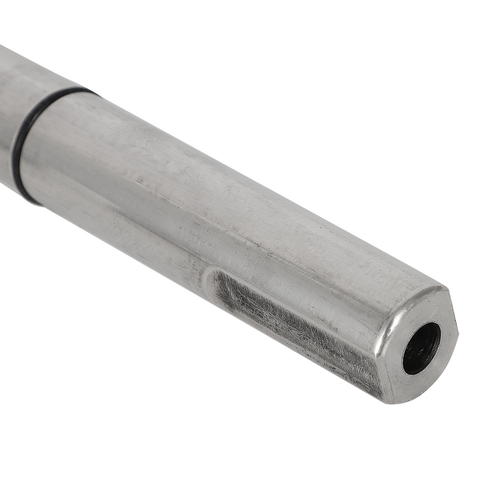
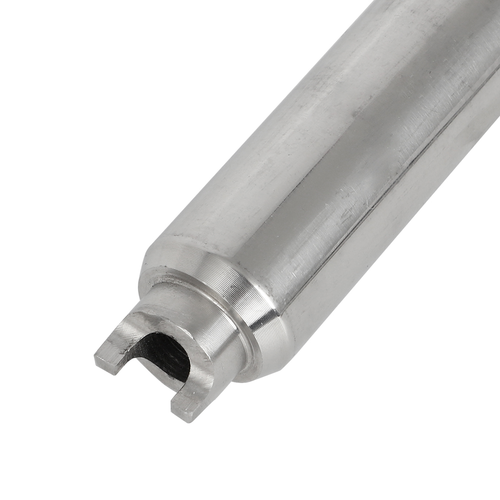
3. Slide the tube down over the rod.
4. Make sure that the ears are fully engaged in the slot. Gently turn the tube until the ears drop into the slots cut in the check valve.
5. Drop a washer onto the rod and then screw on one of the 7/16, nuts (1/4-20 thread) and tighten just enough to eliminate any play in the tube and lock it into place.
Caution: Do not over tighten as the brass threads in the check valve may strip!
6. Using adjustable wrench, fit it to the flats on the exposed end of the tube.
7. Hold the fount in a solid grip. If you have a vise, this is a great application for it. Give the wrench a solid turn counterclockwise. Do not side load the wrench. The check valve will loosen and you will be able to remove the entire assembly with the check valve attached.
8. Clean and loosen the ball bearing in the check valve and when free, screw the check valve back into the fount, or use a new replacement valve.
Fitment:
Works with newer style wide slot check valves. Probably will not work with 242 or early 242A without the air stem or the 220D/228D and prior.
Fit for Lantern / Stove Check Valve / Vaporization Lamp Furnace Check Valve
For North Star (Note A)
200A, 220, 222, 226, 228, 236, 242, 275, 285, 282, 286, 288, 290, 290, 295, 321, 635, 639 vaporization lamps and 502 , 508A , 530 , 533 ,550 vaporization furnace, 519 Heater.
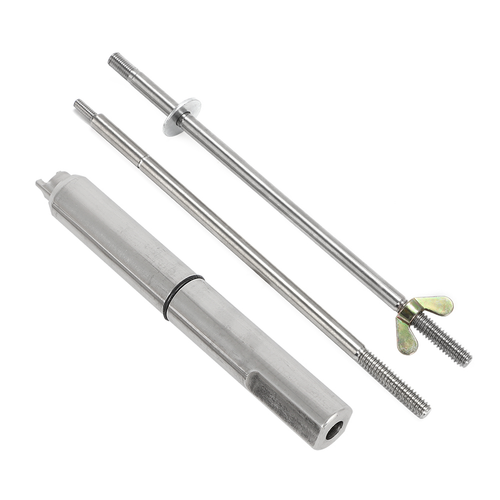
Package Included:
- EX Rod
- Large Threaded Rod
- Small Threaded Rod
- Wing Nut
1.Shipping from the US STOCK by USPS or UPS .
2.Within 1 business days after payment cleared.
3.Please offer us your telephone number or your order will
be delayed since the courier will need it for the delivery.
4.We have three warehouses, they are located in Hebron, Kentucky.
The actual shipping warehouse is based on our inventory and the distance to you.
5.Delivery time depends on destination,usually arrive 1-6 days after delivery.