|
Don't ignore carbon deposits in the fuel injectors!
If carbon deposits are not removed, it will cause the engine's fuel consumption to soar, lack of power and poor acceleration!
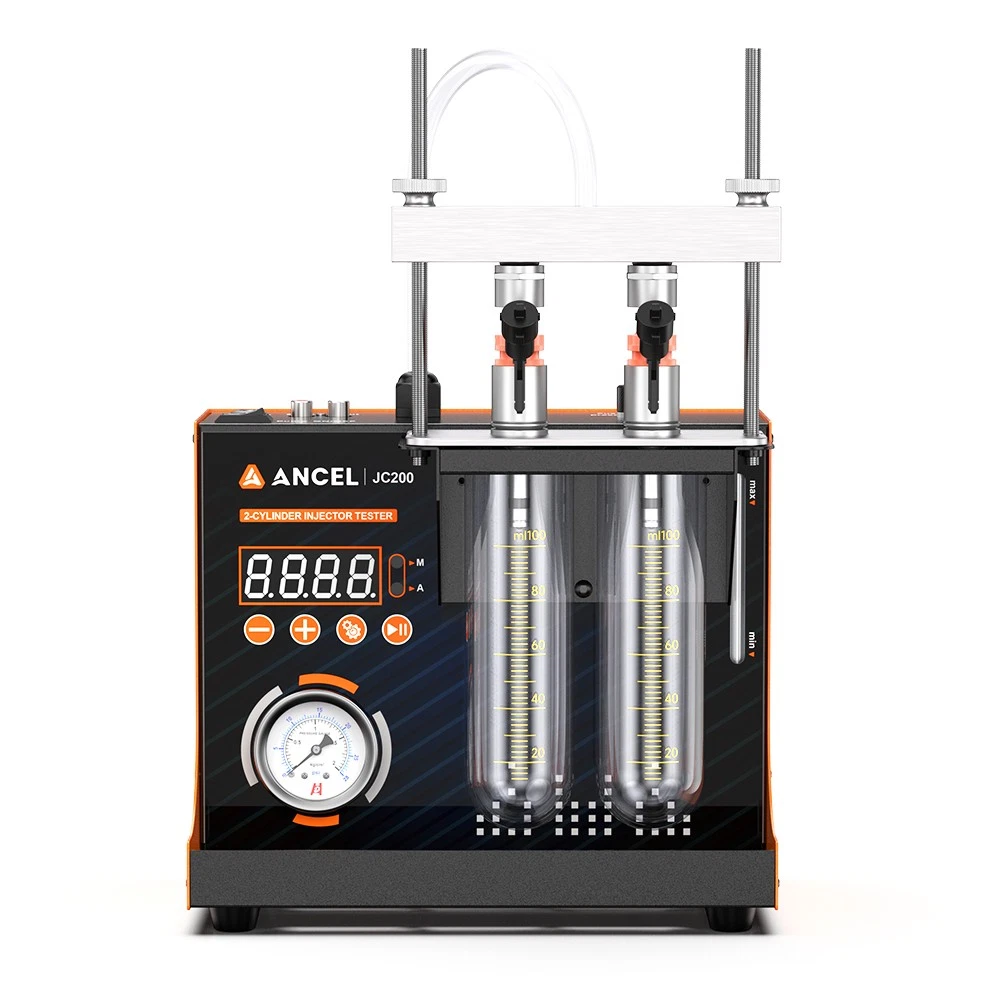
Using ANCEL JC200 can help you solve the following problems
✅ Eliminate stubborn carbon deposits, improve leakage, and prevent oil spillage.
✅ Extend the lifespan of the fuel injector, save maintenance costs, and make driving more convenient
✅ Improves fuel atomization efficiency, effectively reducing fuel consumption
✅ Restore engine performance, say goodbye to insufficient power and weak acceleration
✅ Solves issues of unstable idle and jerky start, making the vehicle operate more smoothly
ANCEL JC200 Description:
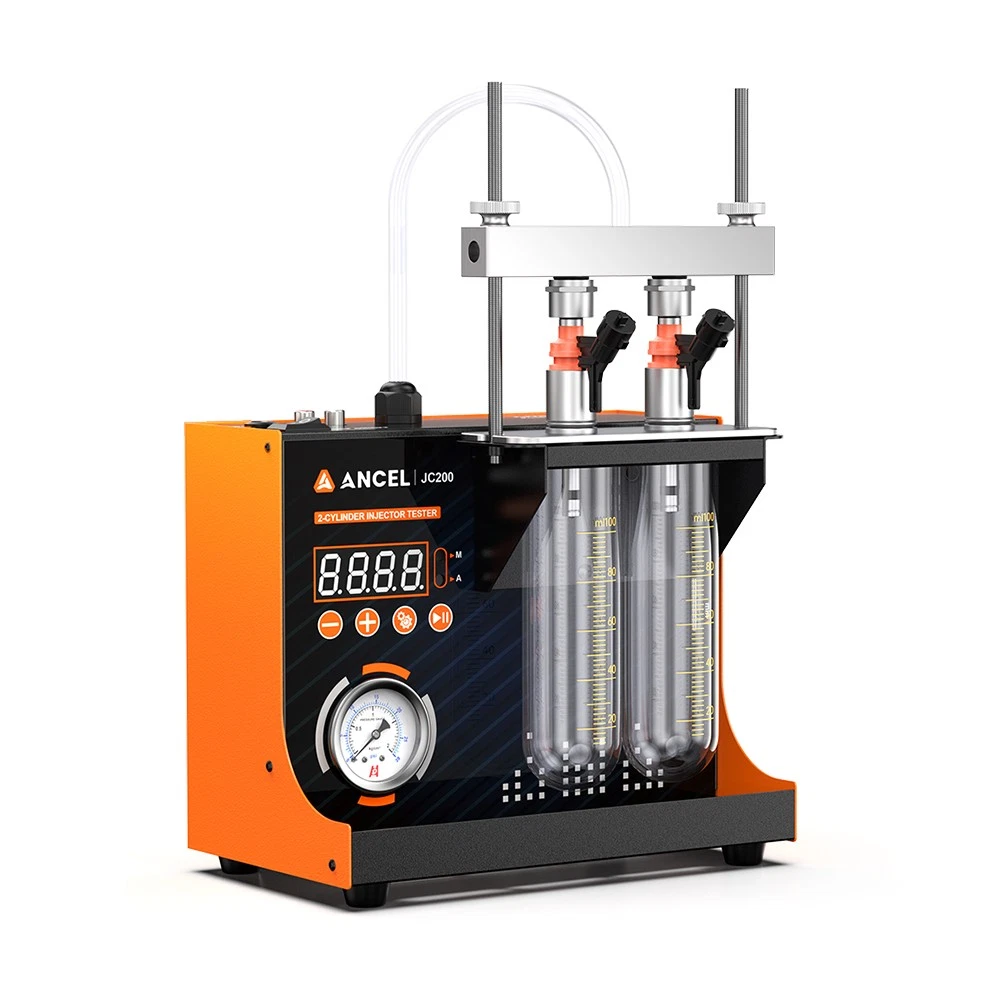
Fuel injector diagnose equipment is a mechatronic product that combines mechanical and microcomputer signal output technology. This product simulates various operating conditions of the engine, and inspect the fuel injectors of various motorcycles & cars (6V/12V)

Main Functions
⭐ Uniformity Test: to check uniformity of the injections.
⭐ Atomization Observation: with help of the backlight, you can observe the spray atomization situation of the injector in a comprehensive and careful manner.
⭐ Tightness Test: it can detect the tightness and dropping of the fuel injector under working pressure.
⭐ Fuel Injection Volume Detection: it can detect the fuel injection volume of the injector under specific working conditions.

Main Features
● Low-cost solution of injection test.
● Use pressurized air to push test fluid, ensure stable pressure output,
● achieve consistence in test conditions.
● DC12V power supply, enhance portability of the product.
● The oil tank liquid level is displayed visually, and the test agent can be recycled.
● Bright background light, you can clearly see the various situations of the
● fuel injector when it is working.
● Replaceable composite joints for different injector type.
    
Wide Range of Applications
Suitable for most of the 6V 12V motorcycles and cars in the market (MPI top fuel injection nozzles )
For 12V
Cars |
American Area |
Asia Area |
for Ford
for Focus (old model 1.8 / 2.0)
for Fiesta (Grand Tourer)
for Escape (old model)
for General Motors (Chevrolet / Buick)
for Chevrolet Cruze (some versions)
for Buick Excelle (Excelle)
for Chevrolet Aveo (Viva) |
for Toyota
for Corolla (1.6 / 1.8 old model)
for Camry (2.0 / 2.4 old model)
for Vios (Wise)
for Yaris (Yaris)
for RAV4 (early model)
for Honda
for Civic (1.6 / 1.8 old model)
for Accord (2.0 / 2.4)
for CR-V (2.0 / 2.4 old model)
for Fit (Fly)
for Nissan
for Sylphy (Sylphy)
for Teana (Titan)
for Tiida (Tina)
for Sunny (Sun)
for Hyundai
for Elantra (New model) / Ilande (Old model)
for Accent (Renata)
for Tucson (Old model)
for Kia K3 / K2
for Cerato SellaTu
for Sportage ZhiChao (old model) |
|
|
|
|
|
|
| Europe Area |
for Volkswagen
for Golf 4 / Golf 5 (1.6 / 2.0) Jetta / Bora
for Passat (Old model 1.8 / 2.0)
for BMW (Key model)
for E90 320i (Some non-GDI versions)
for E46 3 Series (Old direct injection front model)
Note: Most of the new BMW models
are GDI and do not fall
under the 12V category. "
|
|
|
|
|
|
|
|
|
|
|
|
| For 6V/12V Motorcycles |
for Honda CBR / PCX, for Yamaha R15 / NMAX, for KTM Duke 200 / 390 |
| Note: The above models are for reference only. For specific compatibility details, please contact the seller for confirm, thanks |

Technical Specifications
Power Supply: DC12V Vehicle Battery, 2Amp
Relative Humidity: <85%
Environment Temperature: -5oC ~ + 50oC
Tank Capacity: 150ml
Cylinder Volume: 100ml
RPM: 100~9900 step 100
Time: 30~600 Seconds
Oil Pressure: 1.2~1.5bar (Fixed)
Pressure Relief: Manual

Operating Instructions
1. Button Functions:
a) -: Time adjustment / Speed adjustment.
b) +: Time adjustment / Speed adjustment.
c) MODE: Mode key, cycles through modes (Manual mode M, Automatic mode A).
d) START: Start/Stop key, short press to start when stopped, short press to stop when running.
2. Indicator Functions:
a) M: Manual mode.
b) A: Auto Mode.
3. Operation Instructions:
a) In stopped state, briefly press “MODE” to switch to M mode. Use “+/-” keys to adjust output speed (range: 100-9900 RPM). Briefly press “START” to activate operation at set speed.
b) In stopped state, briefly press “MODE” to switch to A mode. Use “+-” keys to adjust timer duration (30-600 seconds). Briefly press “START” to activate. Speed automatically adjusts within 500-6000 RPM range at +/-100 RPM increments every 0.5 seconds, stopping automatically upon countdown completion.

Paking List
① Main Unit*1
② Power Cord*1
③ Signal Cord*2
④ Base Plate*1
⑤ Lock Thread*2
⑥ Lock Nut*2
⑦ Fuel Distribution Rail*1
⑧ Glass measuring cylinder*2
⑨ Φ9-11.3 adapter wiz 0-ring*2
⑩ Φ11-12.8 adapter wiz 0-ring*2
⑪ Φ13-14.5 adapter wiz 0-ring*2
⑫ Φ10 washer*2
⑬ Φ14 washer*2
⑭ Block screw*1

|