Description:
.
THIS ITEM IS FOR ONE KEY AND SCISSOR ASSEMBLY AND NOT THE ENTIRE KEYBOARD
I have replacement keys for 12"15"17" Aluminum PowerBook G4
MacBook Pro
Backlight & Non-Backlight
Silver Keyboard
MOST KEYS ARE AVAILABLE
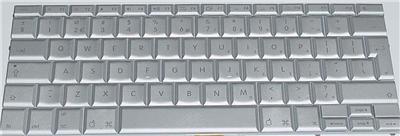
The following numbers are just a representation of what these keys will fit. I have keys for all Apple keyboards silver in color.
The keyboard part numbers are 922-6105 , 922-6106 , 922-5776 , 076-0982, 922-6968, 922-6593, 922-7183, 922-7908
Quanta Ribbon P/N: AEPW1PLF013, AEPW1PLF013, AEPW1PL^016, AEPW1PLS016, AEPWIPLG010, AEPWIPLP017, AE76MG00010, AE76ME00010, AEPW6PLG014, AEPW3PLE014, AE76MH00010, AEPW1PLE017
REMEMBER, THIS IS FOR THE KEY CAP, WHITE SCISSOR AND RUBBER SPRING. DO NOT BE FOOLED BY OTHER LOWER PRICED AUCTIONS THAT DO NOT PROVIDE EVERYTHING YOU NEED. YOUR PURCHASE WILL BE WELL PROTECTED IN A WHITE ENVELOPE AND THEN PLACED IN A PADDED ENVELOPE TO PROTECT IT FROM ANY DAMAGE. MOST KEYS ARE PULLED FROM BRAND NEW KEYBOARDS.
THE KEYS ARE SILVER

REGULAR KEY SIZE

SMALL FUNCTION

RETURN

LARGE SHIFT
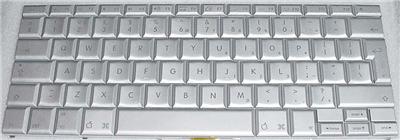
U.K. Version Keyboard
AEPW1PLE017
AE76ME00010
BELGIUM
AEPW1PL^016
AEPW1PLF013
DUTCH
AEPW1PLH016
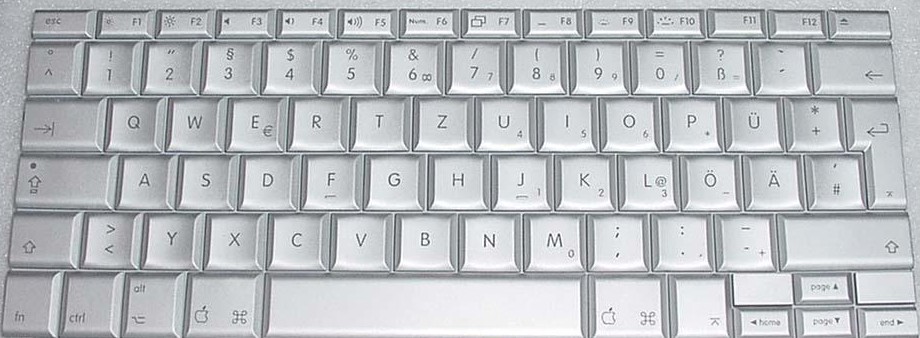
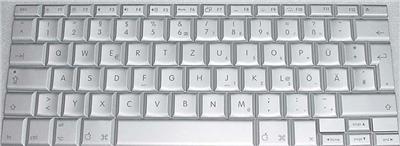
GERMAN
AEPW1PLG013
AE75MG00010
AE76MH00010
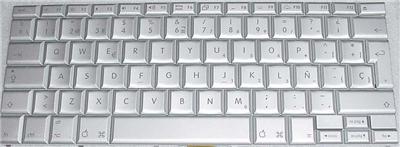
SPANISH
AEPW1PLP017
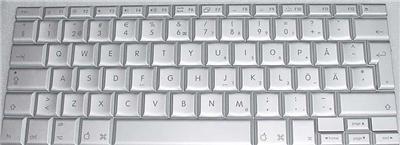
SWEDISH
AEPW1PLD011
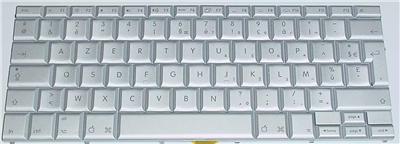
SWISS/FRENCH
AEPW1PLS016
When purchasing or emailing, please state which key and country/language it is that you require.
To be sure that you receive the correct key for your keyboard, Apple uses two different scissor types on their silver keyboards. Please tell me if there is any color green around the base of the small rubber spring that is in the middle of the white scissor. If you have any further questions, please let me know. I want to be sure that, if ordered, you receive the correct one. There is one other way to determine which scissor type is present on your keyboard. Please peek under the spacebar and see if there are two or three white scissor assemblies holding it to the keyboard.
All keys are available at the present time.
Did I say the keys are SILVER in color!!!
Once purchase is made, please email to let me know which key you are purchasing.
Why buy a hard to find replacement keyboard for some ridiculous price, when you can just replace the missing key or keys.
I will ship the complete key and scissor bracket that is needed for replacement.
Please contact me with your request prior to bidding to see if the the key you need is still available.
VIEW OTHER GREAT DEALS IN MY eBAY STORE
Below is a copy and paste I found on the internet. It is very similiar in style to the keys that are available. But the keys are SILVER, not white, not black, not grey, but SILVER. I take no credit in creating this guide.
|
As usual, I cannot be responsible for any damage to your machines when you will experiment the following tutorial.
This is from the Apple Web Site that was found by bradleydad1 a recent eBay customer :
PowerBook G4: Keycap Replacement |
|
This article explains how to replace a keycap on the keyboard of a PowerBook G4 computer.
Important: Shut down the PowerBook G4 computer before replacing a keycap.
There are four steps to putting a keycap back on the keyboard:
- Check that none of the individual parts is broken. On the keycap, all of the snaps and hooks must be present and not bent or deformed in any way. (See Figure 1.)

Figure 1 Snaps and hooks on back of keycap
- Reassemble the scissors (plunger mechanism), if they have come off the keyboard, or are not fully snapped into place.
- Reattach the stabilizer bar (found on larger keys only) to the keycap if it is not properly installed on the key. Make sure the stabilizer bar is snapped into place along the bottom inside corner/edge of the key. (See Figure 5.)

Figure 5 Stabilizer bar on back of keycap
- Align and snap the key back into place.
- For normal sized keys (roughly square) and smaller keys (function and cursor keys): orient the key to the keyboard. When the key is correctly aligned with an even gap all around (relative to the surrounding keys) press down with even, firm pressure in the middle of the key. It should snap into place and work correctly.
- For larger keys with stabilizer bars: rotate the stabilizer bar out approximately 90 degrees from the key and insert the ends of the stabilizer bar into the tabs on the metal plate. (See Figure 6.)

Figure 6 Reattaching stabilizer bars to keyboard
While keeping the ends of the stabilizer bar in the tabs, rotate the key flat and parallel to the other keys, and align the key relative to the other keys, with an even gap. Then press down with even, firm pressure in the middle of the key. It should snap into place and work correctly. |
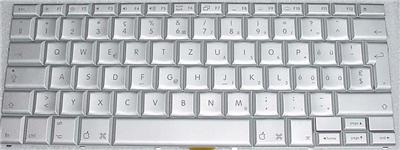
Pictures above are for display only and are not of the original sale item. The picture below is of the exact keyboard with all the keys attached.