How to Use the Paintless Dent Repair Kit
-
Clean the Surface
Wipe the dented area thoroughly with a clean, damp cloth to remove dirt and debris. -
Prepare the Glue Gun
Insert a glue stick into the glue gun, plug it in, and allow it to heat up for approximately 5 minutes. -
Choose the Correct Glue Tab
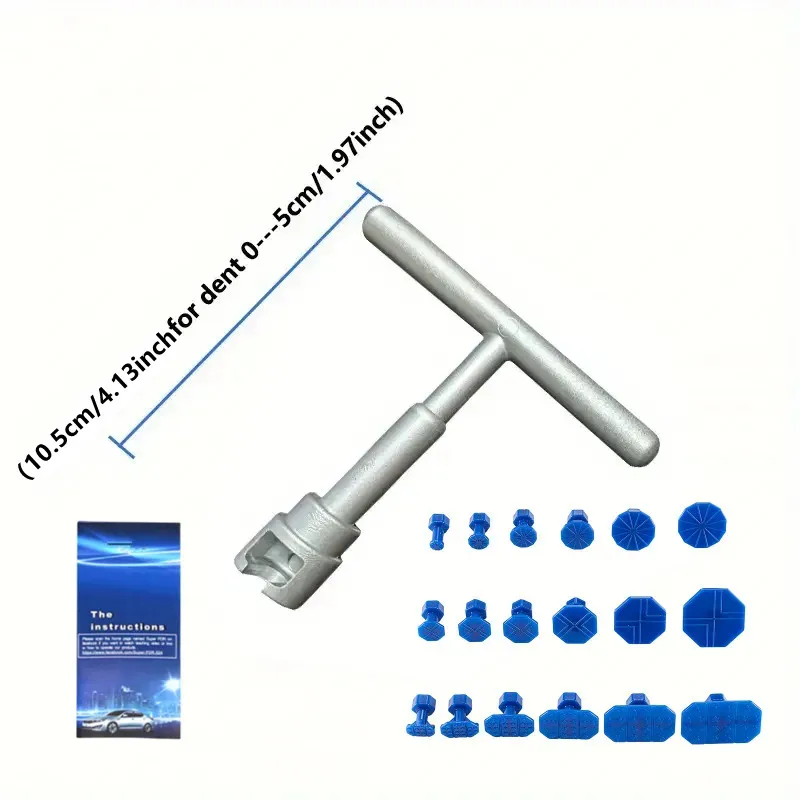
Select a glue tab that matches the size of the dent. Larger dents require larger tabs for better pulling force. -
Apply Hot Glue
Squeeze hot glue onto the glue tab, ensuring all four holes are evenly covered. -
Attach the Glue Tab
Place the glue tab in the center of the dent and press gently. Let the glue cool and bond for about 8 minutes (slightly less in colder weather). Do not exceed 10 minutes. -
Pull Out the Dent
Connect the T-bar dent puller to the glue tab and slowly pull the sliding handle backward until the dent is lifted. -
Inspect the Repair
Use a line board or reflection board to check the surface. If any imperfections remain, gently tap the area with a flattening hammer or knockdown pen. -
Clean the Area
Remove any remaining glue and wipe the repaired surface with a clean, damp cloth for a smooth finish.
Note: For best results, repeat the process if necessary until the dent is fully restored.