HOT LISTING


Headlight:
A headlight (headlamp) is a lamp attached to the front of a vehicle to light the road ahead. Headlight performance has steadily improved throughout the automobile age, spurred by the great disparity between daytime and nighttime traffic fatalities. Headlights are one of the most important components of your vehicle; they allow you to see the road in front of you clearly during the night and in any bad weather that may arise. Our headlights upgrade the face of your vehicle with clear style and extreme range.
Feature:
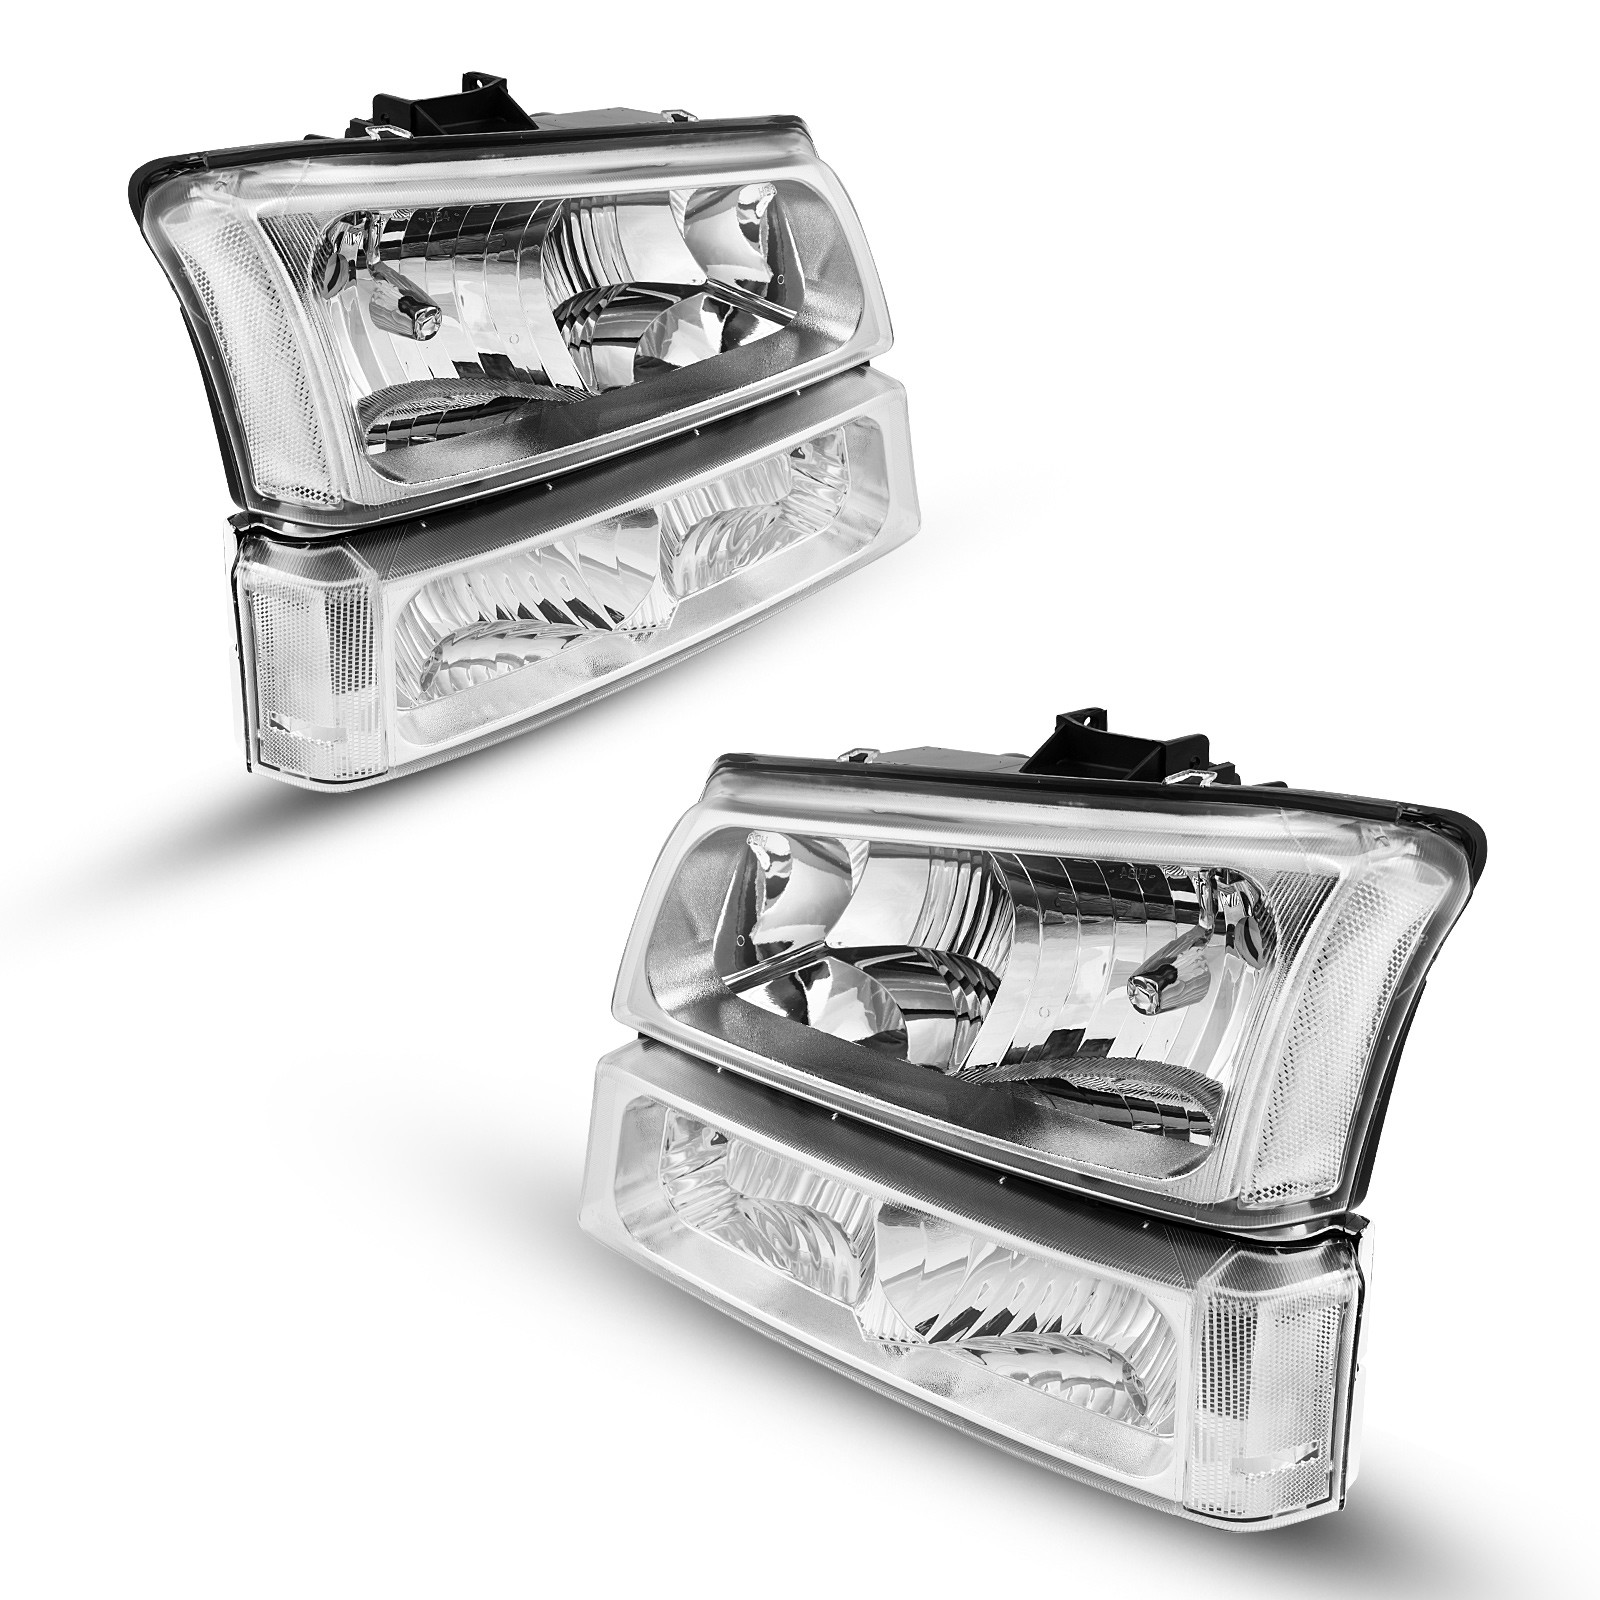
【Fitment】Compatible with 2007 chevy silverado headlights 1500 (2007-2014) Silverado 2500HD, Silverado 3500HD (GMT901, GMT911). Package Comes in a Pair; Bulb Type: High/Low Beam: HB3 /H11 (NOT included).
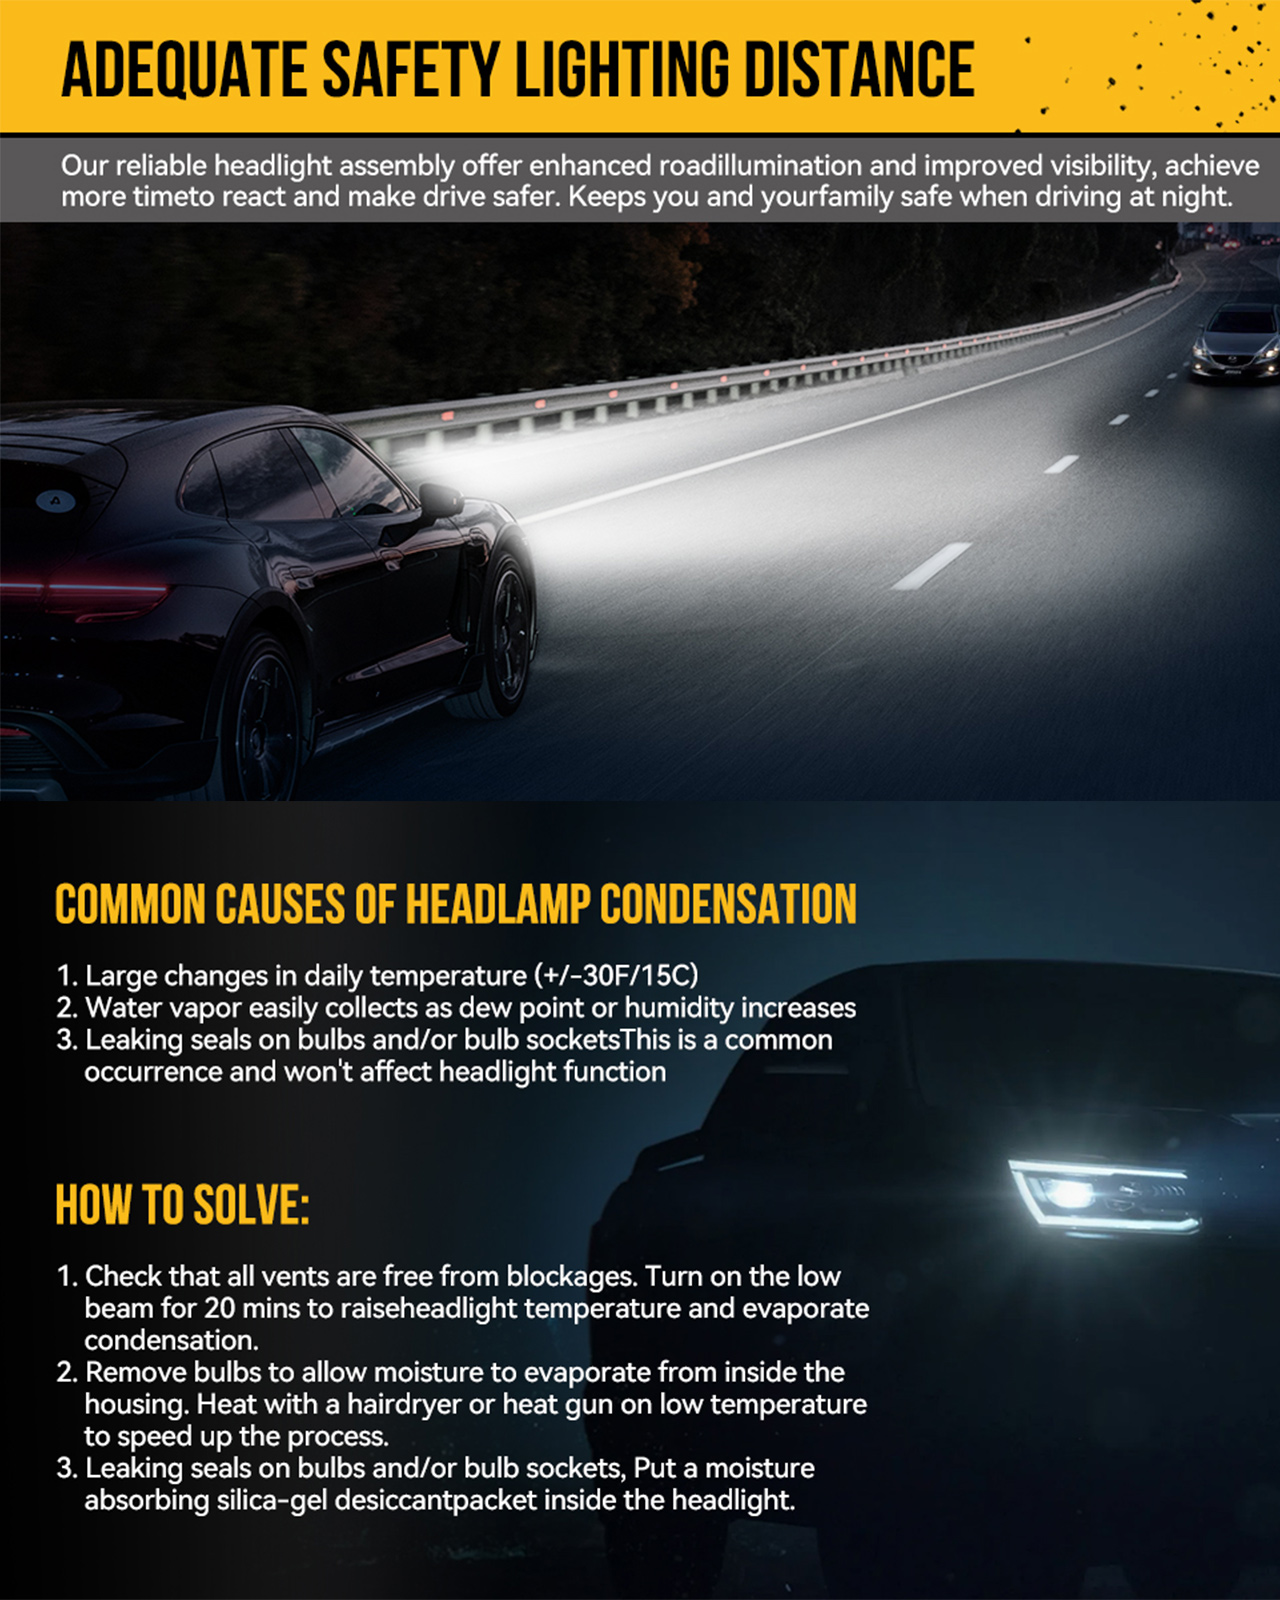
【Improved Beam Pattern】Ultra-clear lens and reflector improve the beam pattern to present a decent cut-off line without affecting the driving of the oncoming car, ensuring your safety.
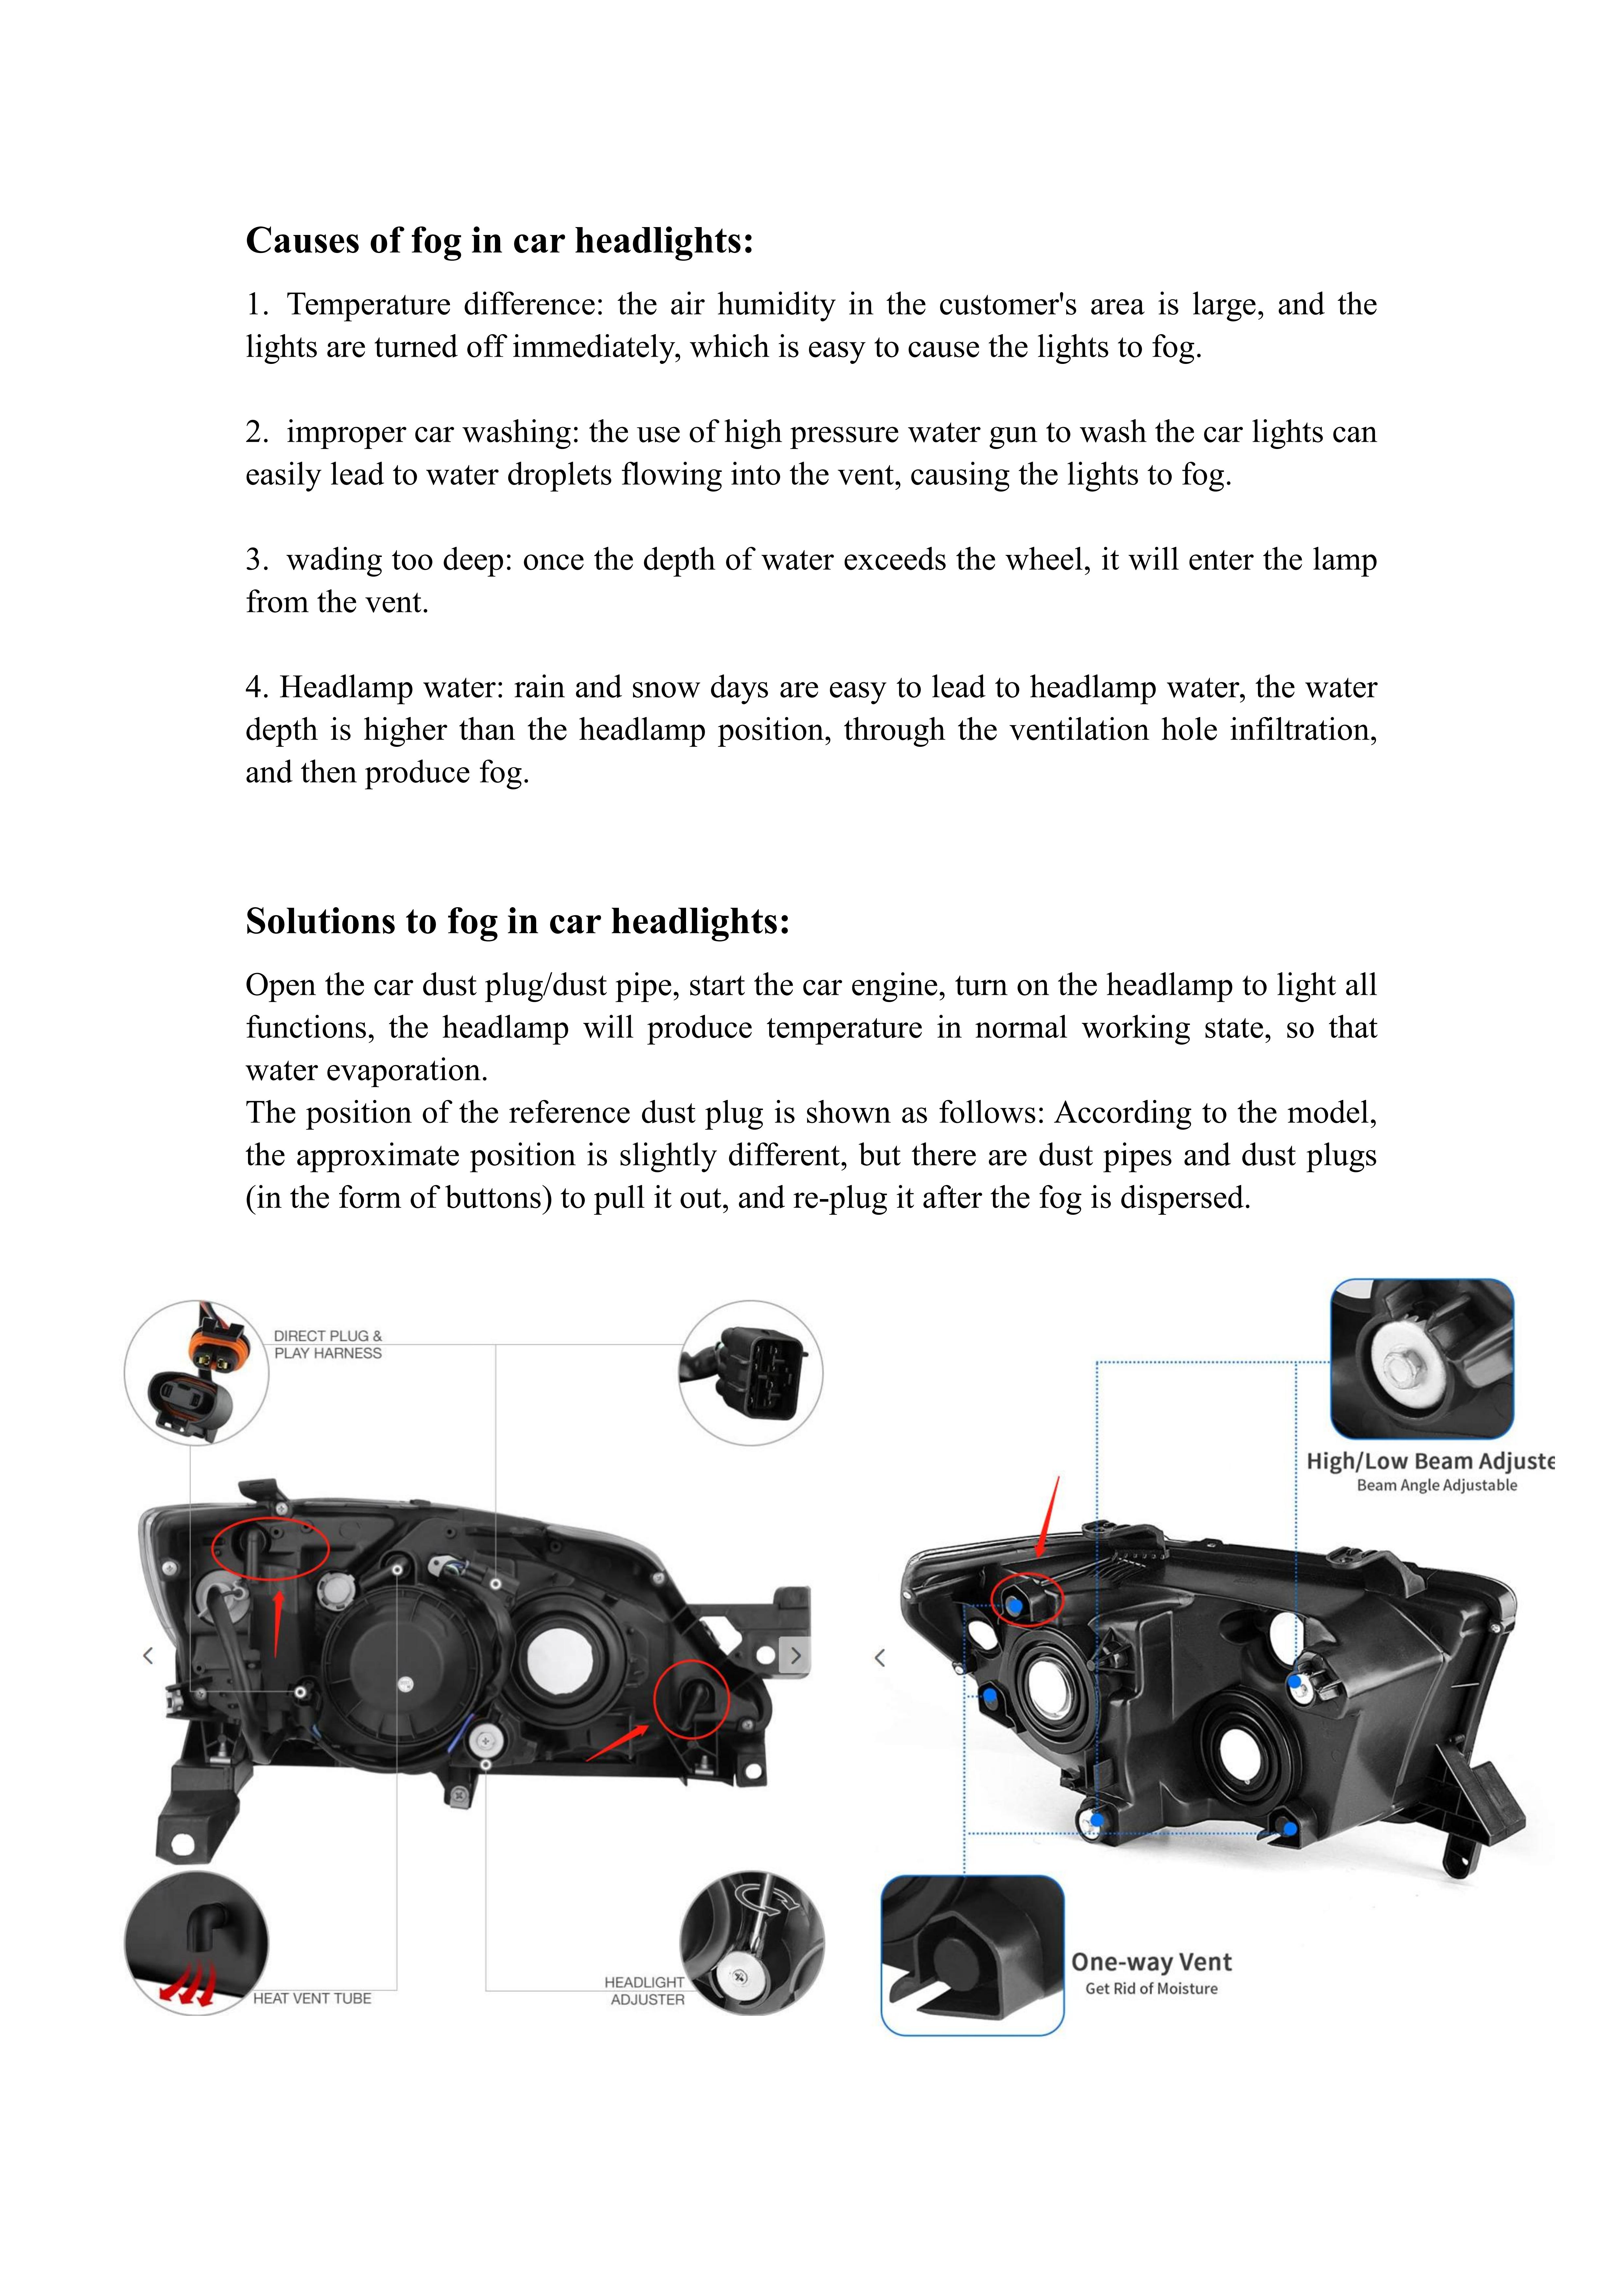
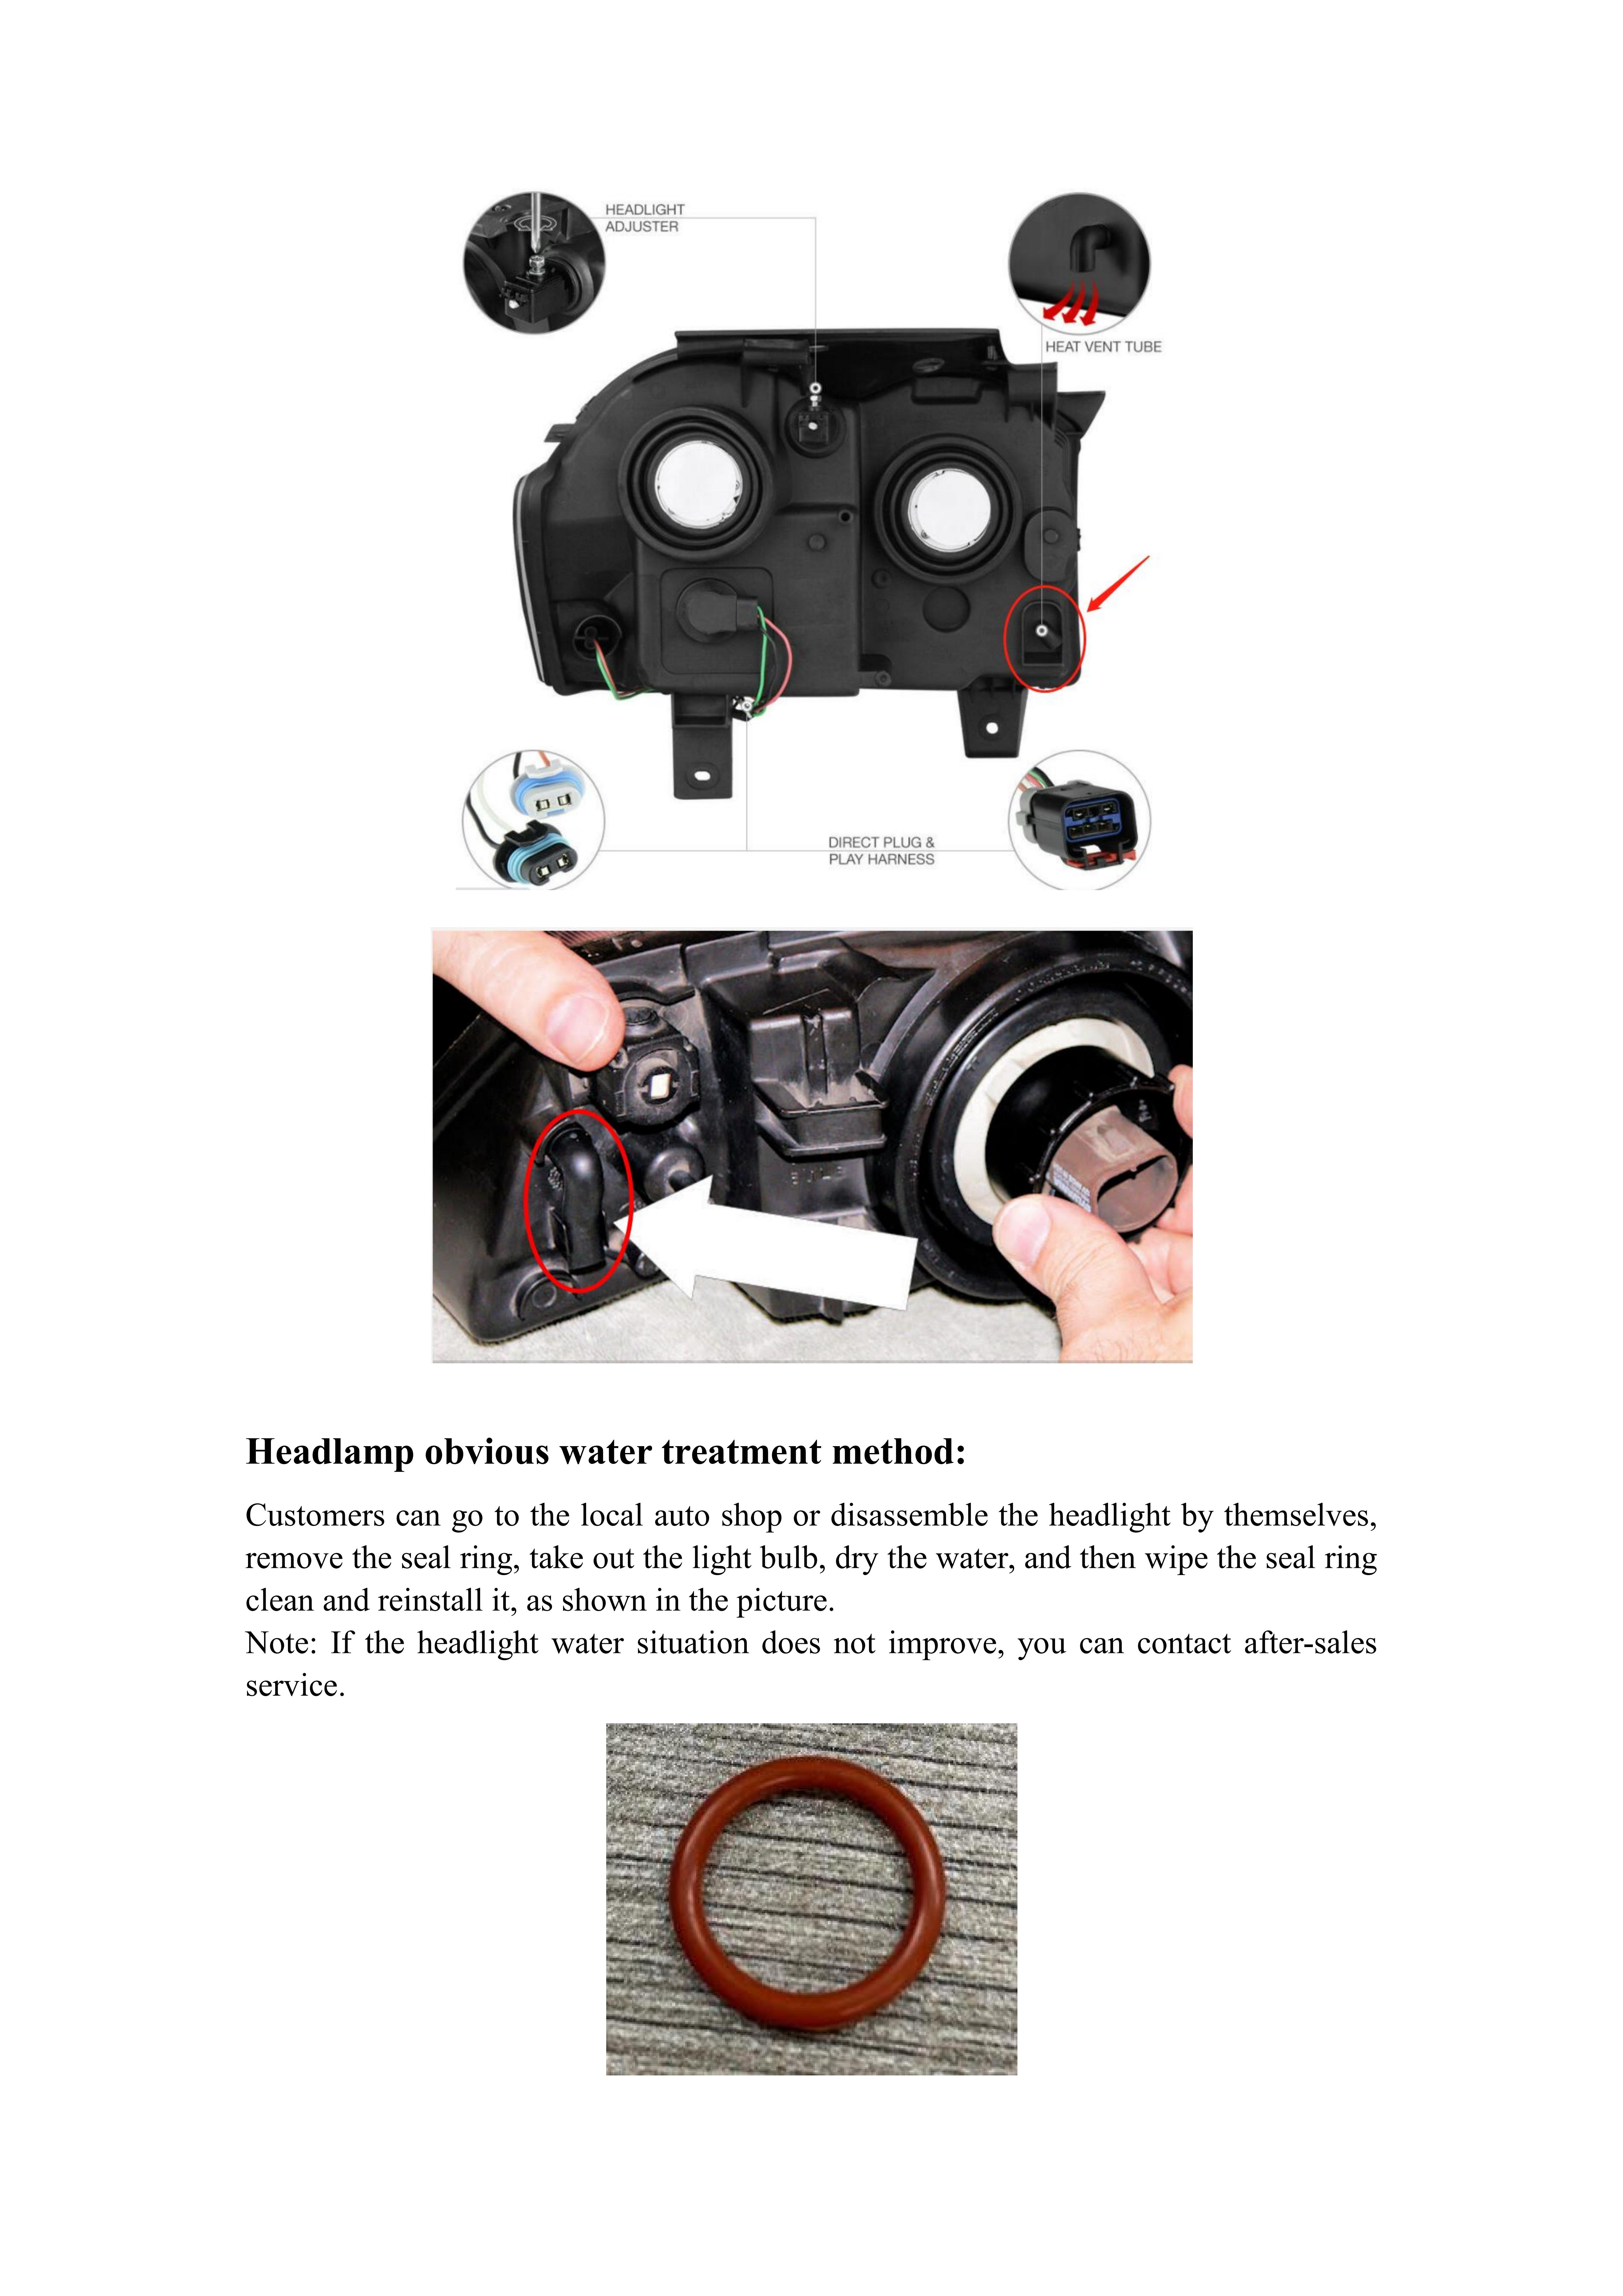
【 IP65-Rated Water-Resistant】KAC full sealed headlamp assembly is made of durable OEM grade ABS plastic with up to 50000 Hr's lifespan and IP65-rated water-resistant to ensure incredible weather-resistance and impact resistance, say goodbye to fogging problems.
【Easy to Install】The bolt-on style Silverado clear Housing headlights are almost the same as factory parts. Direct OEM replacement, just plug n play within 20 minutes without any modification or drilling.
【Cool Appearance】KAC headlights' stylish design makes your vehicle look unique on the road, cool and new!
Compatible with:
- 2007-2013 Chevy Silverado 1500
- 2007-2014 Chevy Silverado 2500HD/3500HD
- (For 2500HD/3500HD, Fit 2007 New Body Style & 2014 Old Body Style Models Only)
Include:
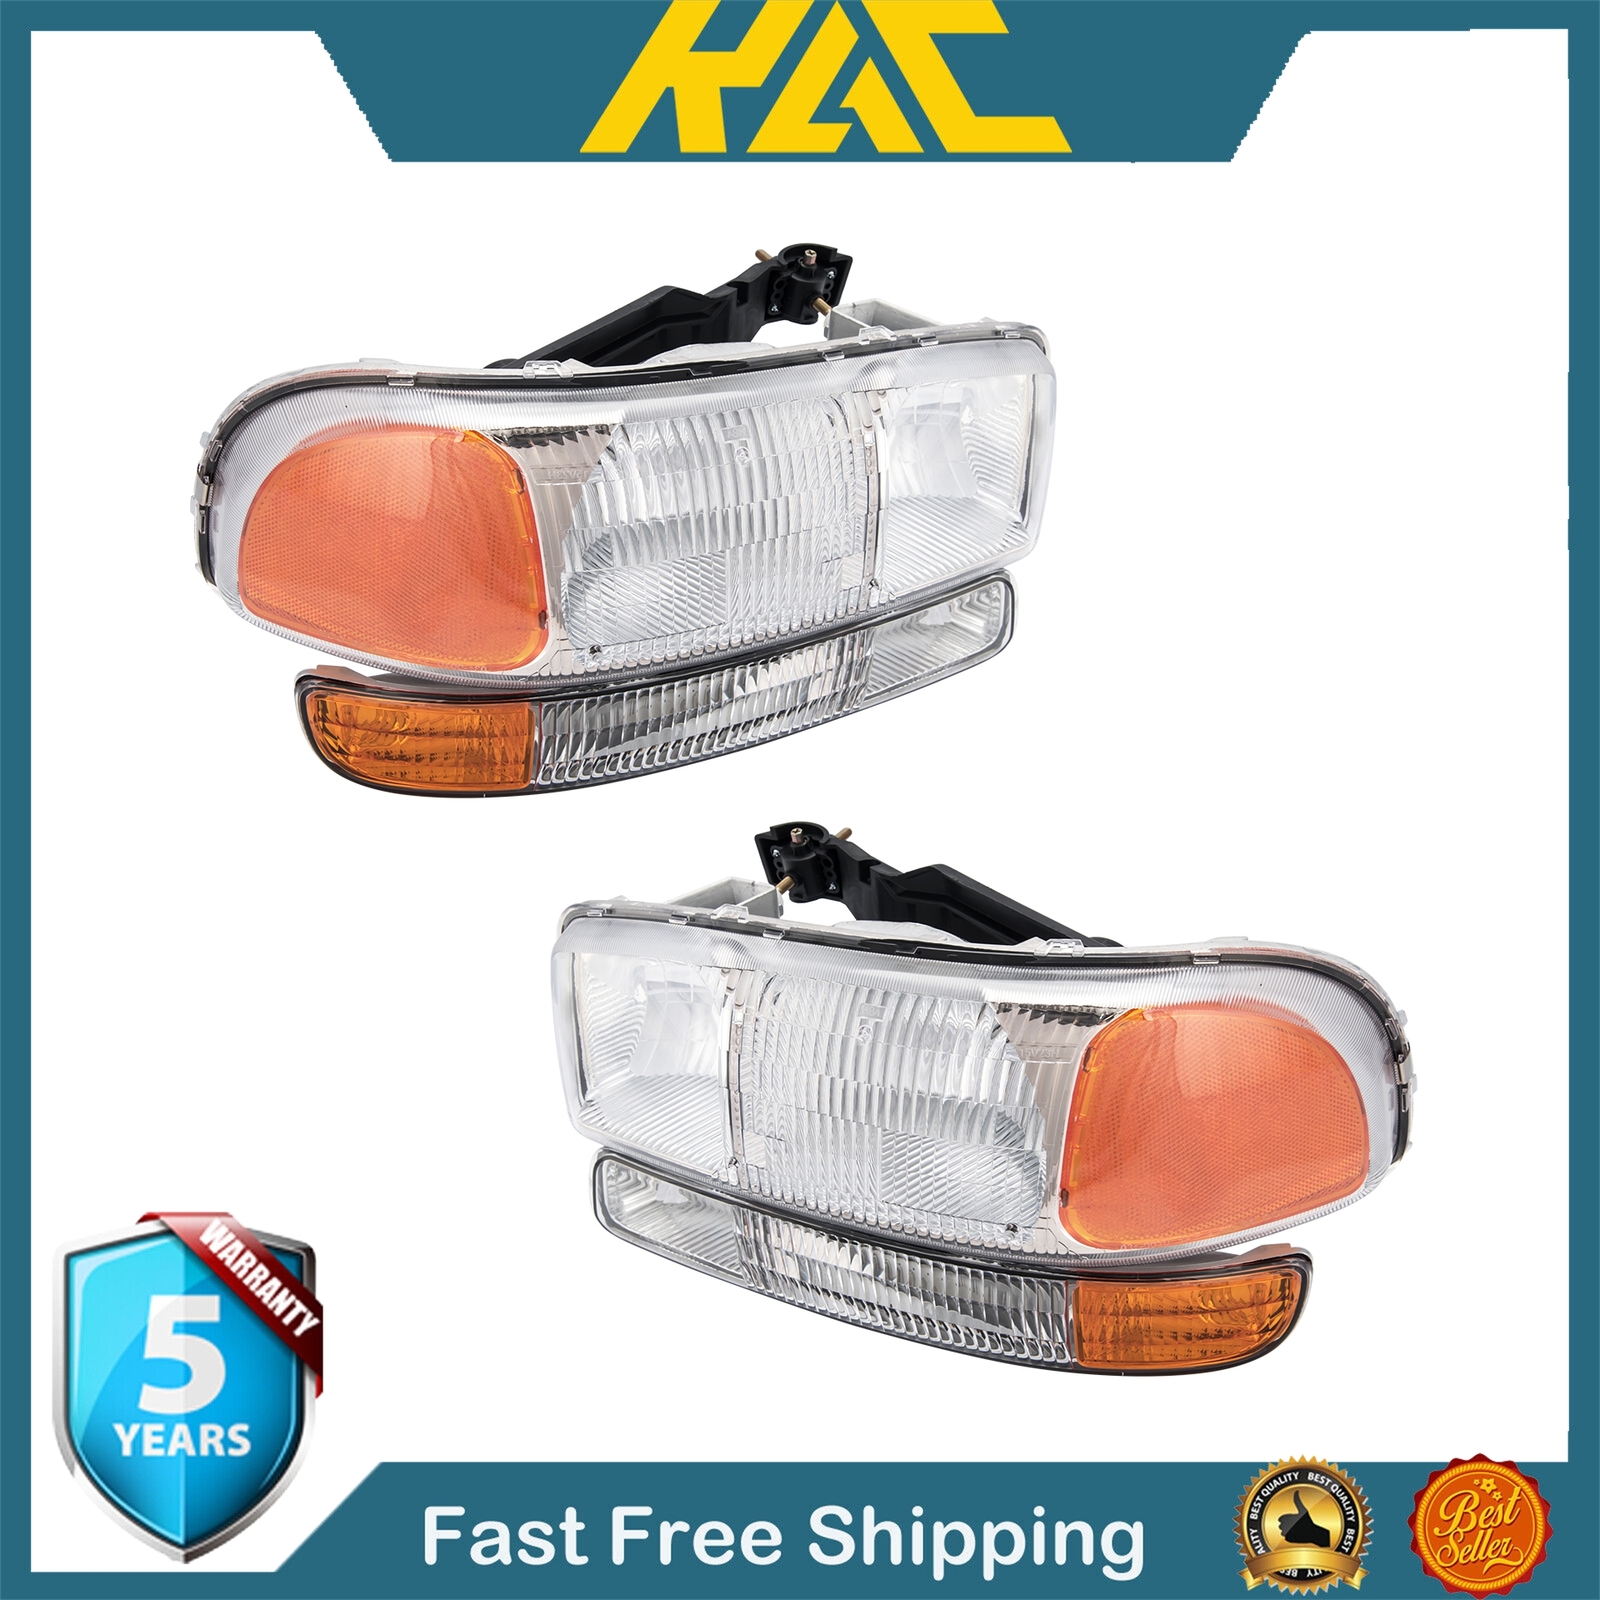
- 1 X Pair of Headlights (Left & Right)
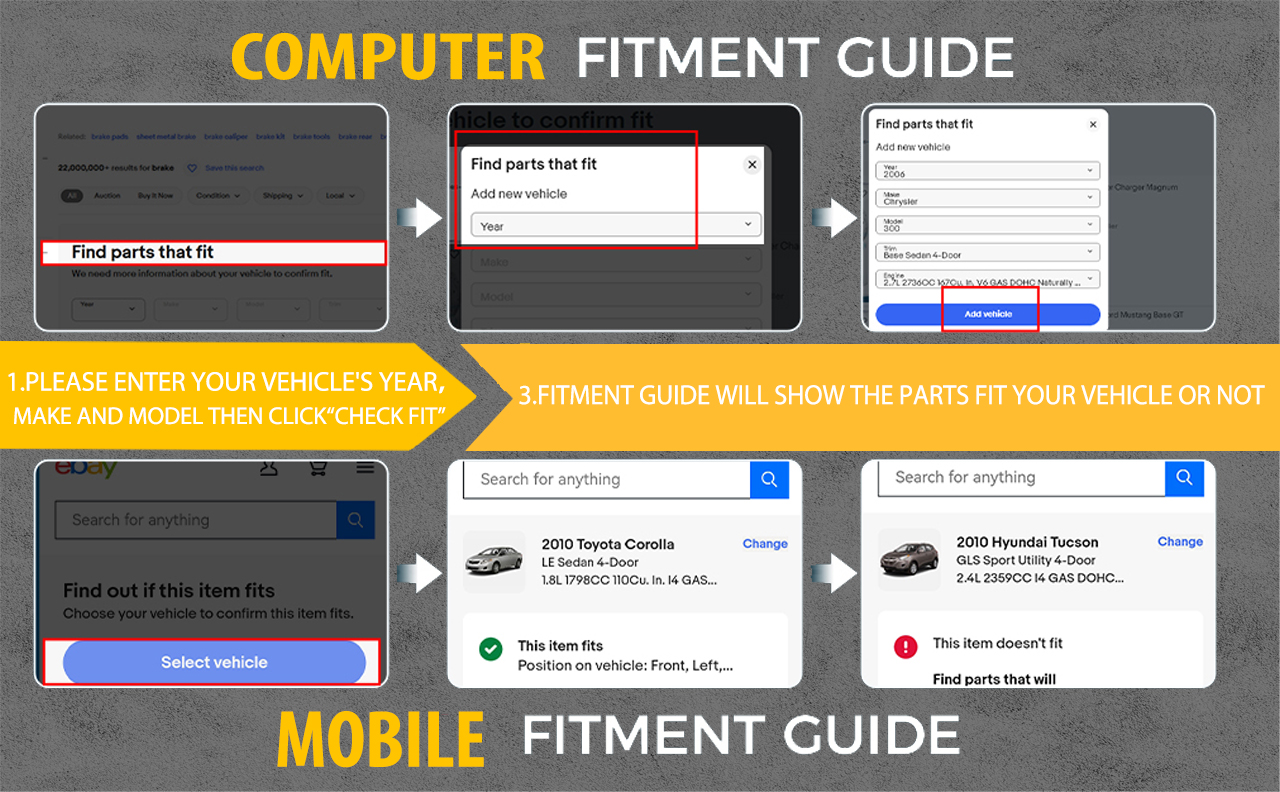
TIPS:
①.Installation Guide:
1.Undo the screws, clips, or retainer springs that hold the headlight in place.
2.Disconnect the wiring from the assembly.
3.Detach the headlight from the vehicle to replace it with a new one.
4.Fit in the new headlight assembly.
5.Fix the new headlight into place and make sure that the screws, clips, or retainer springs used are sealed.
6.Reconnect the wiring that was unplugged from the assembly.
7.Put back the grille and other components that you removed. Seal them back into place.
8.Test the new assembly.
②.Adjustment Guide:
Before you begin to adjust the light, make sure check the alignment of your lights first. Park the vehicle about 10 to 25 feet from the wall with the lights aimed at the wall. The centerlines of the headlights should not be any higher than 3.5 feet above the ground.
1.Find the adjustment screws.
Firstly, locate the adjustment screws on your vehicle.
2.Adjust the headlight individually.
Adjust the headlights individually. The headlights should be adjusted one at a time. Put a rag or towel over a chair in front of the light you want to block. Covering the light assembly directly can damage the plastic lens.
3.Adjust the vertical field.
The screw on the top of the light housing should be turned clockwise to raise the lights and counterclockwise will lower the light. The headlight should be adjusted until the top of the most intense part of the light beam shines directly on or just below the center of the tape line on the wall.
4.Test your results.

NEW LISTING


On Feb 19, 2026 at 20:12:35 PST, seller added the following information: