
BULK DISCOUNTS AVAILABLE - FAST NATIONAL DELIVERY
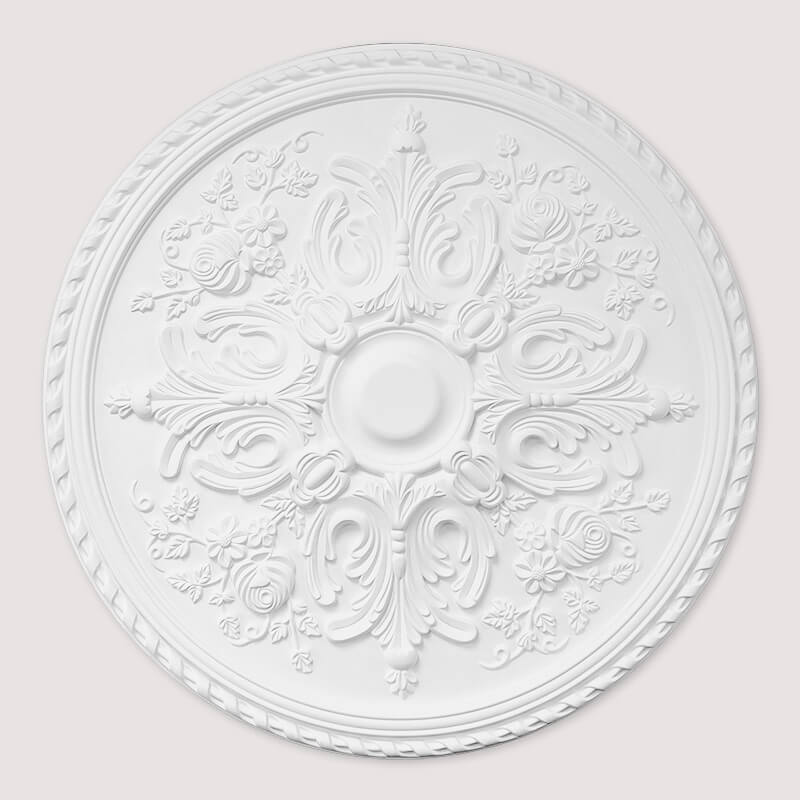
Lightweight Polyurethane Ornate Decorative Ceiling Rose - Regal Rose Bud 82cm
820mm x 50mm
Regal Rose Bud is a large sized modern concentric circles ceiling rose from Topline Coving.
Introducing the Regal Rose Bud Ceiling Rose, a majestic addition to our collection that brings the warmth and charm of a summer garden into your home. With an impressive diameter of 82 cm and a height of 5 cm, this ceiling rose captures the essence of roses in full bloom through its detailed, traditional design. Its grand scale not only commands attention but also makes it a perfect choice for enhancing the decor of older, traditional properties with a bold and impressive statement.
Crafted from high-quality polyurethane, the Regal Rose Bud combines the intricate beauty of floral motifs with the durability and practicality of modern materials. Lightweight yet sturdy, it is easy to install and designed to withstand the test of time, resisting moisture and mold to maintain its gorgeous appearance.
The ornate design of the Regal Rose Bud features layers of rose petals and floral elements, creating a lush, three-dimensional look that adds depth and texture to any ceiling. This design enhances the light dynamics within the room, casting subtle shadows that change throughout the day, evoking the feeling of a living, breathing garden.
Ideal for grand entryways, formal dining rooms, or large living spaces, this ceiling rose makes an exquisite focal point that complements the architectural features of classical homes. It's also an excellent choice for heritage properties or any space where a touch of elegance and the grandeur of bygone eras is desired.
Perfect for anyone looking to add a touch of elegance and architectural detail to their property, the Concentric Ceiling Rose - Doppler Circolare is a timeless addition that brings classic aesthetics and contemporary style together.
The smooth finish of the Regal Rose Bud allows for easy painting, enabling customisation to fit your specific design palette, whether you're aiming to match your existing decor or create a standout feature in your renovation project.
This ceiling rose comes pre-painted matt white but can be overpainted or sprayed any colour if required with virtually all water or oil-based paints.
Other Ceiling Rose Options.
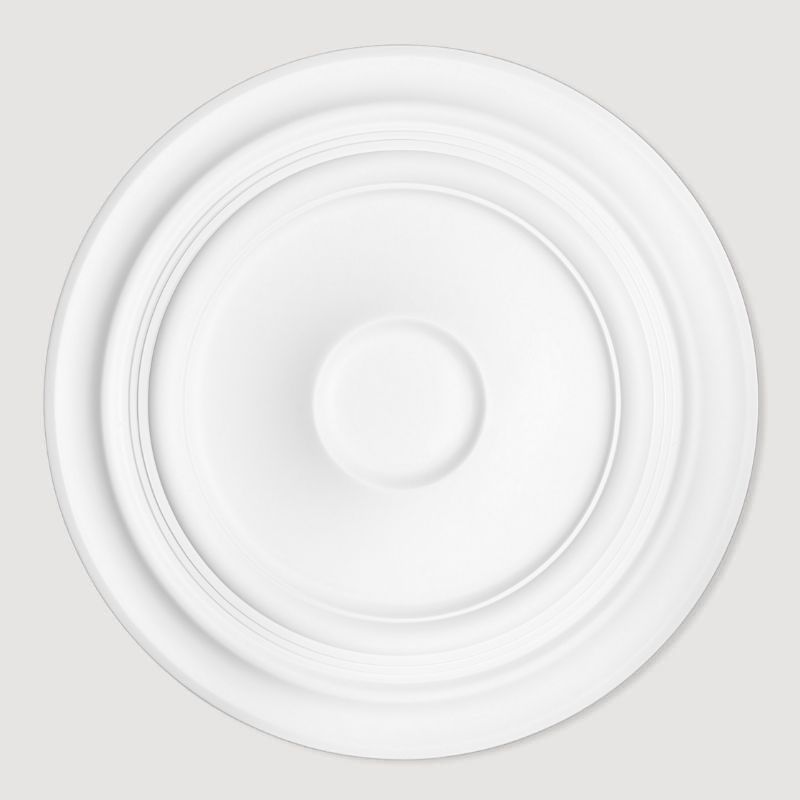
Ceiling Rose Mensa

Ceiling Rose Cunicolo
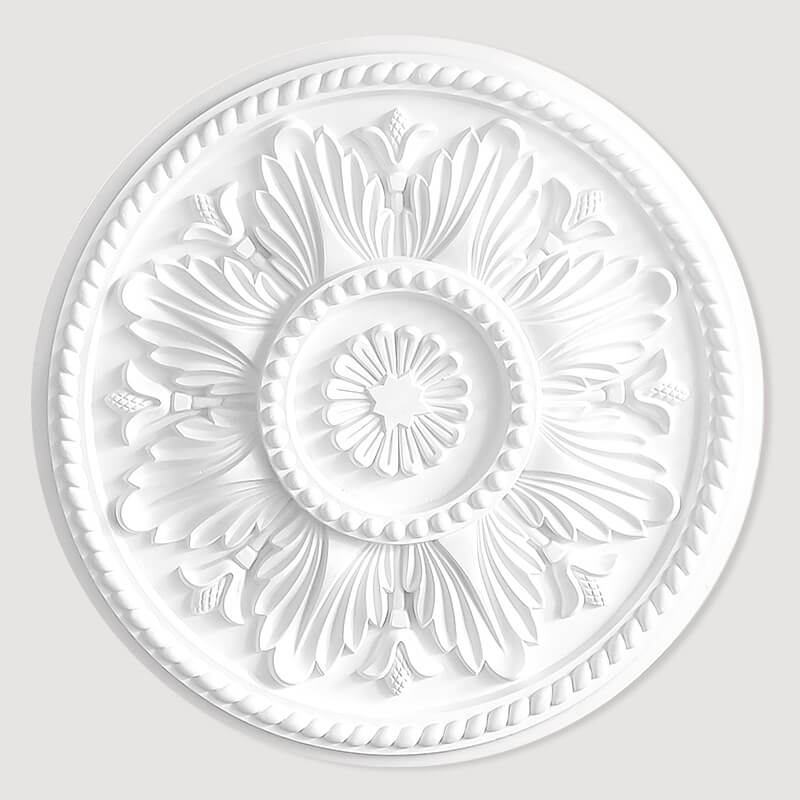
Ceiling Rose Fiore

Ceiling Rose Braccia Floreali
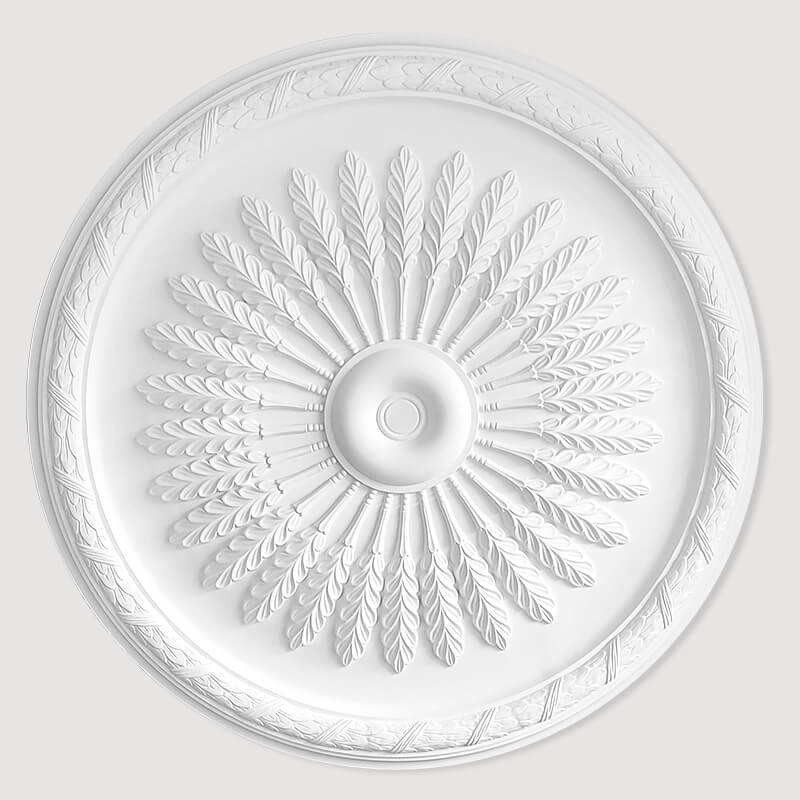
Ceiling Rose Frecce Piumate
Preparation & cleaning
Storage and installation conditions: Store profiles, roses and adhesives at room temperature and wait 24 hours before installing.
Ensure the area is clean and dry. Start by sanding the surface down to ensure a flat surface. Hover and wipe down the area with a damp cloth taking care to remove any dust and / or grease. Allow the area to dry out completely before proceeding with the next steps.
Adhesives & Fixing
Interior Surface
Ensure all surfaces are sound and in good order. You will need a suitable coving adhesive and or panel pins / thin nails depending upon the size of the rose being installed...
Exterior Surface
Ensure all surfaces are sound and in good order. Make sure to use a suitable exterior coving adhesive that is waterproof and frost resistant. A suitable galvanised or stainless steel panel pins or nails may also be necessary depending on the size of the rose being installed.
Note: The rose must not be left for prolonged periods in direct sunlight without two coats of suitable exterior paint first being applied.
Coving Adhesive & Joint Filler
Must Be - High Strength, Quick Grab, Dries White, Overpaintable
Make sure to use a suitable coving adhesive. It should have a high grab strength, preferably be solvent-free and also be an adhesive and filler formula in one. This type of adhesive has a quick grab action that is ideal for fixing co-polymer polyurethane and plaster coving. Preferably it will dry white and must be able to be painted over once dry.
3

Skip this step if the ceiling rose is only decorative and will not be used with lighting or already has a central hole.
1: Find the centre of the ceiling rose and drill a hole straight through. Ensure the drilled hole is straight and wide enough for the cables or light support. Remember to allow additional cable length for the height of the ceiling rose when pulling through or cutting cables.


3A
⌀ < 65cm
Ceiling roses under 65cm in diameter use the coving adhesive to glue the ceiling rose into position, (nailing is optional under 65cm see fitting 3B below).
A: Liberally apply a suitable unbroken line of coving adhesive around the entire circumference of the ceiling rose and further dabs around the middle.
B: Firmly press the ceiling rose to the surface of the ceiling with a slight twisting back and forth motion to ensure maximum adhesive coverage. Make sure you hold the ceiling rose firmly in place long enough to create a secure bond. If needed prop ceiling rose in place for 24h to allow adhesive to fully cure and set.
C: Once the ceiling rose is set and adhesive is dry, fill any gaps around the edge between the ceiling and ceiling rose and/or repair any small holes left after fitting with additional coving adhesive decorators caulk or for larger hole or damage use a suitable decorators filler.


3B
⌀ > 65cm
For ceiling roses, over 65cm in diameter coving and nailing is recommended.
A: Liberally apply a suitable unbroken line of coving adhesive around the entire circumference of the ceiling rose and further dabs around the middle.
B: Firmly press the ceiling rose to the surface of the ceiling with a slight twisting back and forth motion to ensure maximum adhesive coverage. Once in place use a suitable length panel pin or thin nail, every 25cm around the perimeter of the ceiling rose. Try to only nail through a flat section of the rose at least 25mm in from the outer edge. If possible try to install nails at a slight angle, ie 80 degrees for better hold and make sure to punch the nail head at least 2mm below the surface to allow easy filling of nail hole later.
C: Once the ceiling rose is set and adhesive is dry, fill any gaps around the edge between the ceiling and ceiling rose and all nailhead holes left after fitting with additional coving adhesive, decorators caulk or for larger hole or damage use a suitable decorators filler.


4
The ceiling rose is not ready to be painted.
Virtually any water or oil-based paints are suitable for use with topline coving products. It is however always advisable to test a small area before overpainting.
For further instructions or information on any topline coving products please visit:
OPENING HOURS
Monday - Friday 8am to 5pm
Weekend Closed
CONTACT US BELOW
HOW CAN WE HELP?
Terms & Conditions
All orders of 6 boxes or more, depending on the exact delivery address. Might need to be Palletised. If ordering 6 boxes or more, we will need to contact you to confirm your address is suitable for a palletised delivery service. Please feel free to contact us if you have are any questions or would like to discuss or confirm your delivery details and preferred date. Please also note we are not able to guarantee a two working day delivery service until we can confirm your address is suitable for large vehicle access.
© UK Suspended Ceilings. All rights reserved. Registered in England & Wales No: 5466356. - VAT No: 861161442