


If there have any problem with the product, just feel free to
contact us, we will solve it for you, won't make you any
loss, it is our responsibility, thank you!
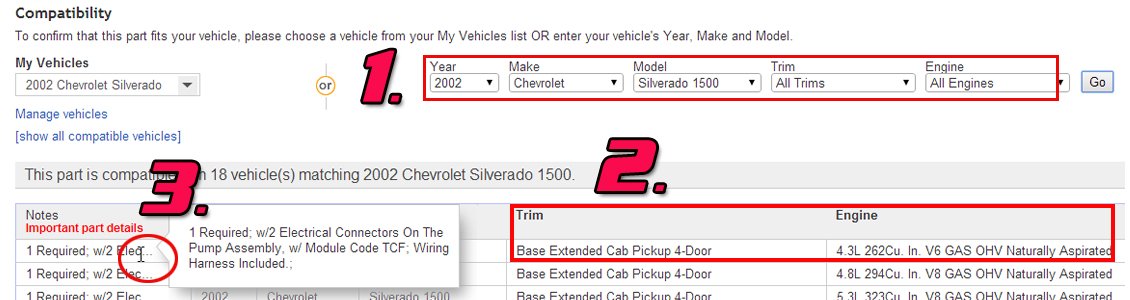
Before buying, please check the fitment notes and description carefully for accurate information.
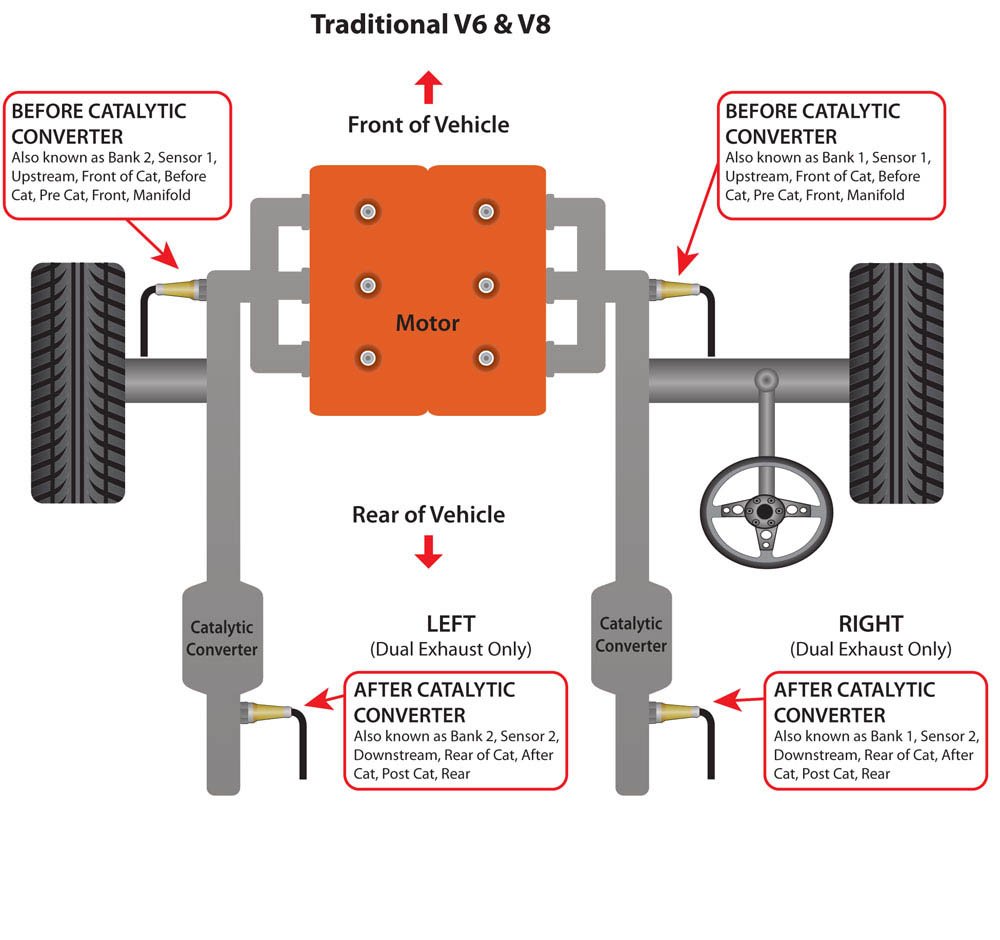
Oxygen Sensor's Location:
- 234-5138, 234-5139
- Built to strict quality control standards
- Direct Plug-In Replacement
- 100% factory tested
- 1 year Warranty
- 5 wire configuration
- Brand new Oxygen sensor
- Tested before shipment
-
For BMW 323I 2.5L L6 2008 2009 2010 2011
-
For BMW 128I 3.0L L6 2008 2009 2010 2011 2012 2013
-
For BMW 328I 3.0L L6 2007 2008 2009 2010 2011 2012 2013
-
For BMW 328I 3.0L L6 Turbocharged 2012 2013
-
For BMW 328XI 3.0L L6 2007 2008
-
For BMW 528I 3.0L L6 2008 2009 2010
-
For BMW 528XI 3.0L L6 2008
-
For BMW X3 3.0L L6 2007 2008 2009 2010
-
For BMW X5 3.0L L6 2007 2008 2009 2010
-
For BMW Z4 3.0L L6 2006 2007 2008 2009 2010 2011 2015 2016
-
For BMW Z4 3.0L L6 Turbocharged 2011 2012 2013 2014 2015 2016
-
For BMW 1 SERIES M 3.0L L6 Turbocharged 2011
-
For BMW 135I 3.0L L6 Turbocharged 2008 2009 2010
-
For BMW 335I 3.0L L6 Turbocharged 2007 2008 2009 2010
-
For BMW 335IS 3.0L L6 Turbocharged 2011 2012 2013
-
For BMW 335XI 3.0L L6 Turbocharged 2007 2008
- 2pcs oxygen sensor
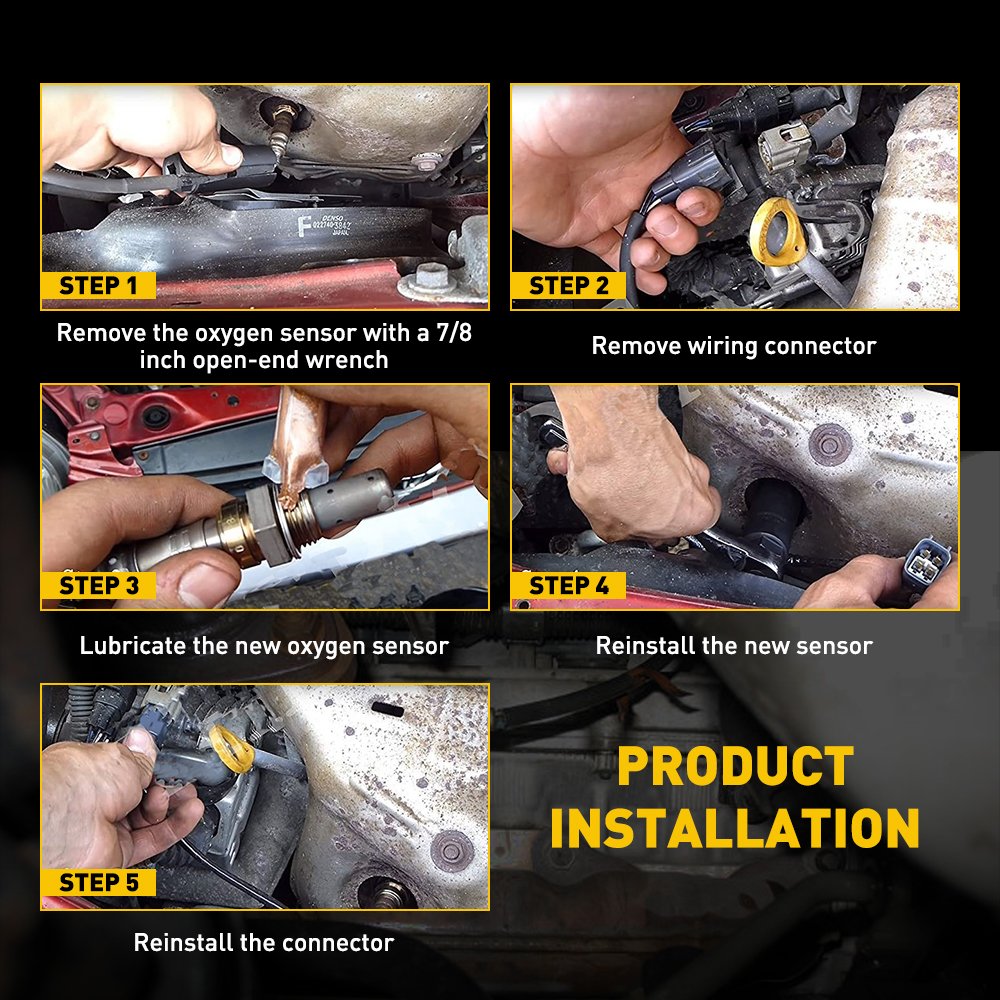
How to install the oxygen sensor?
Step 1 - Some sensors are equipped with a heat shield that must be removed before the sensor removal, this is performed by removing any mounting bolts.
Step 2 - By using a regular socket it minimizes potential damage to the sensor body and the threads, this technique helps avoid stripping the old sensor upon removal.
Step 3 - Then, locate and disconnect the wiring connector, this step should be done before removing the sensor if the wiring is still attached.
Step 4 - Its important that the wiring harness connectors are exactly the same, each sensor is unique to it's position and is located in the system by its connector configuration. (Note: some replacement sensors have a universal electrical connector that must be configured to the wiring of the old sensor.)
Step 5 - Use a small wire brush to help clean the threaded port to ensure a proper seal of the new sensor. Gently install the new oxygen sensor by hand while keeping the wiring and connector free from bends.
Step 6 - Gently tighten the sensor while keeping wiring free from damage, these sensors need to be fairly snug to avoid leakage.
Step 7 - Once the sensor is tightened, reinstall any heat shields or bracing that had to be removed.
Step 8 - After the heat shield has been reinstalled, mount the connector to it's holder and reattach the connector back onto the wiring harness. If the car has diagnostic trouble codes, they will need to be cleared.
The only way to know if the O2 sensor is functioning normally is to check its responsiveness to changes in the air/fuel mixture, by Voltage Measurement or Waveform Simulation.
Use a multimeter to contact the different color Wires. (Use back probe method, DO NOT pierce the wire.) For a good sensor, voltage should fluctuate constantly between 0.1 and 0.9 volts after starting the engine for 2 or 3 minutes.