





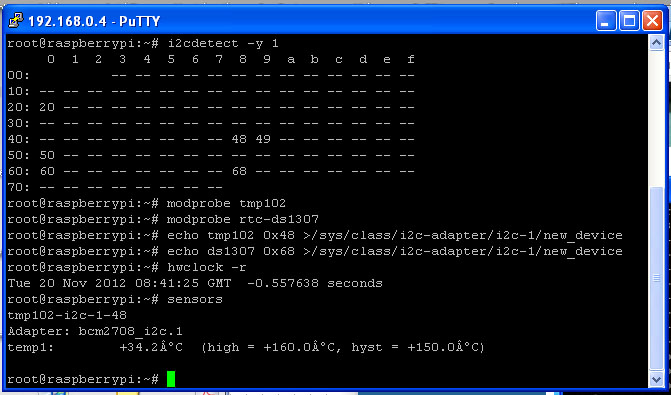
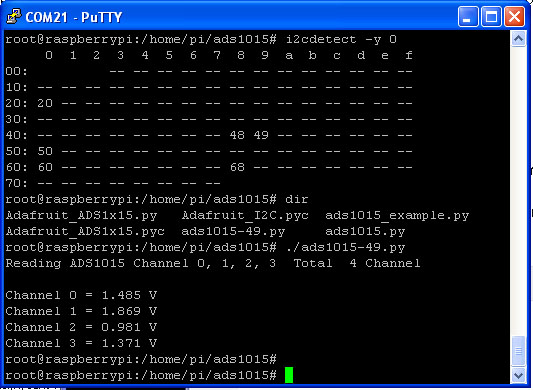
20 -> MCP23008 48 -> TMP102 50 -> 24c32 68 -> RTC DS1307
60 -> MCP4725 49 -> ADS1015
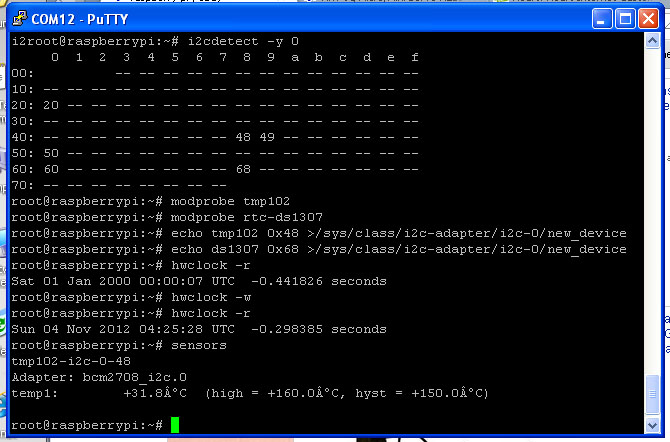
20 -> MCP23008 48 -> TMP102 50 -> 24c32 68 -> RTC DS1307
60 -> MCP4725 49 -> ADS1015

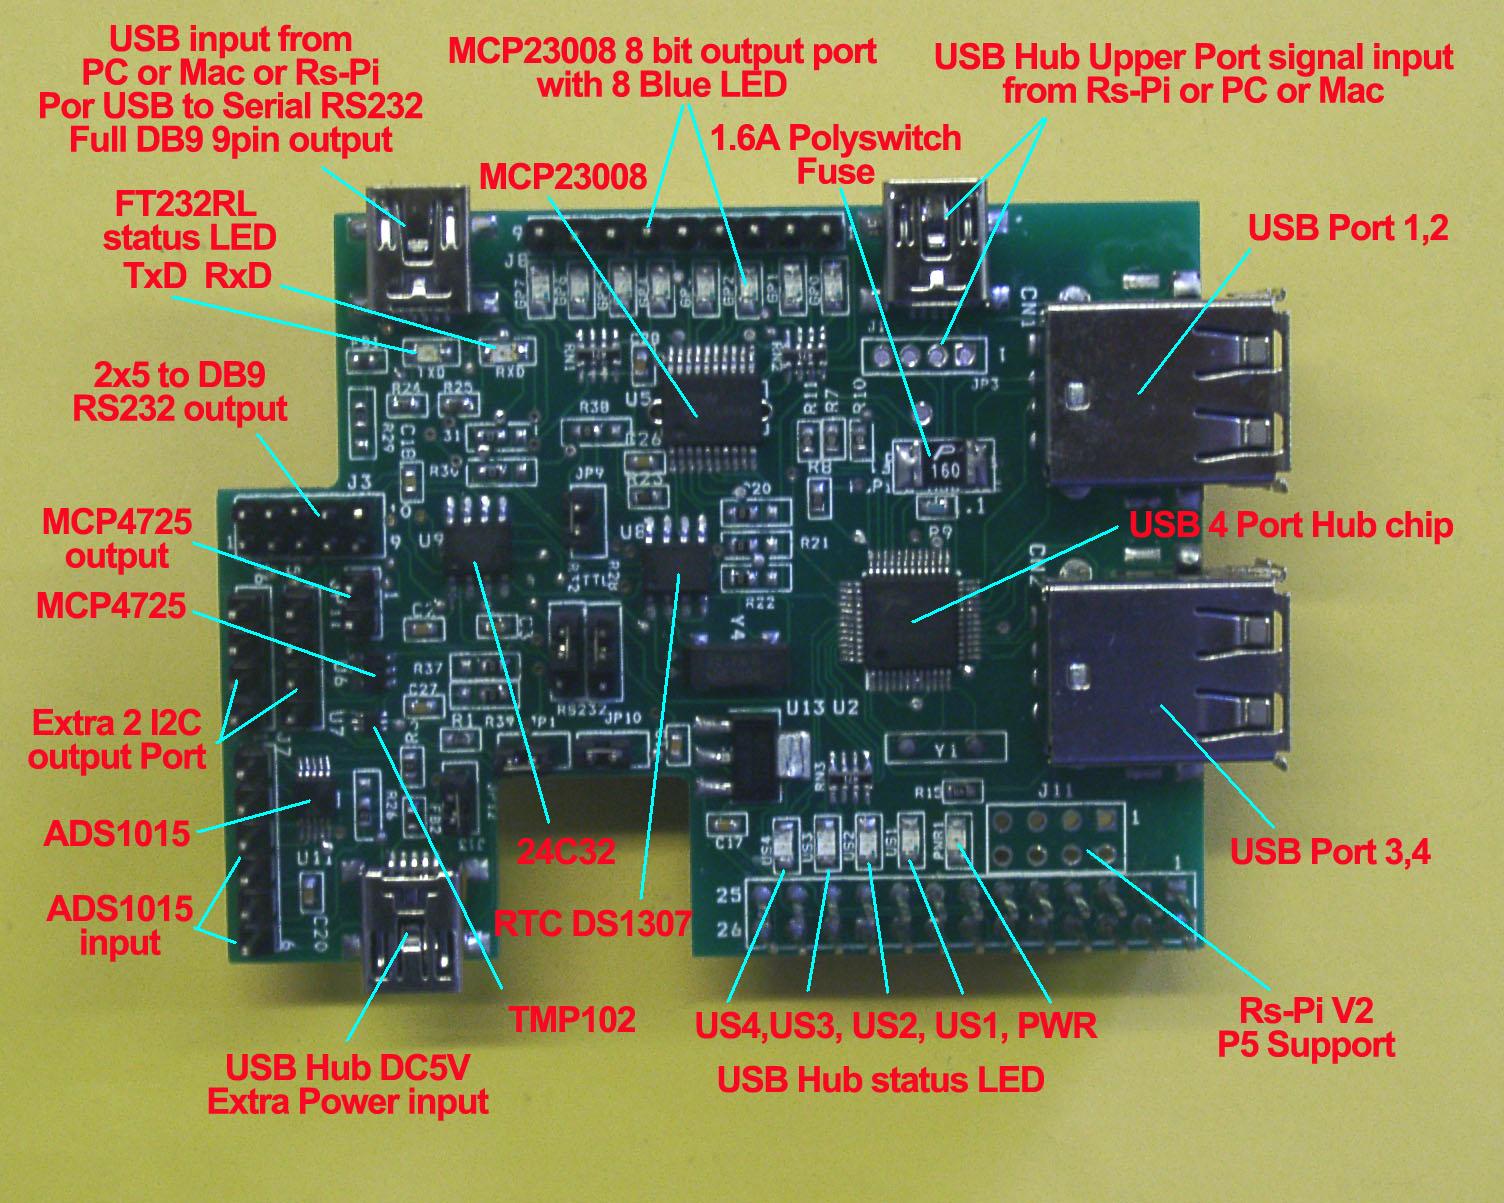
3. U7 TMP102 Temperature Sensor
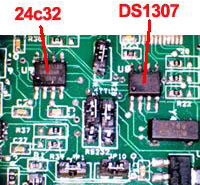
4. U9 24C32 32Kbit EEPROM
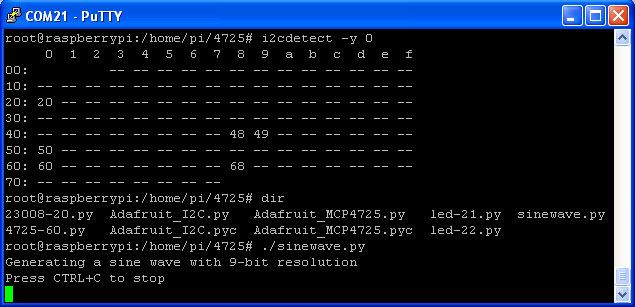
5. U6 MCP4725 12bit Digital-to-Analog Converter
JP11 (AOUT, GND) JP1 Disable Jumper
6. U11 ADS1015 12bit Analog-to-Digital Converter ,
J7 INPUT (AIN0, AIN1,AIN2,AIN3,GND,3V3) JP12 Disable Jumper
7, J5 (5V, GND,SCL,SDL) J6(3v3,GND,SCL,SDL) I2C output
8. U2 - USB 4 Ports HUB chipset, J1 (JP3) USB HUB upper port signal input from Rs-Pi
9. J13 Mini USB 5V input for USB HUB, you don't need plug 5V , the HUB already use 5V from Raspberry Pi,
if your use USB device need more power, then you can plug-in 5V in this port.
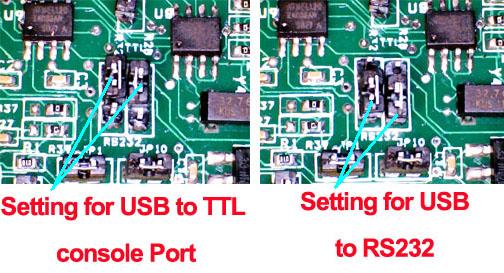
10. U10 FT232RL & U12 ZR3243 J4 USB input from PC or Mac or RS-Pi for USB to RS232 COM port, just connect
a cable (5pin mini USB-B to A USB ) then you have DB9 full 9pin RS232 function.
U12 ZR3243 RS232 Transceiver Driver , You can have DB9 full 9pin RS232 output for PC or Mac or RS-Pi USB cable input .
11. J11 for RS-Pi V2 GPIO connector (got 4 more GPIO pin)
Full Support by our Pi_Scratch software can be very easy control by Scratch
(1) i2c address 48 TMP102 temperature sensor test
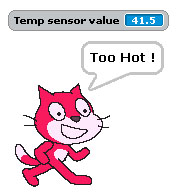


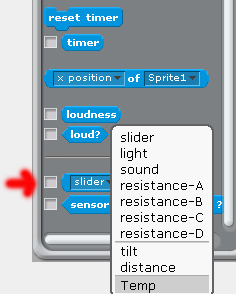
after broadcast "Update" in Sensing --> Slider , you will see the Temp in the list
(2) i2c address 68 DS1307 RTC detect & demo
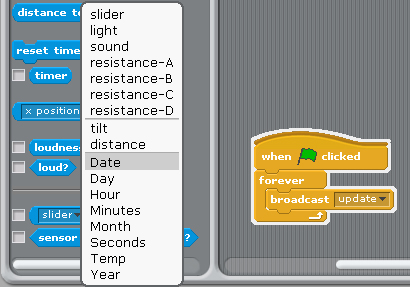
after broadcast "Update" in Sensing --> Slider , you will see the RTC in the list
"Year, Month, Day, Date, Hour, Minutes, seconds"
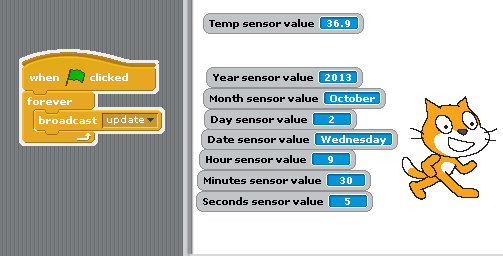
RTC information from Raspberry Pi i2c RTC module
if you can't detect RTC function in Scratch
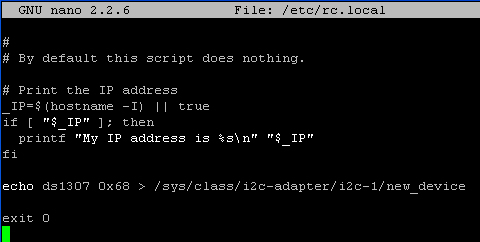
you have echo ds1307 in /etc/rc.local
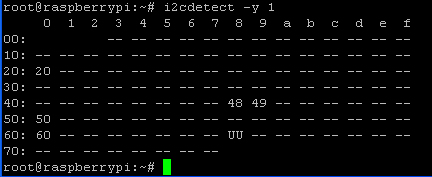
in 0x68 address display "UU"
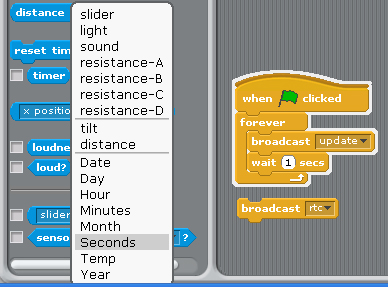
send broadcast"rtc" then broadcast"update"
after broadcast "Update" in Sensing --> Slider , you will see the RTC in the list
"Year, Month, Day, Date, Hour, Minutes, seconds"
(3) i2c address 20 23008 8 GPIO test

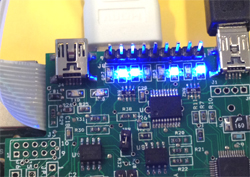
use command 8pin+"address"+a"bit (1 to 8)"
8pin+"address"+ a"10001000" --> 8bit mode
8pin20a5 --> output to address 20 bit 5
or use "8pin20a10010011" --> 8bit address 20 from 8 to 1 "10010011"
(4) i2c address 49 adc ads1015 4 channel input test
i2c adc ads1015 12bit Analog-to-Digital Converter
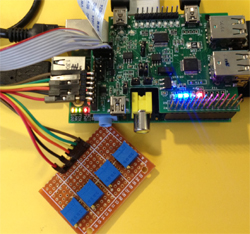

after broadcast "Update" in Sensing --> Slider , you will see the ADC1, ADC2,ADC3, ADC4 in the list
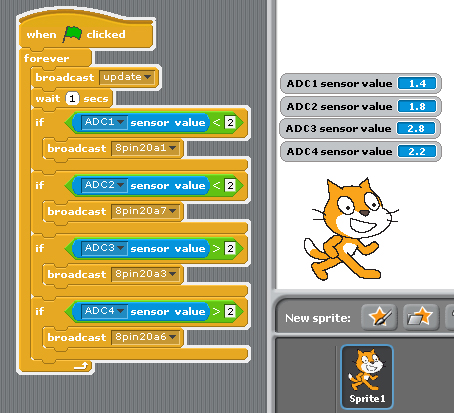
(1)adc1 input & output to 23008 8 bit GPIO bit 1
if adc1 < 2 23008 bit 1 LED "ON" 8pin20a1
(2) adc2 input & output to 23008 8 bit GPIO bit 7
if adc2 < 2 23008 bit 7 LED "ON" 8pin20a7
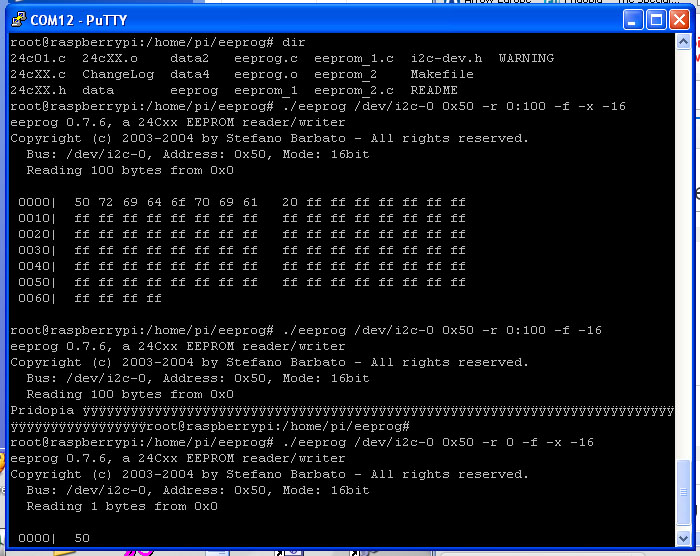
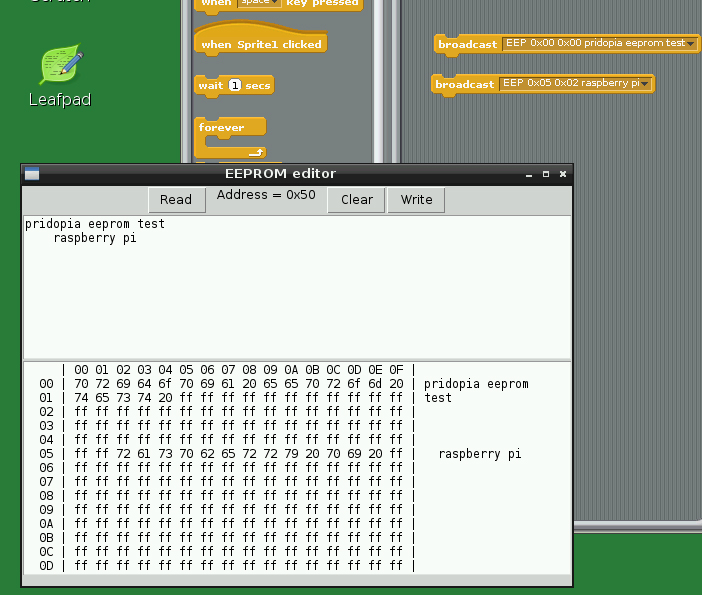
(5) EEPROM i2c address 50 24c32 read/write
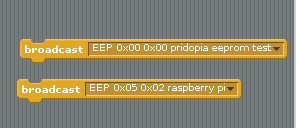
command "EEP" + start address x, start address y + " message"
--> EEP 0x00 0x00 pridopia eeprom test
The System will open a new screen for EEPROM editor , need waiting about 10 seconds
|
Use this board you can learn how to program use "C" or "Python" , Will provide sample program for test can download from our web site. also our Rs-Pi USB Hub board have 5 different Ver, all different function and different price, all with short pin Ver, please send email to us, if you are interesting. 1. Rs-Pi USB Hub with ( ds1307,tmp102, mcp4725,24c32) 2. Rs-Pi USB Hub with ( ds1307,tmp102, mcp4725,24c32, ft232RL) - with USB to TTL (just need one USB cable plug-in your PC and Rs-Pi) 3. Rs-Pi USB Hub with ( ds1307,tmp102, mcp4725,24c32, mcp23008) 4. Rs-Pi USB Hub with ( ds1307,tmp102, mcp4725,24c32, mcp23008, ft232RL) with USB to TTL (just need one USB cable plug-in your PC and Rs-Pi) 5 Rs-Pi USB Hub with ( ds1307,tmp102, mcp4725,ads1015, 24c32, mcp23008, ft232RL, zt3243) with USB to RS232 (DB9 full 9pin RS232 COM port output) or USB to TTL console port | ||
| ||
Raspberry Pi® is a trademark of the Raspberry Pi Foundation
1.We accept payment through Paypal ONLY. |