
This comprehensive set is meticulously designed to simplify and enhance the process of laying flexible HO tracks. Here’s what makes it indispensable:
- 18 Curve Adjustment Pieces: The set includes 18 specially crafted pieces for adjusting curves from an 18" to 32" radius, ensuring your tracks fit perfectly into your layout design.
- r: 18" ≈ 457 mm
r: 20" ≈ 508 mm
r: 22" ≈ 559 mm
r: 24" ≈ 610 mm
r: 26" ≈ 660 mm
r: 28" ≈ 711 mm
r: 30" ≈ 762 mm
r: 32" ≈ 813 mm - Angle Specific Pieces: Within the curve adjustment pieces, 8 are tailored for 15-degree tracks and 9 for 30-degree tracks, providing versatility and precision for various track configurations.
- 2 Straightening Pieces: To complement the curve adjustments, the set includes 2 additional pieces dedicated to straightening flexible tracks, ensuring smooth and accurate straight sections.
- Ease of Use: This set is extremely useful when laying flexible tracks, making the process more efficient and less prone to errors. It's an essential tool for achieving professional-quality track layouts with minimal hassle.
Instructions for Use:
Select the Appropriate Curve Segments:
- Choose the curve segments based on your desired radius and angle. This set includes segments for curves ranging from 18” to 32” radius, with specific pieces for 15° and 30° angles.
Place the Curve Segments:
- Position the selected curve segments on the flexible track between the rails at the desired location. Ensure that the segments are properly aligned to achieve the intended curve radius and angle.
Fix the Tracks:
- Secure the tracks by nailing them to your layout. Use track nails to fasten the rails through the pre-drilled holes in the ties.
- Alternatively, you can glue the tracks to your layout if nailing is not suitable. Apply a small amount of Elmer's glue (white carpenters' glue) to the bottom of the ties and press the track firmly onto the layout surface. For helices, where nailing may not be possible, gluing may be preferred to ensure a stable and seamless curve.
Adjust and Verify:
- After fixing the tracks, adjust the curve segments to ensure they are correctly positioned and the track is smooth. Make any necessary adjustments to achieve a seamless connection.
Finalize:
- Once the tracks are fixed and adjusted, let the glue dry completely (if using adhesive). Verify that the tracks are securely in place and the curves are accurately set.
By following these steps, you can efficiently and accurately lay flexible tracks using the curve adjustment pieces, ensuring a smooth and precise track layout for your model railway.
----------------------------------------------------------------------
Have you seen our motorized kits yet? Click below to watch them on our Youtube channel.
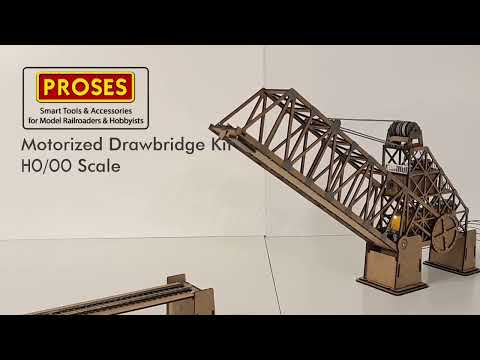
HO/OO Motorized, Working Drawbridge - YouTube
Video will open in a new window
Using the eBay App? Paste link into a browser window:
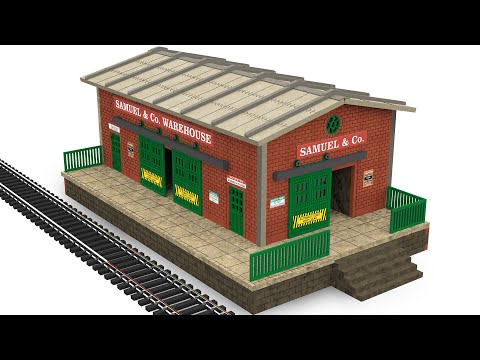
HO/OO Warehouse with Working Motorised Doors - YouTube
Video will open in a new window
Using the eBay App? Paste link into a browser window: