400W DC-DC Step Up Boost Buck Voltage Converter High Power Supply Module 15A
⚡ 400W DC-DC Step-Up Boost Converter — CC/CV • 8.5–50 V In → 10–60 V Out • up to 12 A
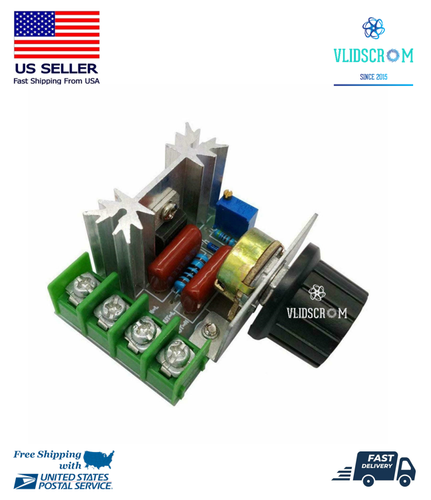
High-efficiency booster for laptops, LED arrays, battery charging, bench power, and solar panel regulation. Screw terminals for easy wiring and dual heatsinks for better thermal performance.
🌟 Highlights
-
🔺 Step-Up (Boost) Topology: raise DC input to a higher DC output
-
🎛 CC/CV control: constant-voltage and constant-current modes (ideal for LED driving & battery charging)
-
⚙️ High efficiency: up to 96% (depends on Vin/Vout/ΔV and load)
-
🔧 Tool-less wiring: large screw terminals for input/output
-
🧊 Thermal design: two heatsinks; add airflow for heavy loads
📐 Specifications
-
Type: Non-isolated boost converter
-
Input: 8.5 – 50 V DC (observe polarity)
-
Output: 10 – 60 V DC, continuously adjustable (default ≈ 19 V)
-
Max Input Current: 15 A (add cooling above ~8 A)
-
Max Output Current: 12 A*
-
Constant-Current Range: 0.2 – 12 A
-
Quiescent Current: ≈ 10 mA (higher when boosting 12 → 20 V)
-
Switching Frequency: ~150 kHz
-
Efficiency: up to 96%
-
Operating Temp: −40 °C to +85 °C (derate or add cooling at high load)
-
Protection: Input over-current limiting (~15 A → reduces Vout)
-
Reverse Input Protection: No (use a series diode or MOSFET if needed)
-
Size: 67 × 47 × 27 mm (2.64 × 1.85 × 1.06 in)
*Output current depends on the voltage step-up ratio. The larger the ΔV, the lower the sustainable output current. Always keep Pout ≤ Vin × Iin × efficiency and provide cooling.
🔌 Quick Wiring
-
VIN+ / VIN−: DC input source (battery, PSU, solar panel)
-
VOUT+ / VOUT−: Load (laptop, LED array, charger input, etc.)
-
Use thick, short wires for high current.
🎚️ Adjustment Guide (CC/CV)
-
Preset CC to minimum: Turn CC-ADJ counter-clockwise ~30 turns.
-
Set CV (voltage): Power module, no load. Turn CV-ADJ
-
Clockwise = higher Vout, counter-clockwise = lower Vout.
-
-
Set CC (current limit):
-
Connect load (or short via ammeter for setup).
-
Turn CC-ADJ clockwise until desired current is reached.
-
In use, when load tries to draw more, module enters constant-current (voltage sags accordingly).
-
Battery charging tip: Set CV to float/target voltage of the chemistry; set CC to the safe charge current. Connect the discharged battery first for correct current limiting.
🧠 Application Notes
-
For high-power LED arrays, operate in CC with CV as a ceiling.
-
With solar input, ensure panel Voc < 50 V and use CC/CV to prevent overload; this is not an MPPT controller, but works well as a post-regulator.
-
Add a fuse on the input and provide forced air cooling for >7–8 A output.
-
No reverse-polarity protection—add a diode or ideal-diode if your source can be connected backwards.
-
Do not exceed component ratings. Enclose to avoid accidental shorts.
📦 Package Includes
-
1 × 400 W DC-DC Step-Up Boost Converter (CC/CV)
💥 Buy More & Save
-
10% OFF for 2 units • 15% OFF for 3 units • 20% OFF for 4+ units (auto-applied)
🇺🇸 Premium Support & Shipping
-
🇺🇸 US Stock / Fast Shipping — 2–4 day delivery from Oklahoma; your purchase supports a US-based small business.
-
🧪 Quality Checked & Tested — Spot-checked before shipping.
-
🔁 Easy Returns — 30-day returns; we pay return shipping.
-
📦 Professional Packaging — Safe delivery, 100% guaranteed.