


Features
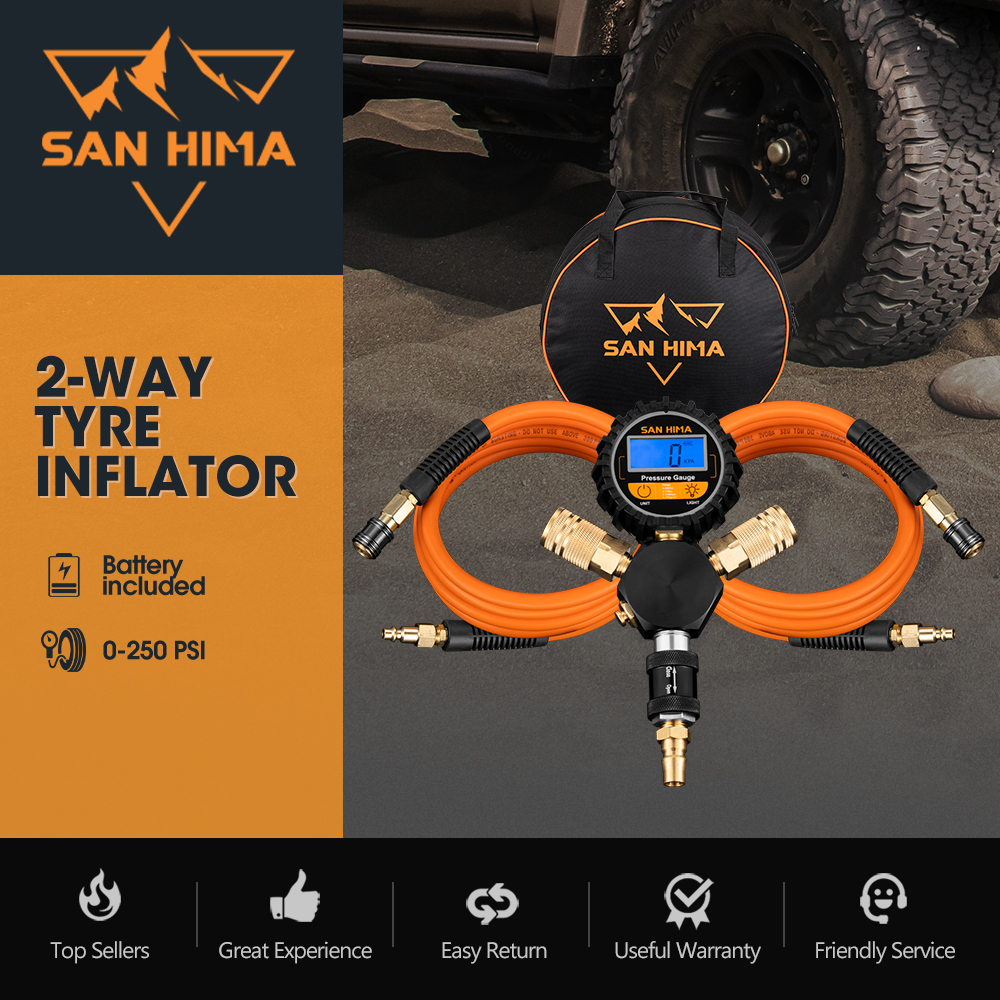
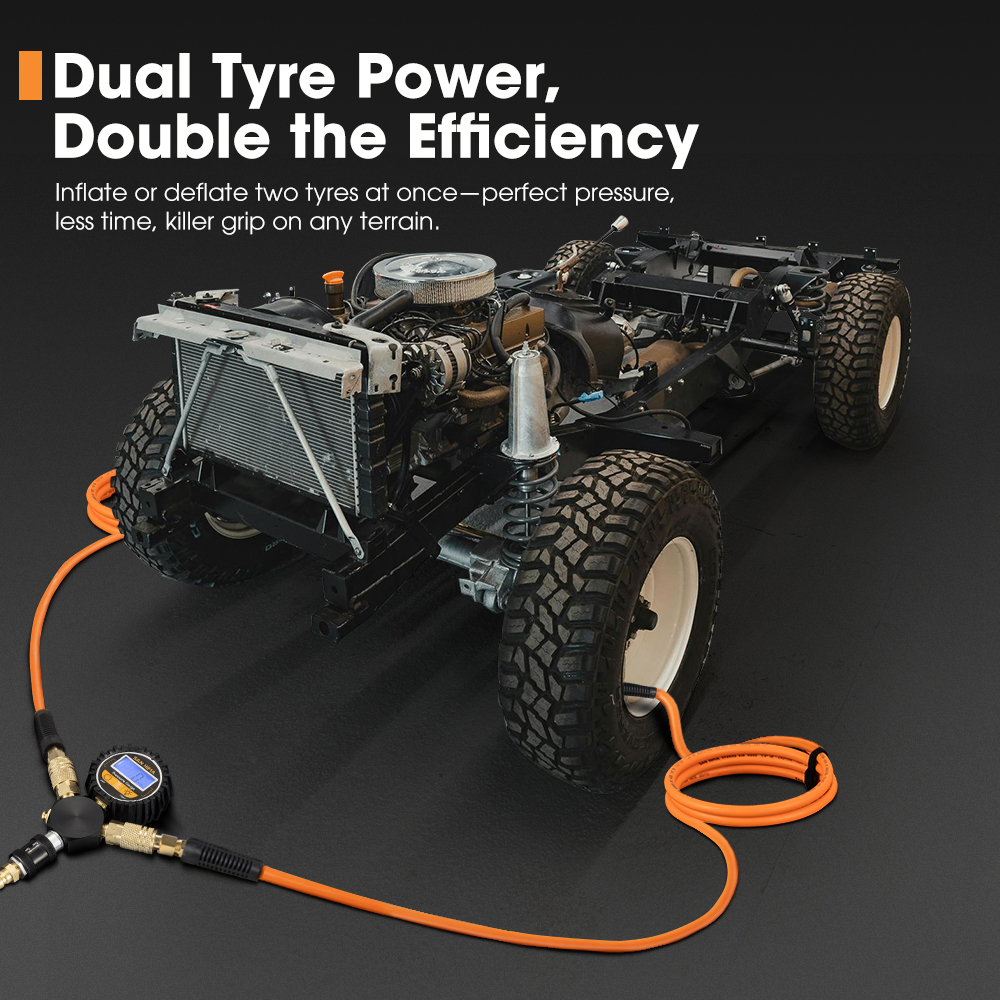
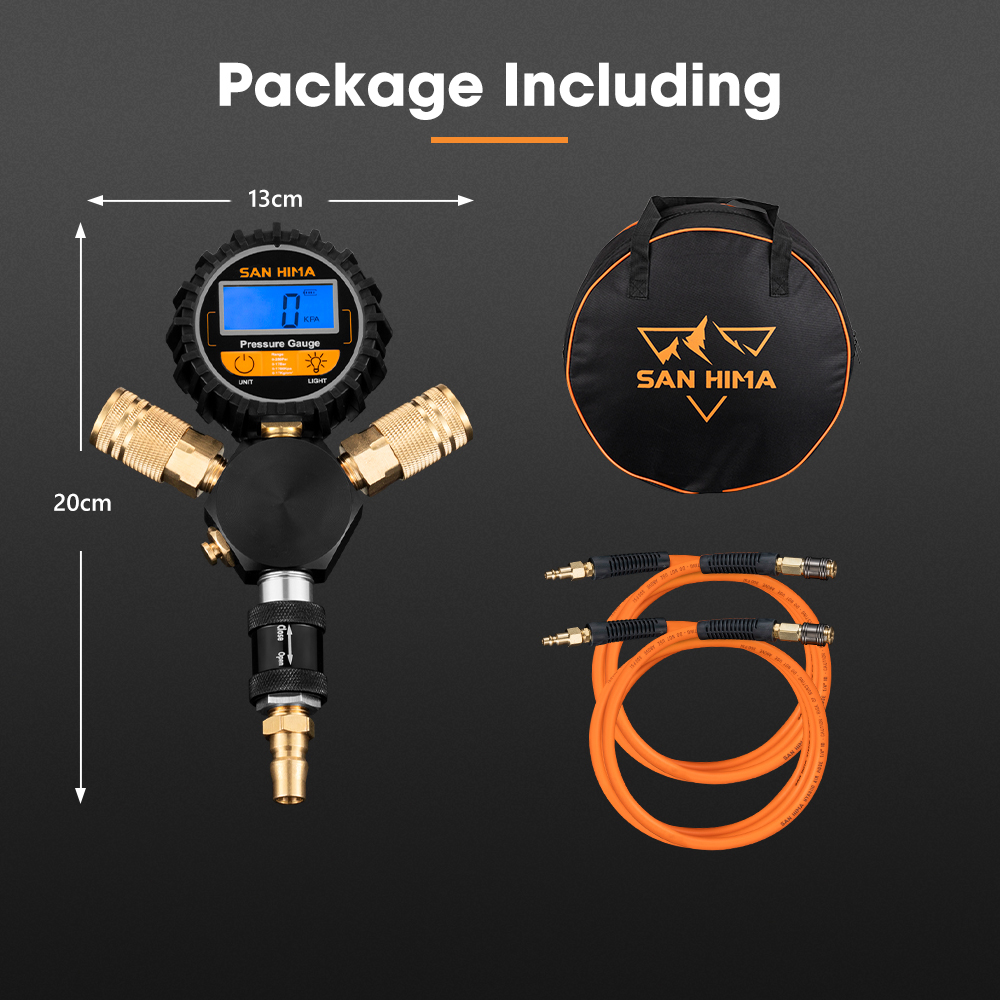
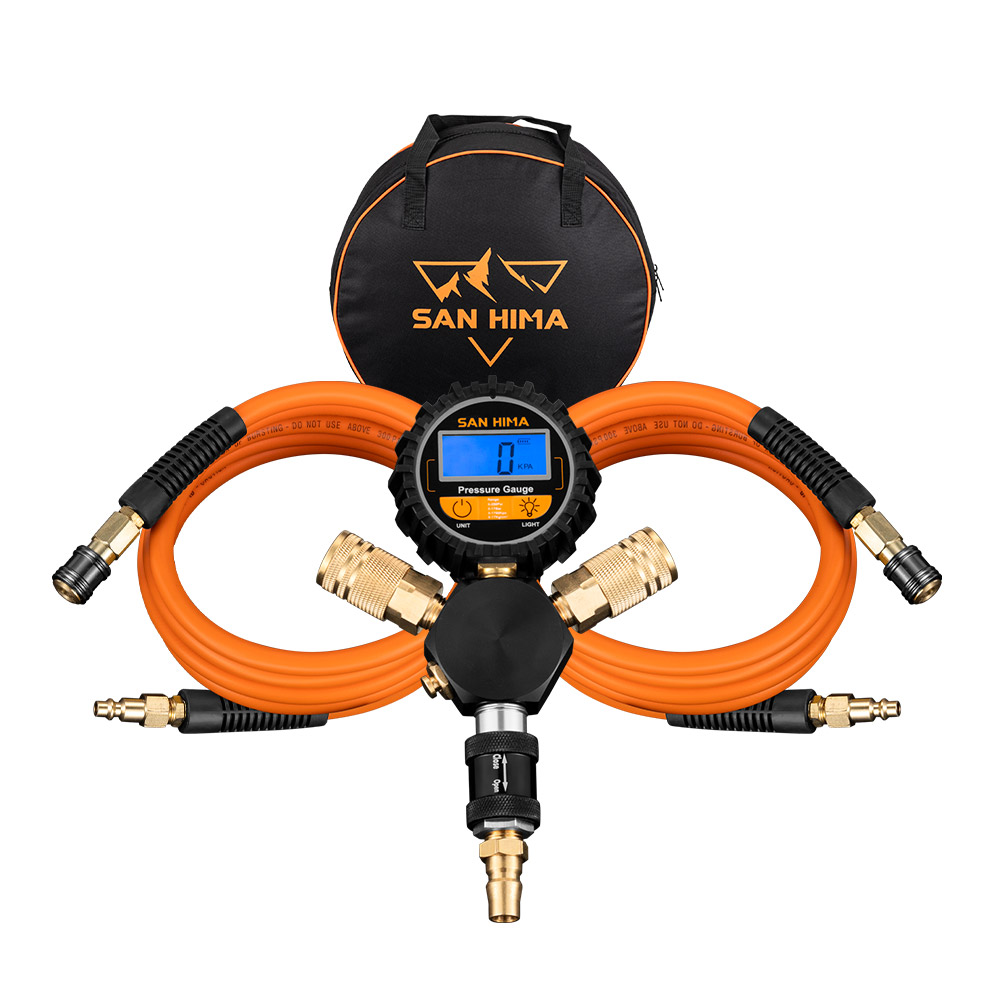
- Dual Tyre Management: Air up or down two tyres at once for even pressure distribution, saving you time and ensuring optimal traction on any terrain.
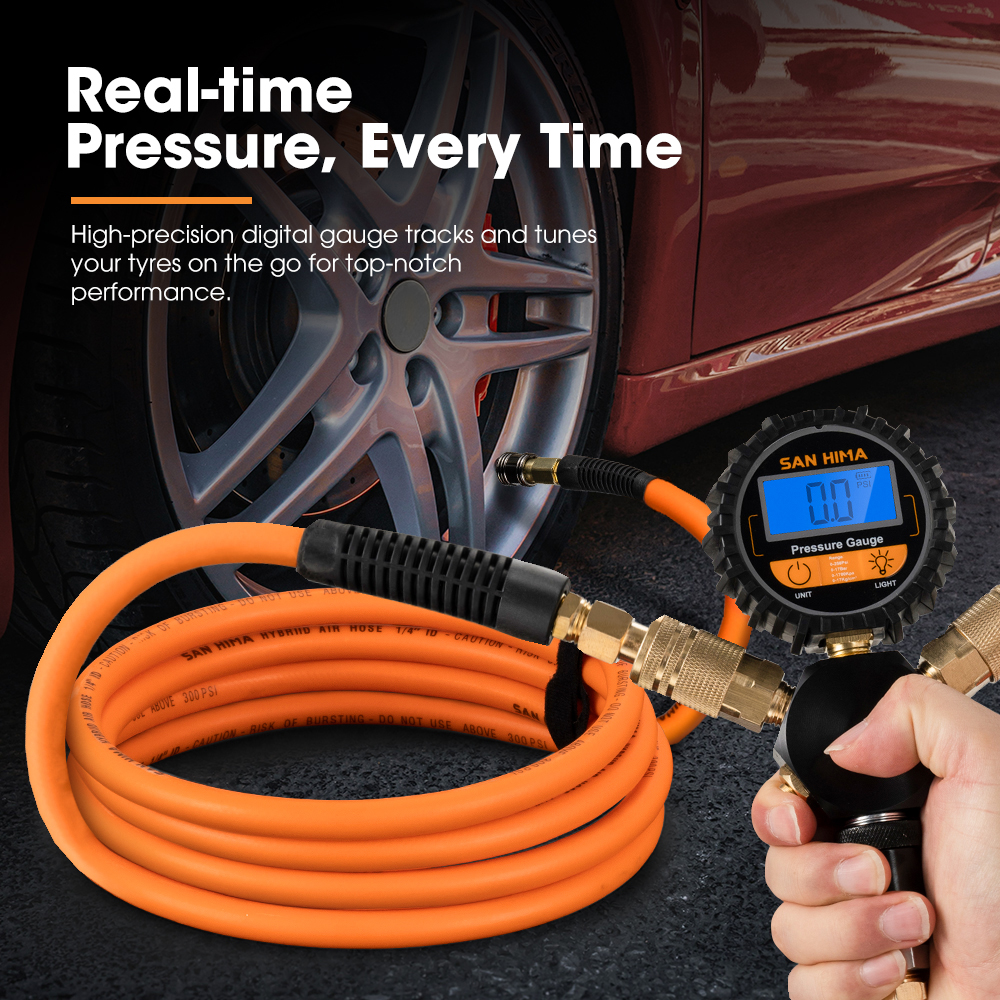
- Accurate Pressure Monitoring: Featuring a high-accuracy digital gauge, monitor and fine-tune tyre pressure in real time—ensuring peak performance with every adjustment.
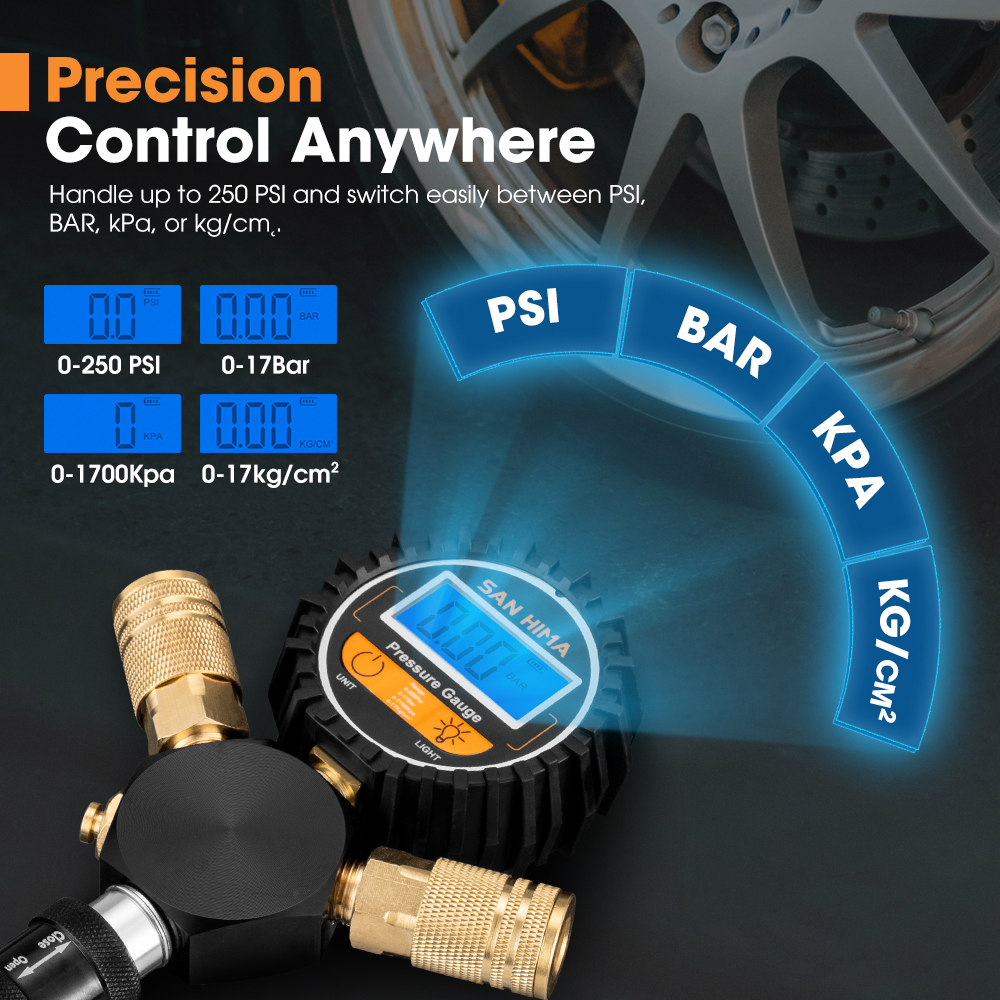
- User-Friendly Customization: Switch effortlessly between PSI, BAR, kPa, or kg/cm³ units. Toggle the backlight and power with ease for a seamless, intuitive experience.
- Broad Pressure Range: Tackle the harshest off-road challenges with a 0-250 PSI range. Dial in exact pressure for sand, rocks, or mud with confidence.
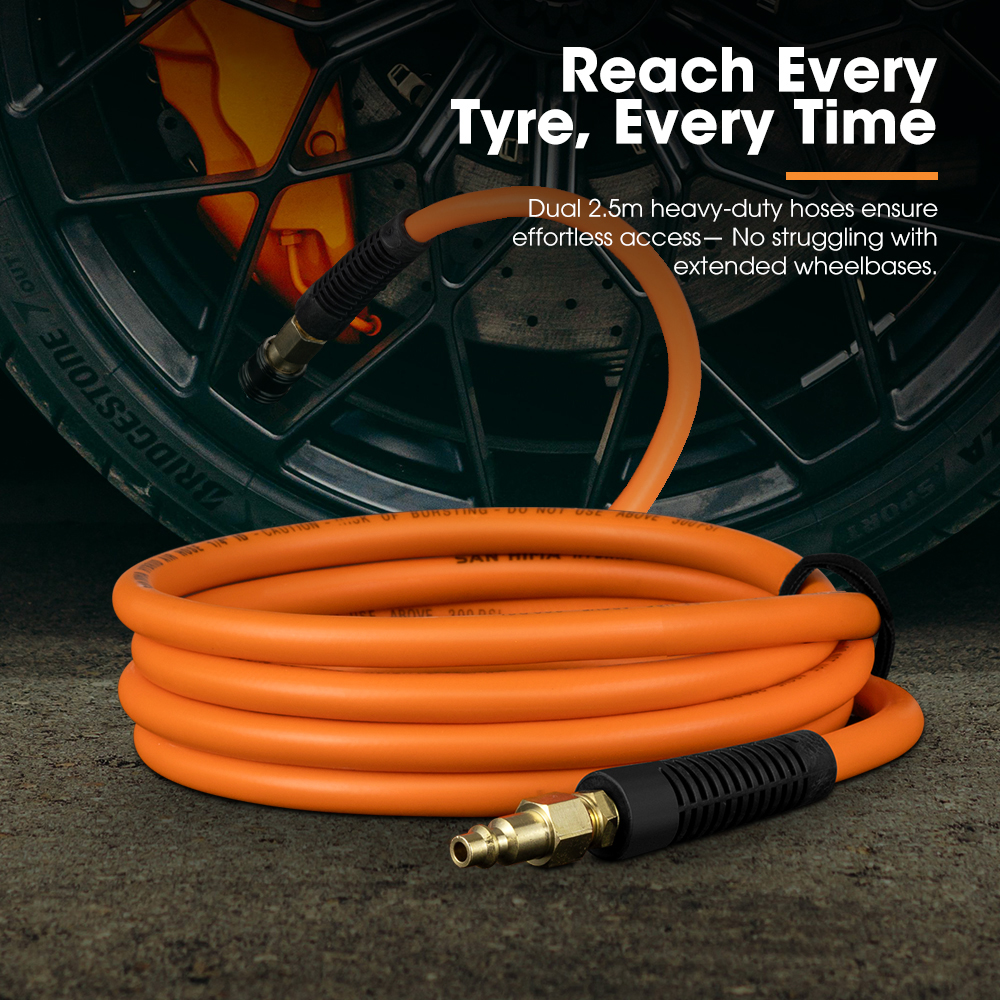
- Reach Every Tyre: Dual heavy-duty 2.5m hoses provide ample length to access tyres with ease—delivering hassle-free access and durability you can trust.
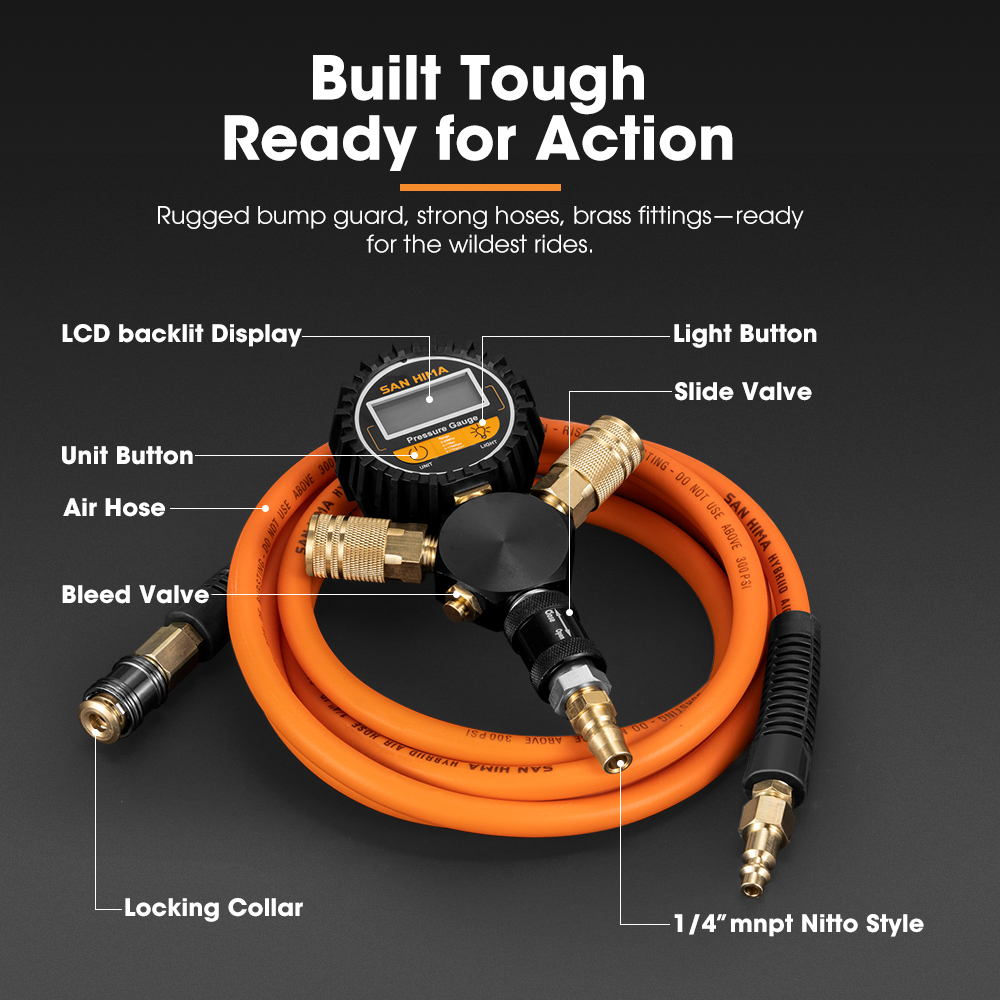
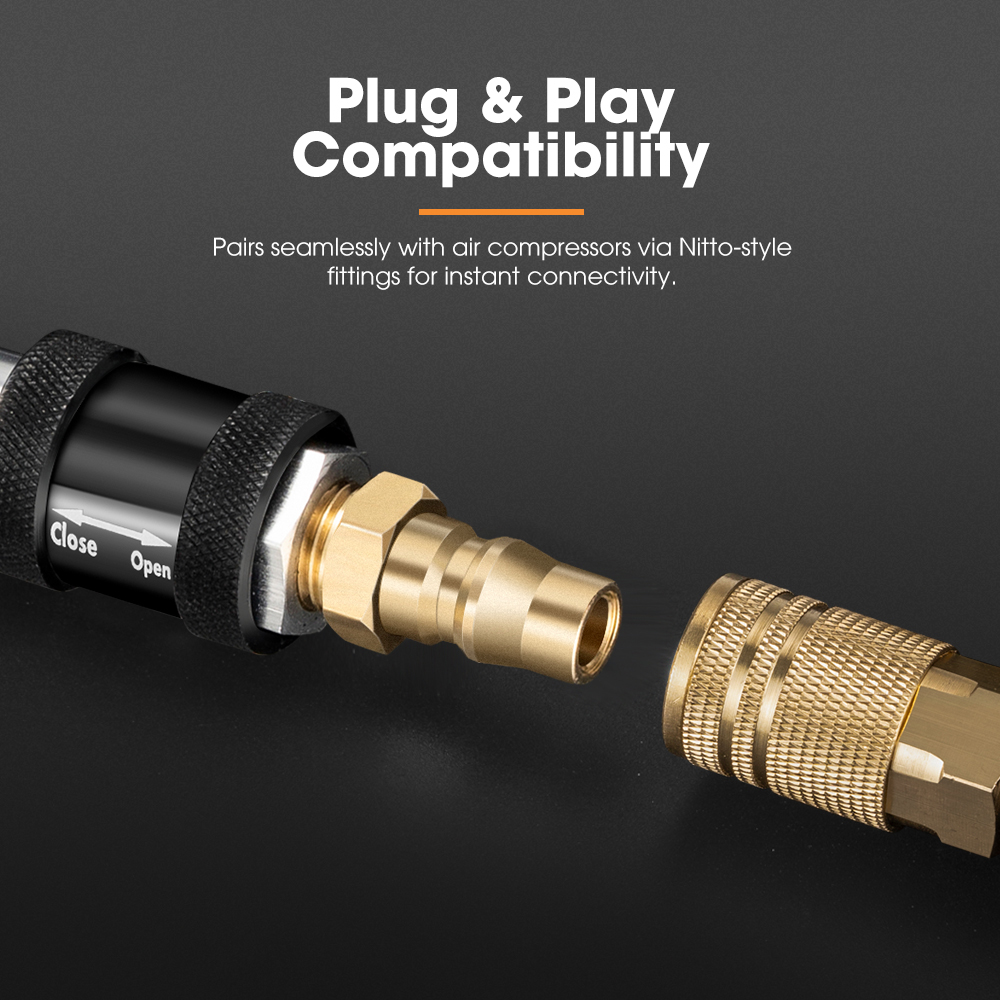
- Universal Compressor Compatibility: Seamlessly pairs with compressors like ARB or other air systems using Nitto Style fittings for plug-and-play operation.
- Rugged, Road-Ready Build: Forged with a tough bump guard, reinforced rubber hoses, and precision brass fittings—this kit survive in the wildest conditions.
- Trail-Ready Portability: Everything fits neatly into the included heavy-duty carry bag, keeping your gear organized and ready for your next off-road adventure.
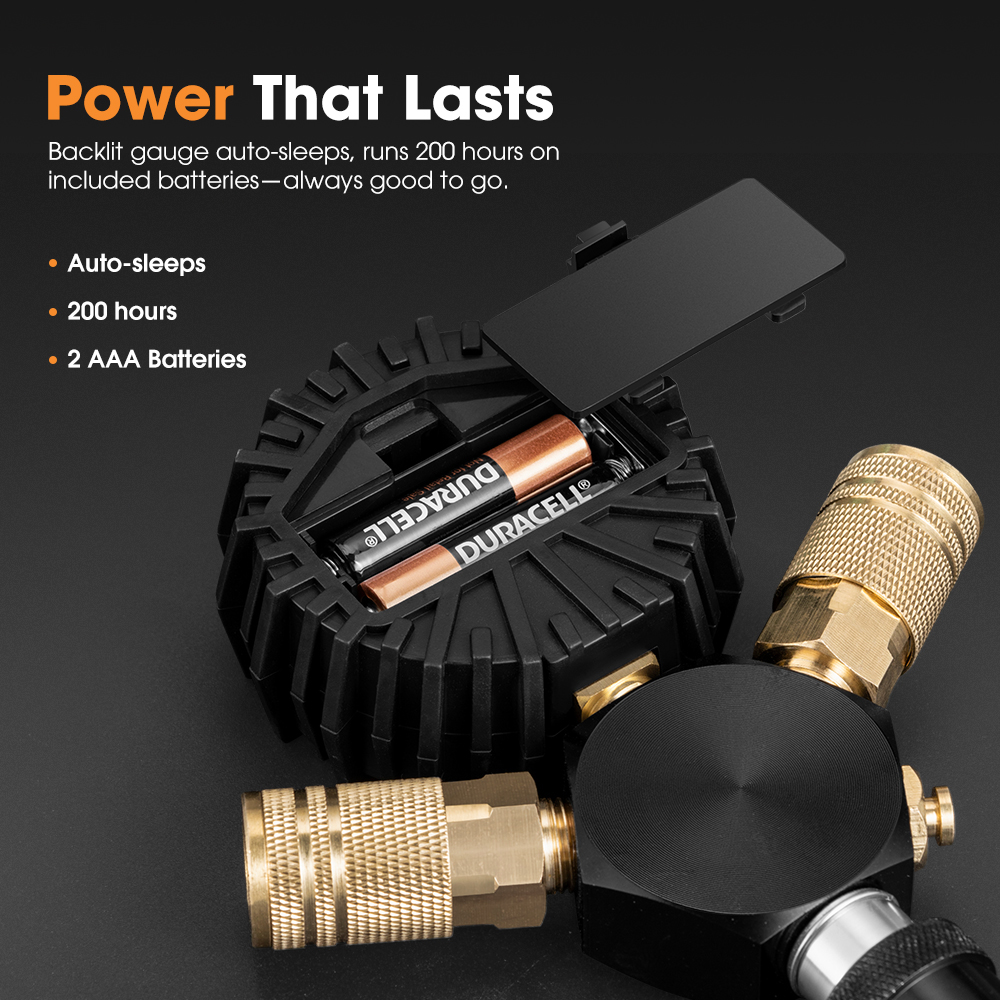
- Enduring Performance: The backlit gauge auto-shuts off to save battery life, giving you up to 200 hours of use with the included batteries—ready whenever you are.
| Display Type: | Backlit LCD Display |
| Pressure Gauge Measurement Range: | 0-250 PSI (0-17Bar; 0-1700Kpa; 0-17kg/cm²) |
| Pressure Gauge Graduation: | 0.1 PSI |
| Maximum Operating Pressure: | 300 PSI |
| Pressure Gauge Accuracy: | ±1% |
| Battery Type: | AAA Battery |
| Operating Temperature: | -40°C ~ 66°C |
| Fitting Type: | 1/4" MNPT Nitto Style |
| Materials: | Steel, Brass, Rubber |
| Package Size(LxWxH): | 29 x 29 x 6cm |
| Package Weight: | 1.6kg |
- 1 x SAN HIMA 2-Way Tyre Inflation/Deflation Kit
- 2 x AAA Batteries
- 2 x Velcro Straps
- 1 x Carry Bag
- 1 x User Manual
 Warranty
 return
Change of Mind
If for any reason you’ve changed your mind about any of the products you purchased from us, simply contact us within 30 days to be guided through getting a refund. Please do not return or post items before obtaining instructions from us first. If you do, there is a risk that your returned item may not be identifiable and accepted. This change of mind return policy does not affect your rights under the Australian Consumer Law including any rights you may have in respect of faulty items.
Returned items must be in resalable condition and returned in their original packaging with all accessories. You will need to send the product back on your own cost and there will be an applicable freight fee and 20% restocking fee for change of mind returns. This also applies to orders canceled when the item has already been dispatched from our warehouse. The item must be in a re-saleable condition to qualify for a change of mind refund. Under no circumstances will we issue the refund before we have received your product back to our premises and checked it as being in the original unopened and undamaged packaging.
 payment
Sun Yee International provides varies payment checkout points. We accept internet transfer, bank deposit and all major credit cards through PayPal.
PayPal is the faster, safer way to pay online without sharing financial details. Should you chose to pay using Bank Deposit please put your order ID or identifiable reference number for the payment.
 Shipping
Please note that deliver to PO BOX address is available for products below 22kg and 1M length. Please make sure you have provided a correct physical address during checkout on products of excessive size.
Our shipping system cannot accept order changes or cancellation after payment is made. You can follow our return policy for more information.
To aim in smooth and speed of delivery, ensure your address is correct during the checkout. With correct information provided, your order is dispatched within 1 business day. Any changes to address after payment made will not be considered.
Please allow 2 to 12 business days for product to arrive. We highly recommend to provide an answerable contact number and email address as we do make call to follow up item delivery status.
Your item will be sent via Australia Post or courier depending on its size and weight.


