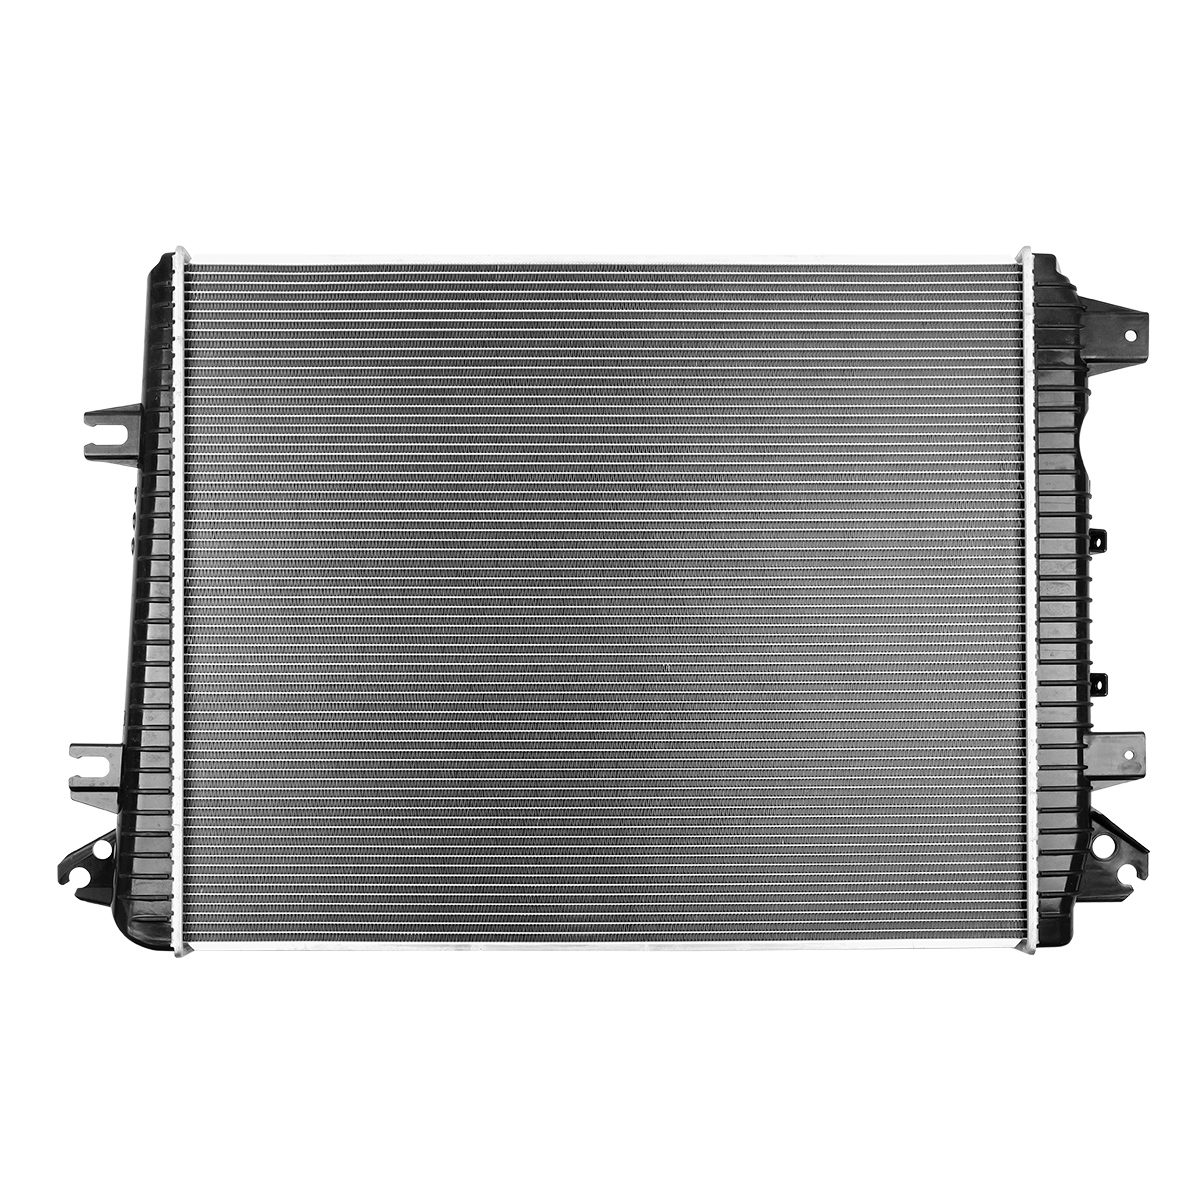
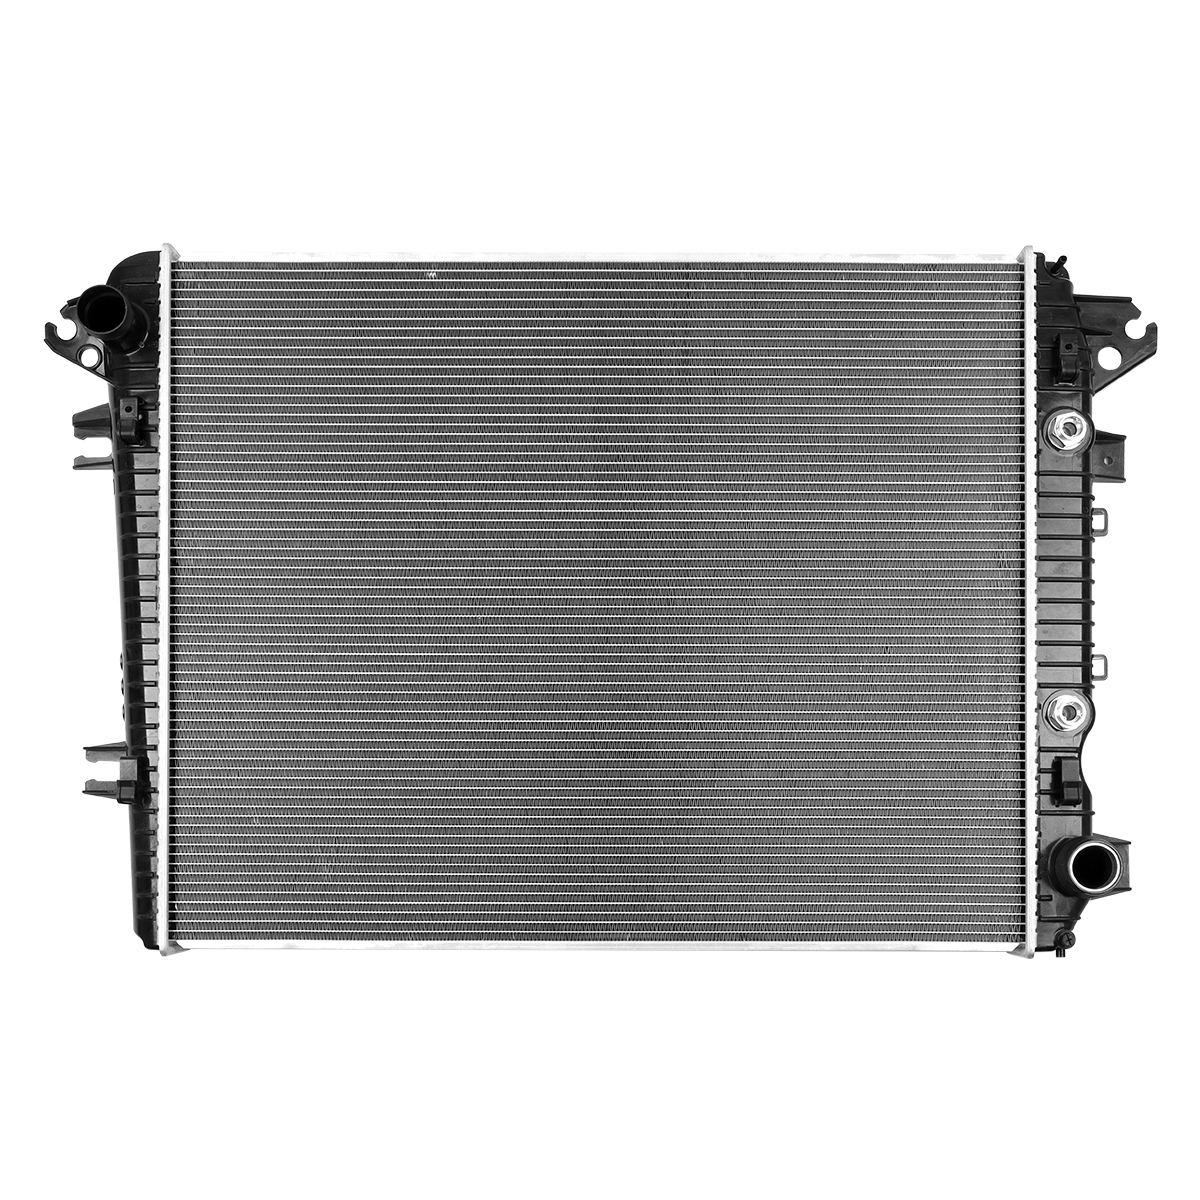
1 PC Radiator w/ Transmission Oil Cooler for 2017-2019 Chevrolet Silverado 2500 HD GMC Sierra 2500 HD V8 6.6L AT CU13690
Features:
1.Superior Quality: Built to strict quality control standards. Our radiator are made from Premium Aluminum Core.
2.Reliability: 100% rigorous leak testing and quality control.
3.Enhanced Performance: Engineered for top performance. Over 30 years of dedicated research and development in fully automated production.
4.Easy Installation: Provides efficient cooling and heat-transfer. 100% OE designed radiator for your car.
5.Risk-Free: We provide exceptional customer-service and technical-support. Trustworthy manufacturing for far less than same part at the dealership.
Specifications:
Installation Position:Front
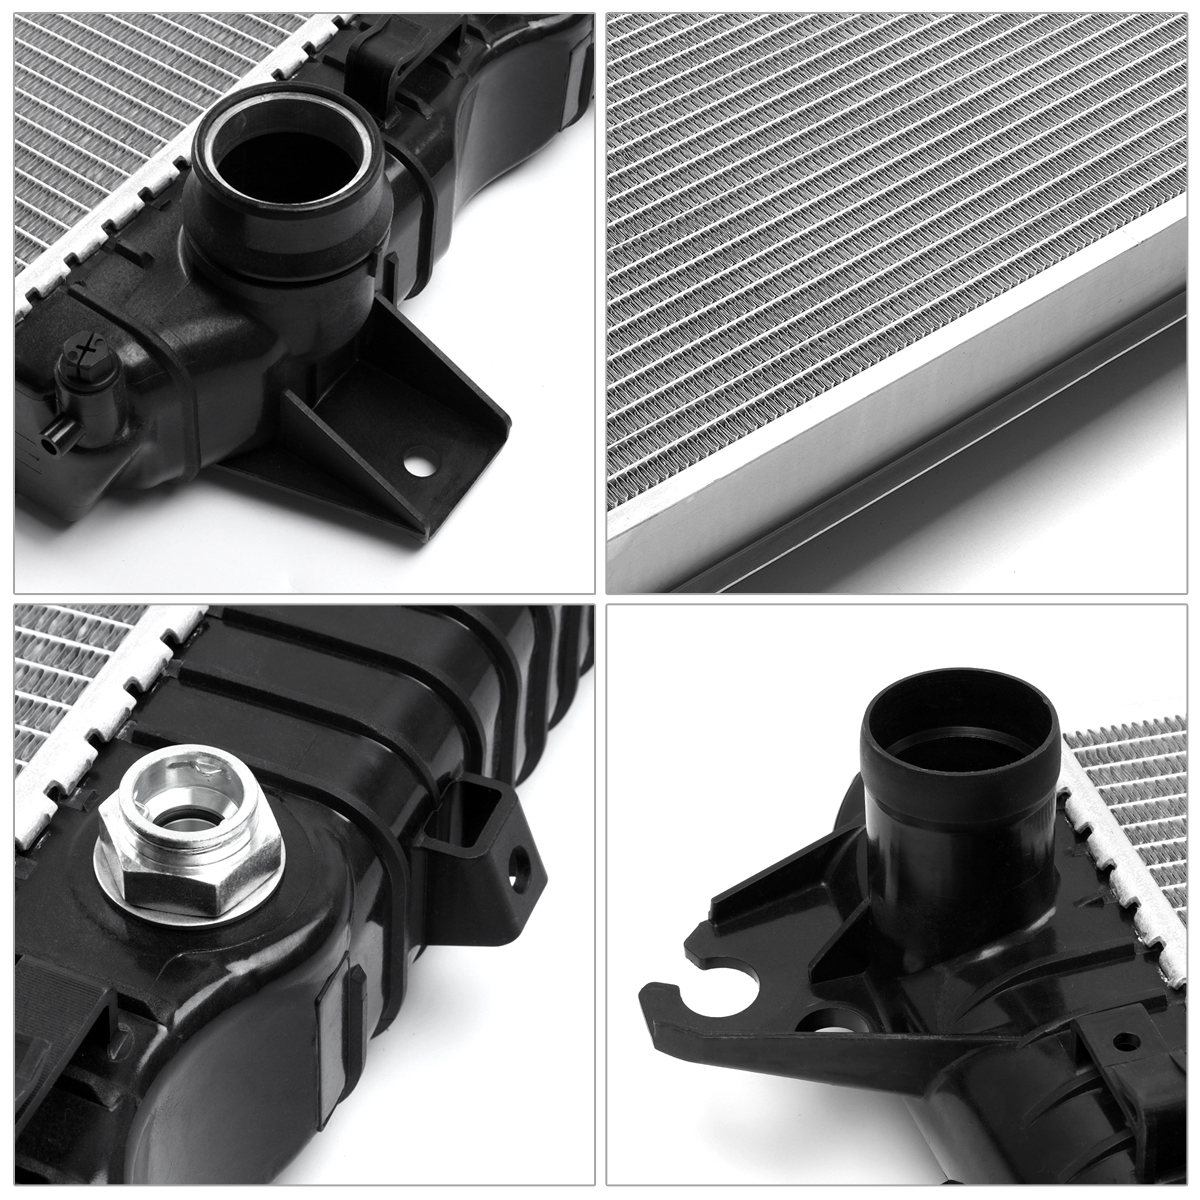
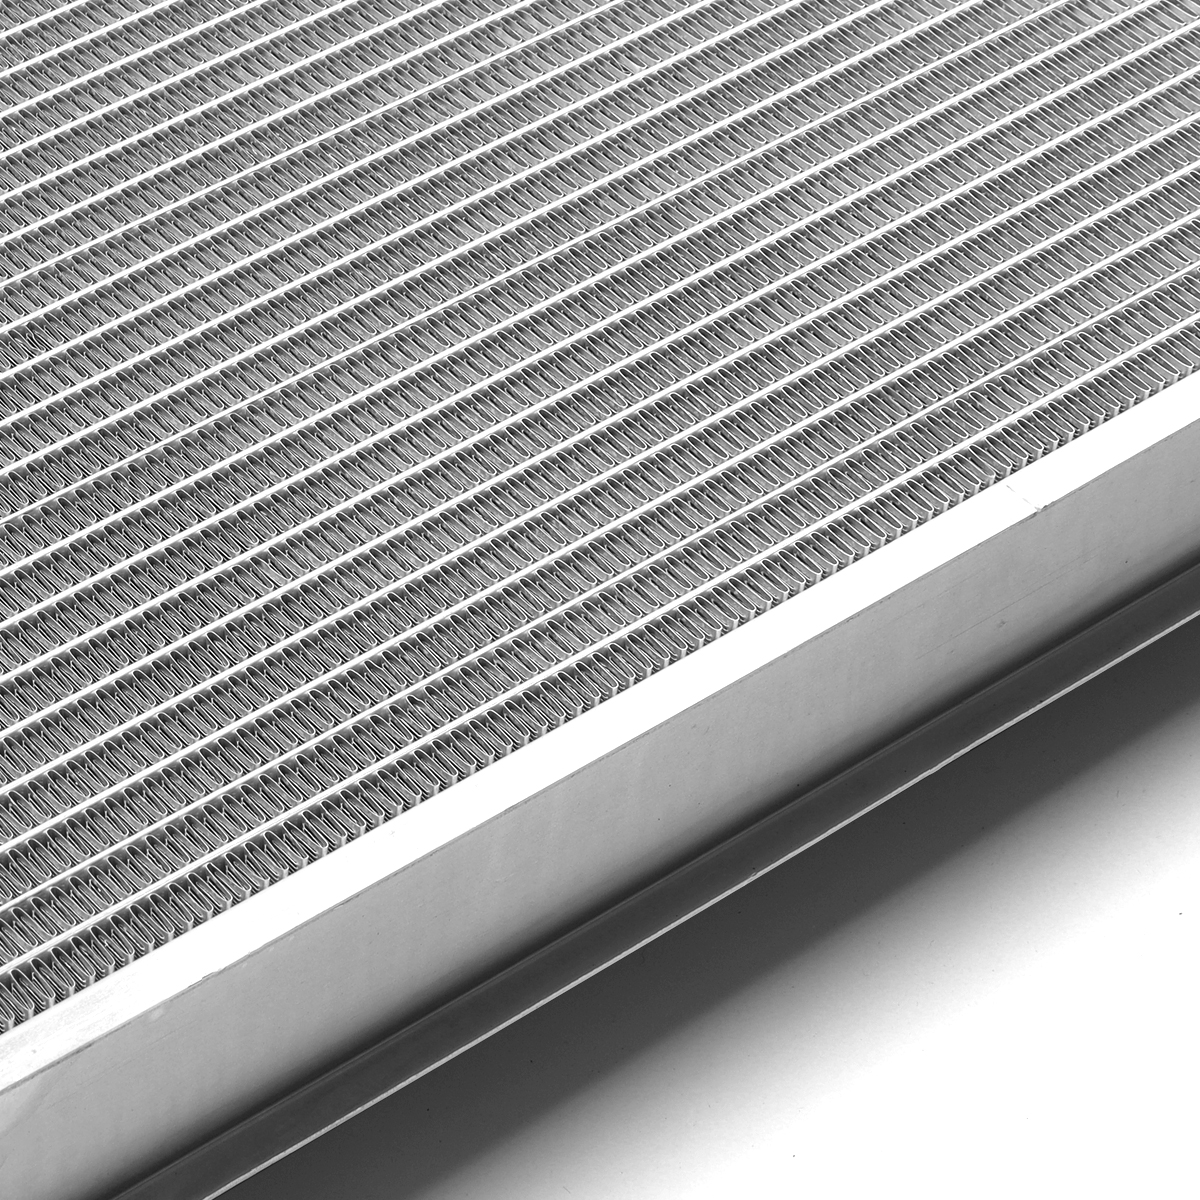
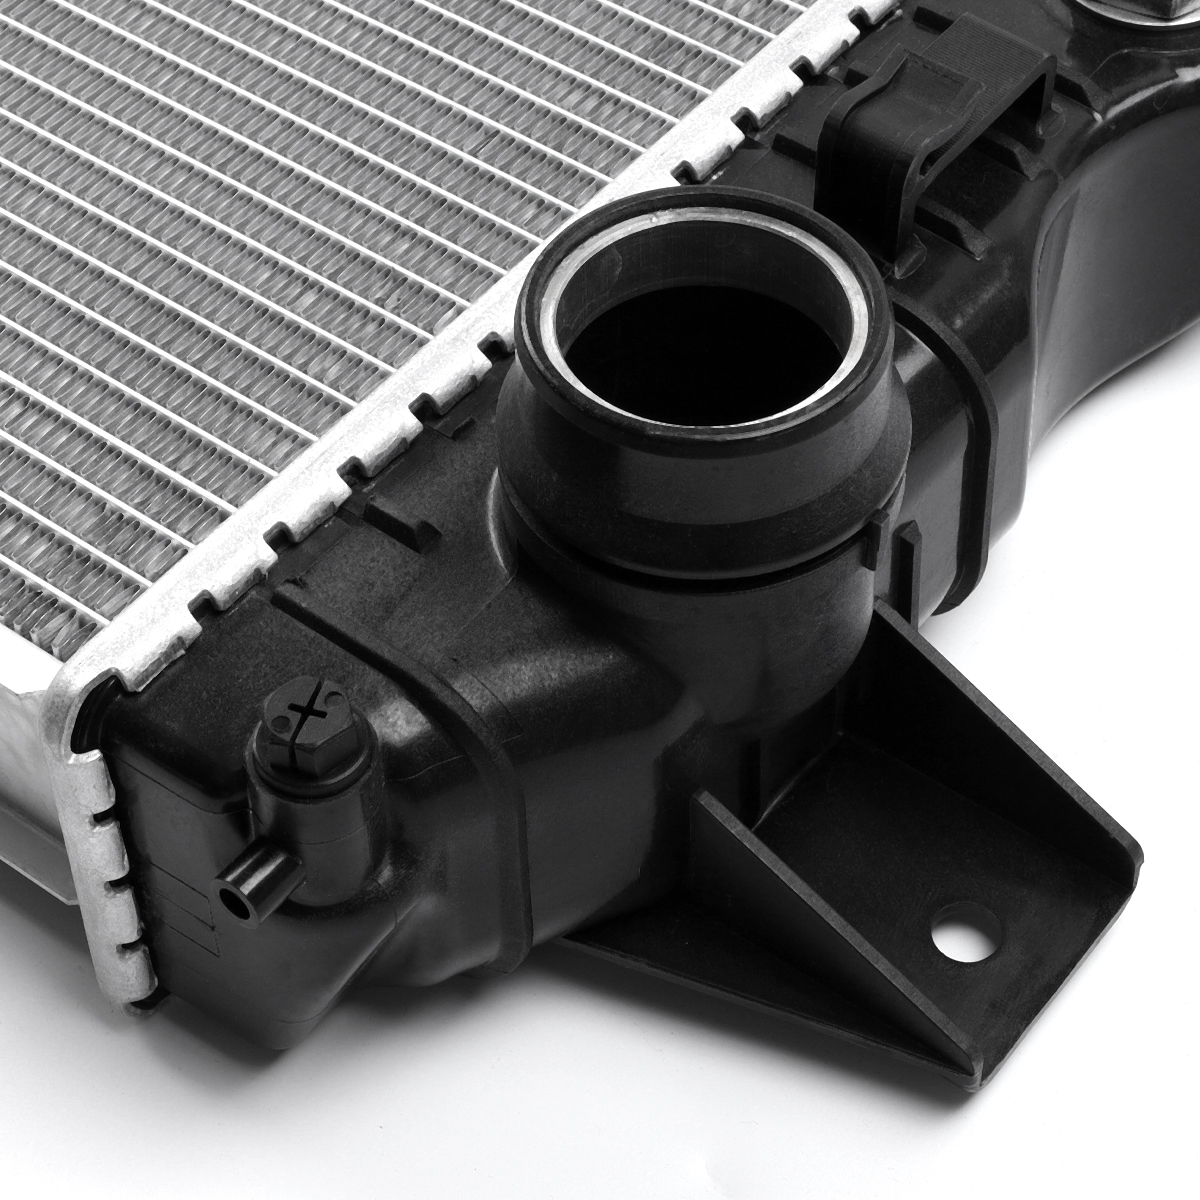
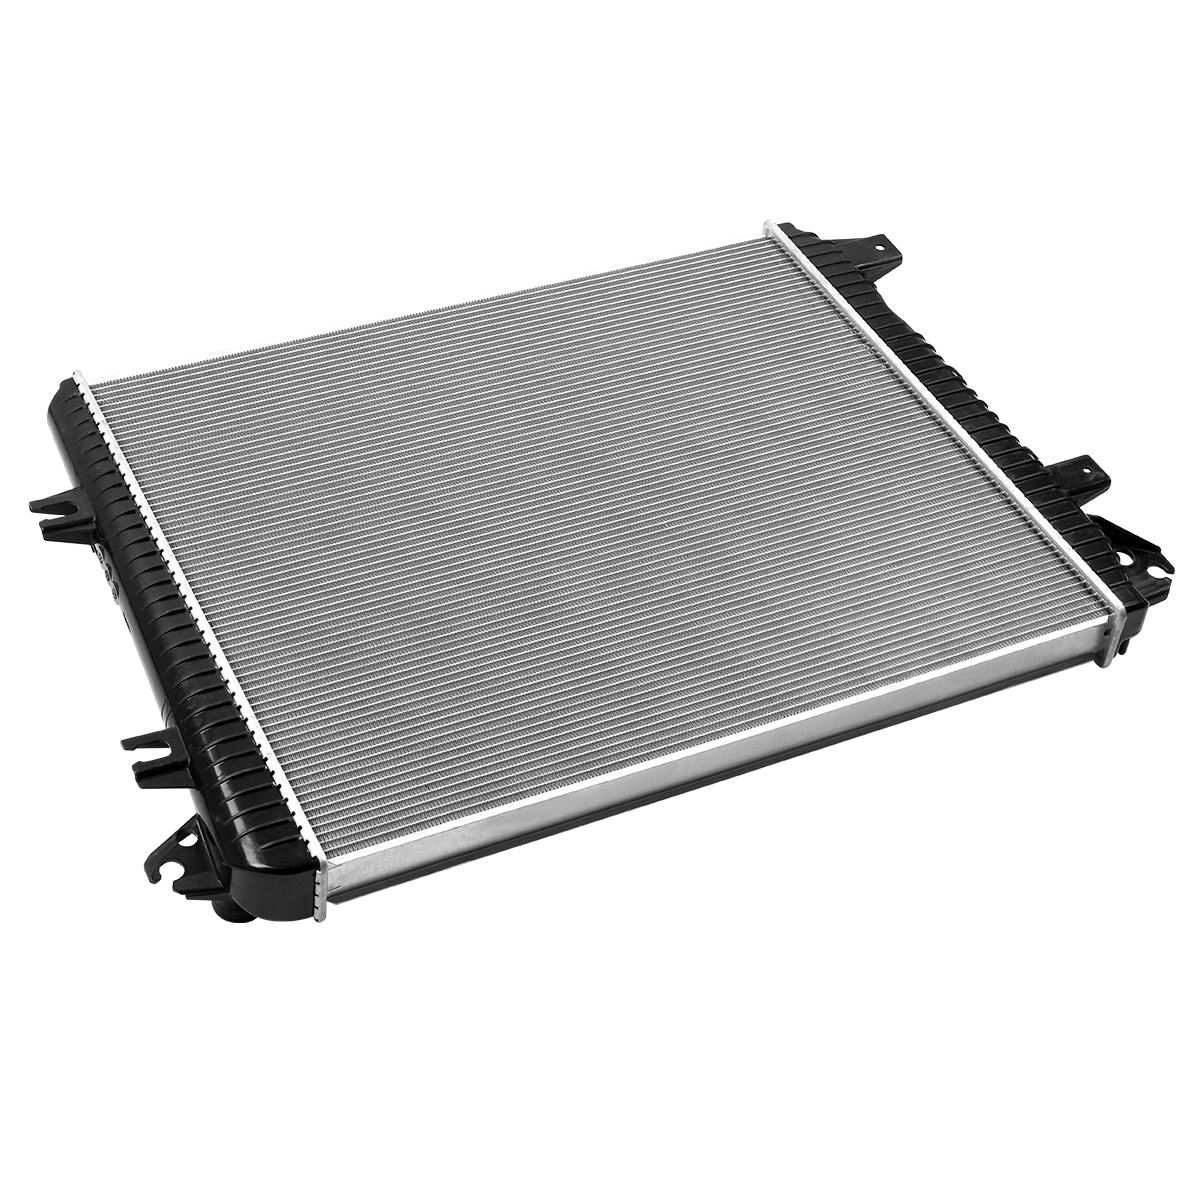
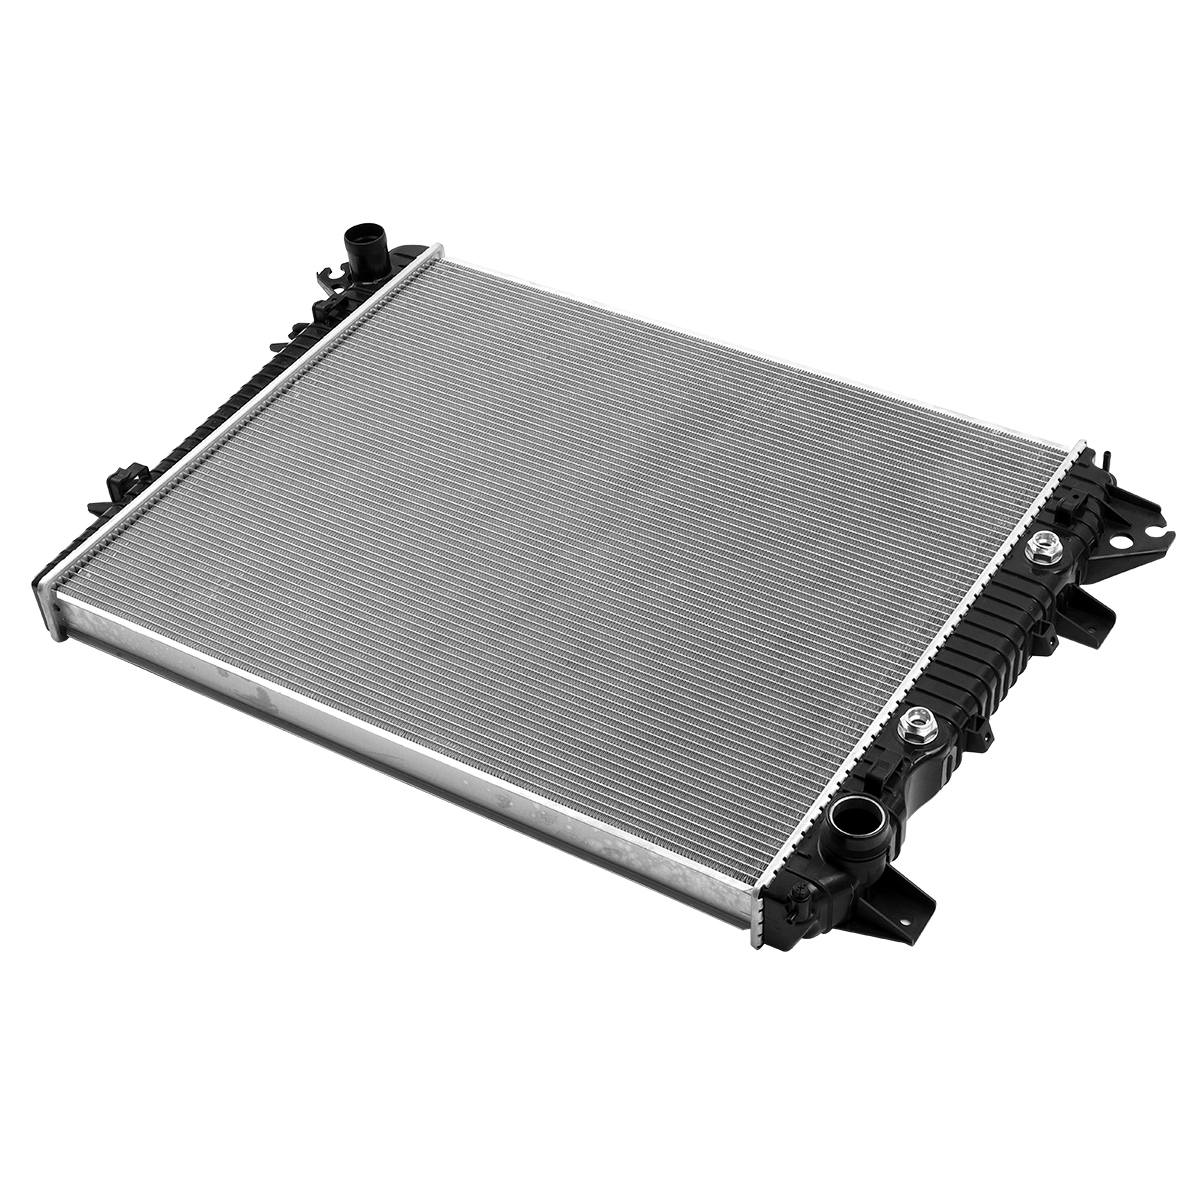
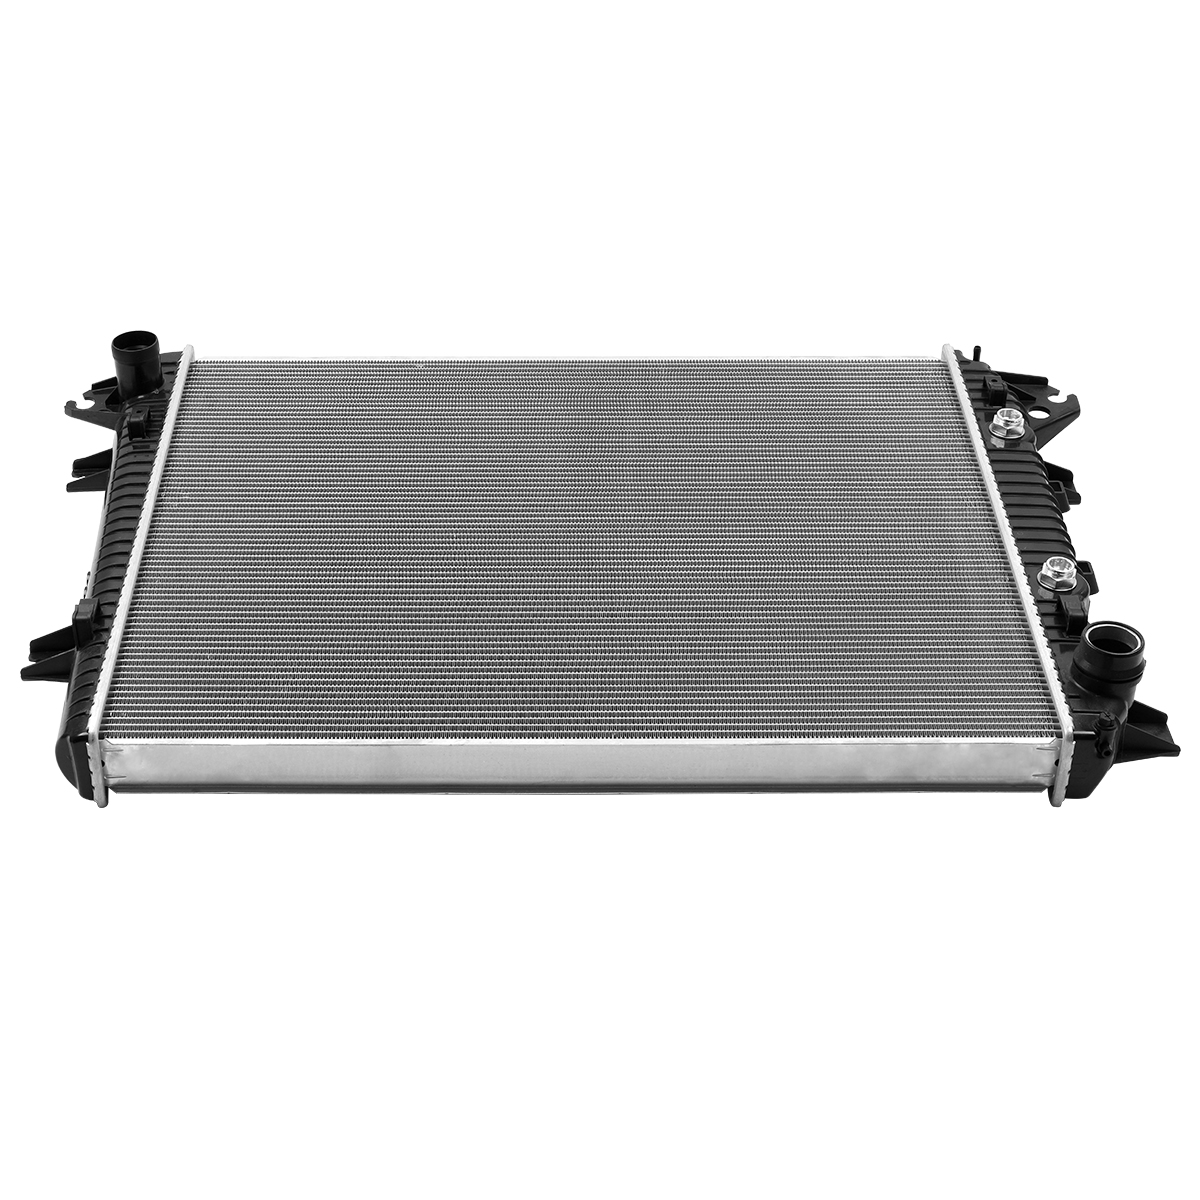
Core Material:Aluminum
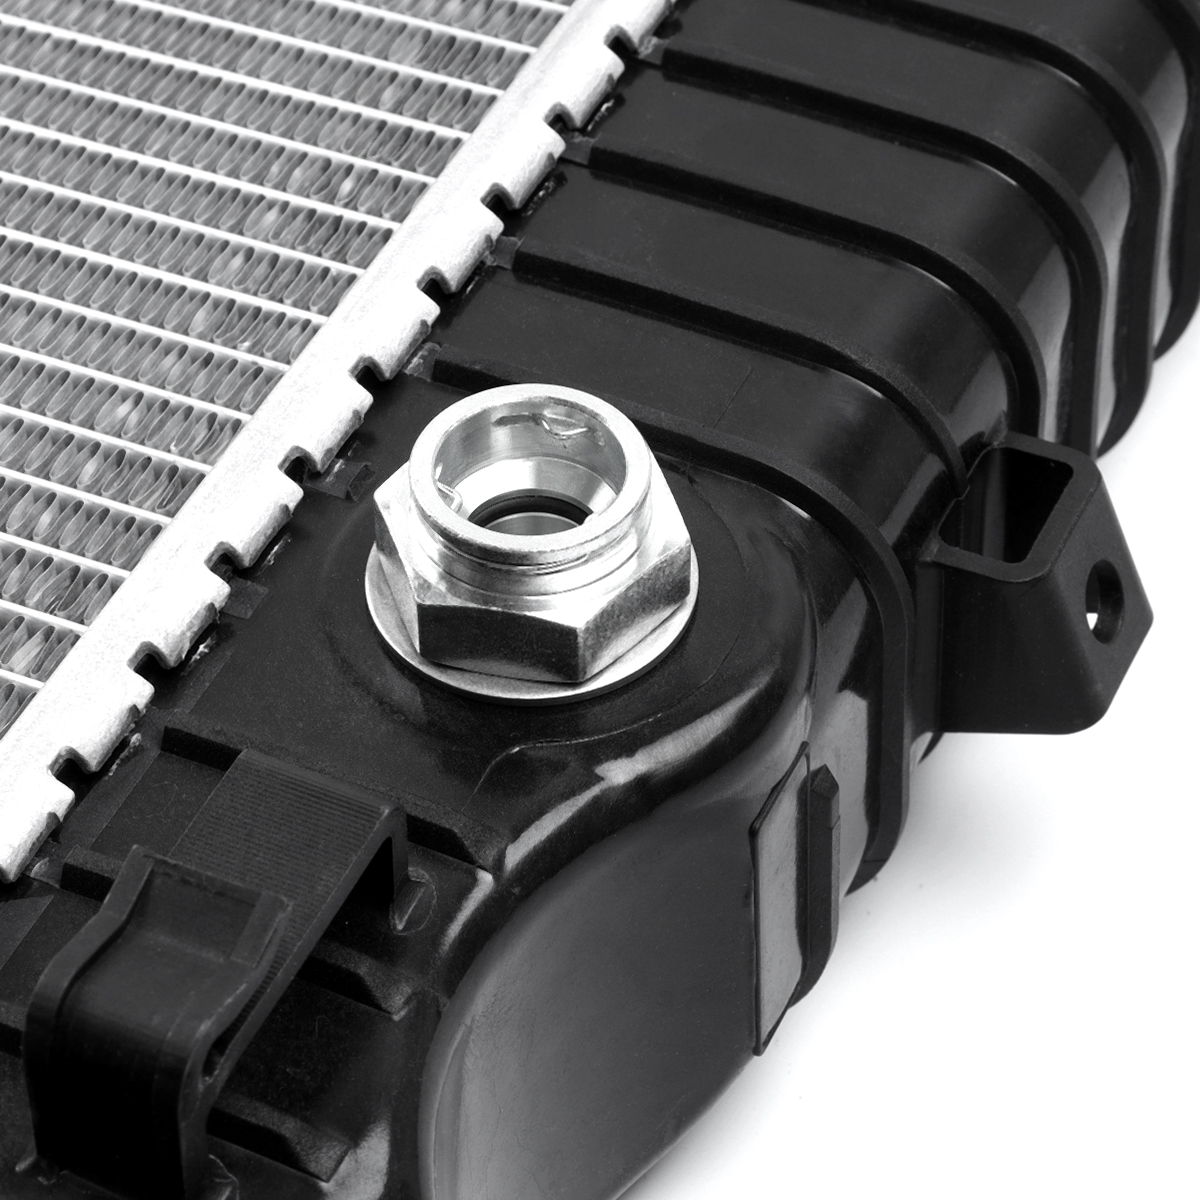
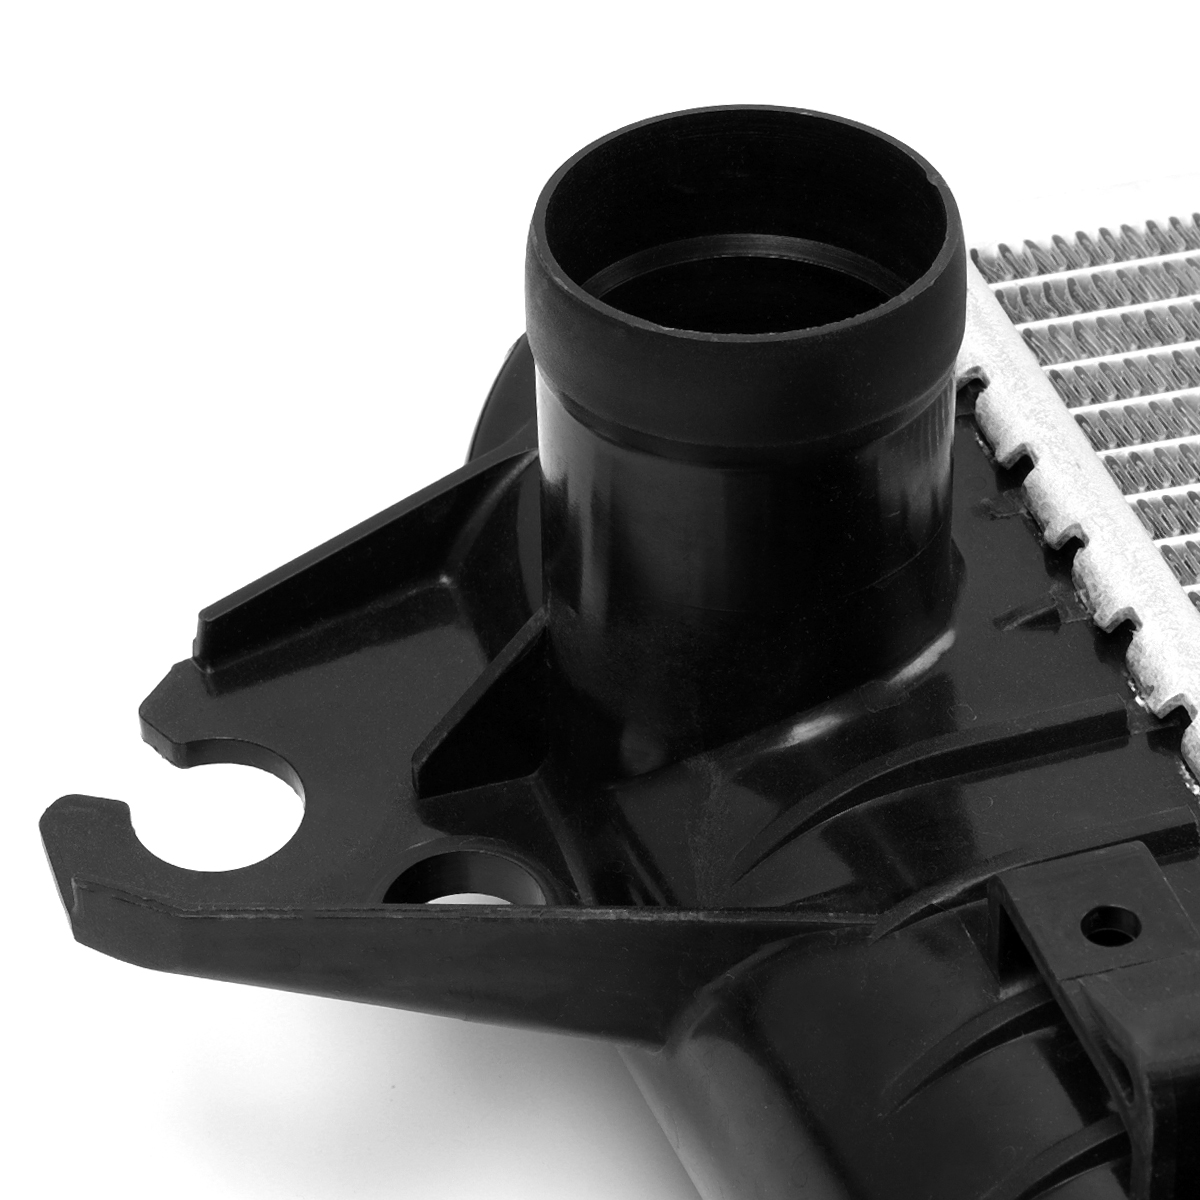
Tank Material:Plastic
Down Flow Or Cross Flow Type:Crossflow
Core Height (in.):33 7/16
Core Width (in.):28 3/8
Core Thickness (in.):2 3/16
Inlet Diameter (in.):1 15/16
Outlet Diameter (in.):2 1/4
With Transmission Oil Cooler:Yes
With Engine Oil Coorer:NO
Package Quantity:1
Fitment Type:Direct Replacement
Part Numbers:
CU13690, 13690, RA13690C, 13690C, 8013690, 23208447, 84224661, GM3010615, 12352234
Fitment:
For 2017-2019 Chevrolet Silverado 2500 HD V8 6.6L
For 2017-2019 Chevrolet Silverado 3500 HD V8 6.6L
For 2017-2019 GMC Sierra 2500 HD V8 6.6L
For 2017-2019 GMC Sierra 3500 HD V8 6.6L
Package Contents:
1× Radiator(as shown in the picture)
Attention:
Radiator installation
The radiator is an integral component of the vehicle’s engine cooling system. Always refer to the repair manual for complete installation instructions. *Caution: Cooling systems contain extremely hot fluids and steam, along with moving parts. Proceed with extreme caution! Engine coolant is extremely poisonous if ingested. Never leave coolant uncovered and always dispose of at a government authorized facility.
1.Place new radiator back into the vehicle.
2.Hand- thread transmission and/or engine cooling lines back into the radiator tanks. Stripping or cross threading coolers, plug or fittings will void manufactures warranty.
3.Tighten all line fittings using hand wrenches. Only torque to manufacturer’s specifications. Do not over tighten.
4.Reconnect and tighten all radiator hose connections and tighten drain tap securely.
5.Reconnect air conditioning condenser fasteners, fan shroud and electric fan assembly where applicable.
6.Your cooling system was holding used coolant. After the new radiator has been installed your entire cooling system needs to be flushed with proper flushing chemicals using an approved flush + fill. Machine or kit :Failure to completely flush the system will void the manufacturer’s warranty on the radiator.
7.Filling your system with new radiator coolant :
(1)Only use coolant that is recommended by the vehicle manufacturer;
(2)Never mix different types of used or old contaminated coolant;
(3)Always mix coolant 50/50 with distilled or deionised water. Never use tap water.
(4)Pre-mixed solutions may be used in some cases. Refer to repair manual for approval and recommendations.
(5)Fill the cooling system to the required level as outlined in the repair manual. In some cases the vehicle must be raised during the filing process to allow for the fill point to be above the heater core for proper purging during the filling process. Important, some vehicles are equipped with bleeder valves to remove any air bubbles in the cooling system. Usually located near the thermostat housing, the valve needs to be opened to bleed the system when starting the vehicle (Step 8). Close the valve when air bubbles cease. Refer to repair manual.
8.Start the vehicle with your heater control switches inside the vehicle on the ‘High’ heat position.
9.Allow the vehicle to warm-up long enough for the thermostat to open allowing coolant to flow. You will notice the radiator hose will become warm to hot. Caution: Surfaces and hoses become very hot. As the coolant level drops, top off with the exact same mix used in the filling process. Stop when the coolant level settles to just below the radiator filler neck or fill line. Use a new radiator cap as specified for your vehicle. Refer to repair manual for the proper radiator cap specifications. Fill the coolant recovery bottle located inside the engine compartment to the required level again with the exact same mix of coolant used in the filling and purging process.
10.While engine is running check all fittings hoses and lines for any leaks.
11.After driving your vehicle for a few miles after the installation allow the vehicle to completely cool down. Top off the systems to the full mark again and make sure the same type and mixture of coolant is used.
12.Annual cooling system maintenance is required to insure proper cooling system operation.
Note:
The Seven Most Common Radiator Problems:
1. Overheating.
2. Leaking Coolant.
3. Sludge Build Up.
4. Blocked Exterior Radiator Fins.
5. Bent or Damaged Radiator Fins.
6. Passenger Area Heater Problems.
7. Collapsed Radiator Hose (If you do discover that the damage is terminal, then it’s not out of the question for you to perform your own radiator replacement from our company)
1. The radiator cap that has not passed the test can’t release the pressure when it reaches the pressure value.
2. The damaged thermostat is unable to carry out a large cycle, resulting in a continuous increase in the radiator pressure.
3. The radiator fan does not turn, resulting in high temperature in the water tank.
4. Drain the air from the cooling system. Refer to the user manual or repair manual.
5. Please refer to owner's manual to add coolant.
6. Do not open the hood until the steam has subsided. The engine compartment may be very hot, causing serious injuries such as burns.
7. Please stop the vehicle immediately, when “ENGINE OVERHEAT/High Temperature” shows on the dashboard or steam comes out from under the hood.
8. Keep hands and clothing (especially a tie, a scarf) away from the fans and belts. Failure to do so may cause the hands or clothing to be caught, resulting in serious injuries.
9. Do not loosen the radiator cap while the engine and radiator are hot. Serious injuries, such as burns, may result from hot coolant and steam released under pressure.
Please Carefully Check Whether the OE Number And Picture are What You Need Before Buying. If You are Not Sure Whether It Fits, Please Write to us. If There are Any Problems, Communication by Letter Will be More Effective.
No Instruction Included, professional installation is highly recommended.
 |  |
 |  |
 |  |
 |  |
 |  |

