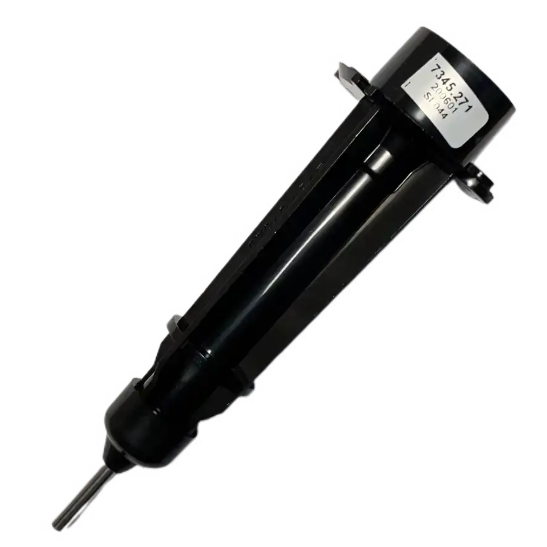
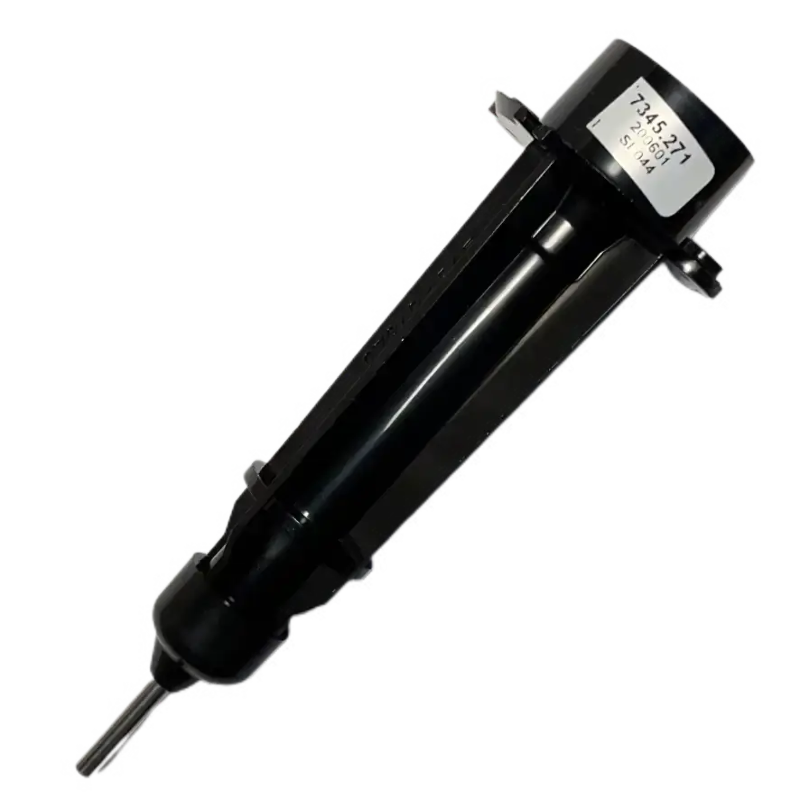
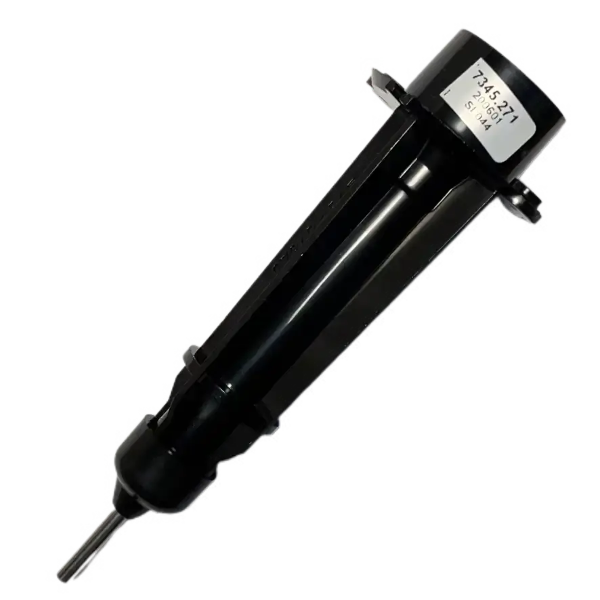
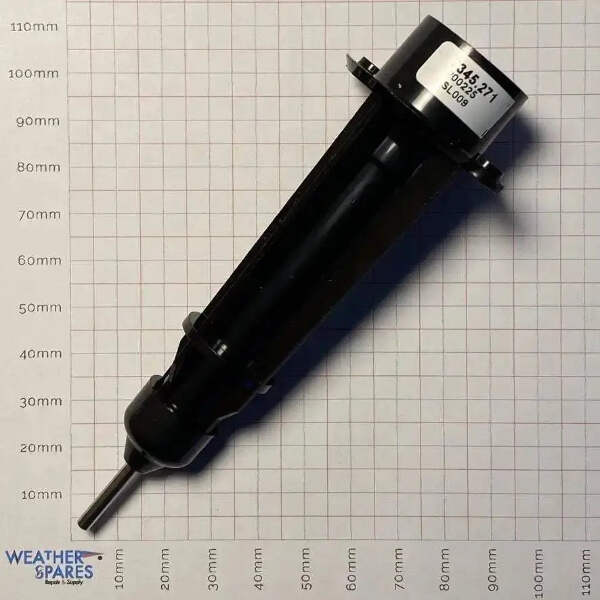
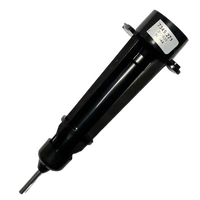
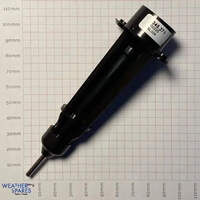
Davis Vantage Vue Wind speed Cartridge 7345.271
Replacement Davis Vantage Vue wind speed cartridge suitable for all revisions of the weather station.
Simple replacement, requiring a Philips screw driver and the Davis allen key to remove the wind cups prior to installation.
How to install
- Move the Vue sensor suite to a safe working level if necessary noting its orientation before removal.
- Locate the hex bolt on the side of the existing wind cups, unless these are missing, and loosen. There is no need to fully remove the hex bolt.
- Pull the cups straight up to remove.
- Turn the sensor suite over and remove the six large silver screws to remove the white top section which is where the bearing is houséd.
- Remove the two small screws holding the existing bearing in place. Which will easily be removed.
- Insert the new cartridge into place between the locating lugs and screw into place without over tightening the screws.
- Replace the top white cover and screw in place with the six screws, again do no over tighten into the plastic.
- Pushed the wind cups onto the shaft. There is no correct orientation.
- Tighten the wind cups using the hex bolt on the side until this grips the metal shaft. A gentle pull up will ensure they are secure.
- Test by spinning and checking a reading registers.
- Return the sensor suite to its original location and orientation.
If you have lost your Allen key to remove the hex bolt, these are available as a spare item.
eBay integration by

