We stand behind every product we sell.
All of our brand new items come with a 30-Day money-back or exchange guarantee.


|
|
|

|

|

|

|
How to Install Car Window Sealing Strips
Installing car window sealing strips can help improve the vehicle's weather resistance, reduce noise, and prevent water leaks. Below is a general guide for installing car window sealing strips. Keep in mind that specific steps may vary depending on the type of sealing strip and the vehicle model.
1. Prepare the Tools and Materials
2. Remove the Old Sealing Strip (if applicable)
3. Measure and Cut the New Sealing Strip
4. Clean the Window and Surrounding Area
5. Install the Sealing Strip
6. Secure the Sealing Strip
7. Test the Installation
8. Optional: Add Additional Sealing (if needed)
9. Final Inspection
Tips
| Item Specifics | |
|---|---|
| Brand | LuJunTEC |
| Type | Weatherstrip Seal |
| Color | Silver |
| Placement on Vehicle | Left Right |
| Features | Easy Installation |
| Manufacturer Part Number | LJ183642T01 |
| Material | Rubber |
| Attachment Type | Clip-On |
| Vintage Part | No |
| Performance Part | Yes |
| Universal Fitment | No |
| Manufacturer Warranty | 1 Year |
| OE/OEM Part Number | 75710-06080,75720-06080,75730-06060,75740-06060 |
| Interchange Part Number | 75720-06080,75730-06060,75740-06060,75710-06080 |
| Superseded Part Number | 75740-06060 |
| Item Length(inch)1 | 44.02 |
| Item Length(inch)2 | 44.02 |
| Fitment Type | Direct Replacement |
| Packaging Type | Box |
| Package Contents | 4 Pcs Window Weatherstrip |
| Location | Outside |
| installation Includes | No |
| Fitment | For 2007-2011 Toyota Camry |
We cannot change any address after checkout has been completed. Please make sure you submit your correct address!
1. Items will be shipped within 24 hours after getting your verified payment.
2. US Storage& UNITED STATES by fast shipping.We offer 24 hours dispatch and estimated delivery time is 3-5 business days.except weekend and other irresistible factors.Please feel free to contact us if you haven't receive the item after the estimated shipping time
We stand behind every product we sell.
All of our brand new items come with a 30-Day money-back or exchange guarantee.
Please consult with your mechanic, or contact us, if you are not sure of fitment for your vehicle. READ the notes on the compatibility chart.
We are not responsible for incompatible items due to buyer's error, and a restocking fee as well as shipping charges will be deducted from returns or exchanges.
Shop Category Hot Item
Delivery
New List Item
Help & Info Payment Policy Shipping Policy Return Policy FAQ About Us |
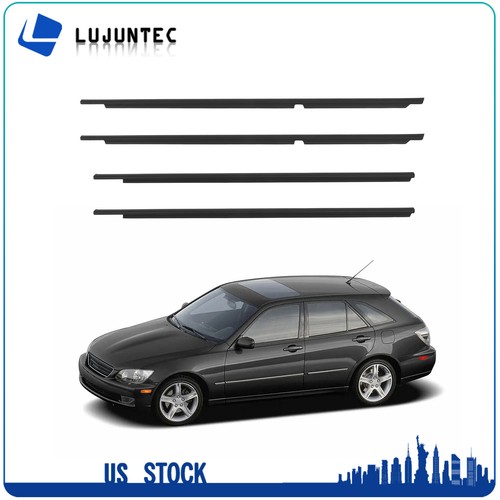
4 Fits 2007-2011 Toyota Camry Outside Door Window Weatherstrip Trims Seal Belt
We cannot change any address after checkout has been completed. Please make sure you submit your correct address! 1. Items will be shipped within 24 hours after getting your verified payment. 2. US Storage& UNITED STATES by fast shipping.We offer 24 hours dispatch and estimated delivery time is 3-5 business days.except weekend and other irresistible factors.Please feel free to contact us if you haven't receive the item after the estimated shipping time We stand behind every product we sell. All of our brand new items come with a 30-Day money-back or exchange guarantee. Please consult with your mechanic, or contact us, if you are not sure of fitment for your vehicle. READ the notes on the compatibility chart. We are not responsible for incompatible items due to buyer's error, and a restocking fee as well as shipping charges will be deducted from returns or exchanges. All right reserved. |