
Original Battery Bay and Expansion Ports Module for Hewlett Packard HP 41C| CV | CX Calculator
If you find the repair challenging, I also offer a repair service. The HP-41 can be tricky to work on due to corrosion, cracked cases, loose contacts, broken posts, and similar issues.
NEW flexible Cicruit 3M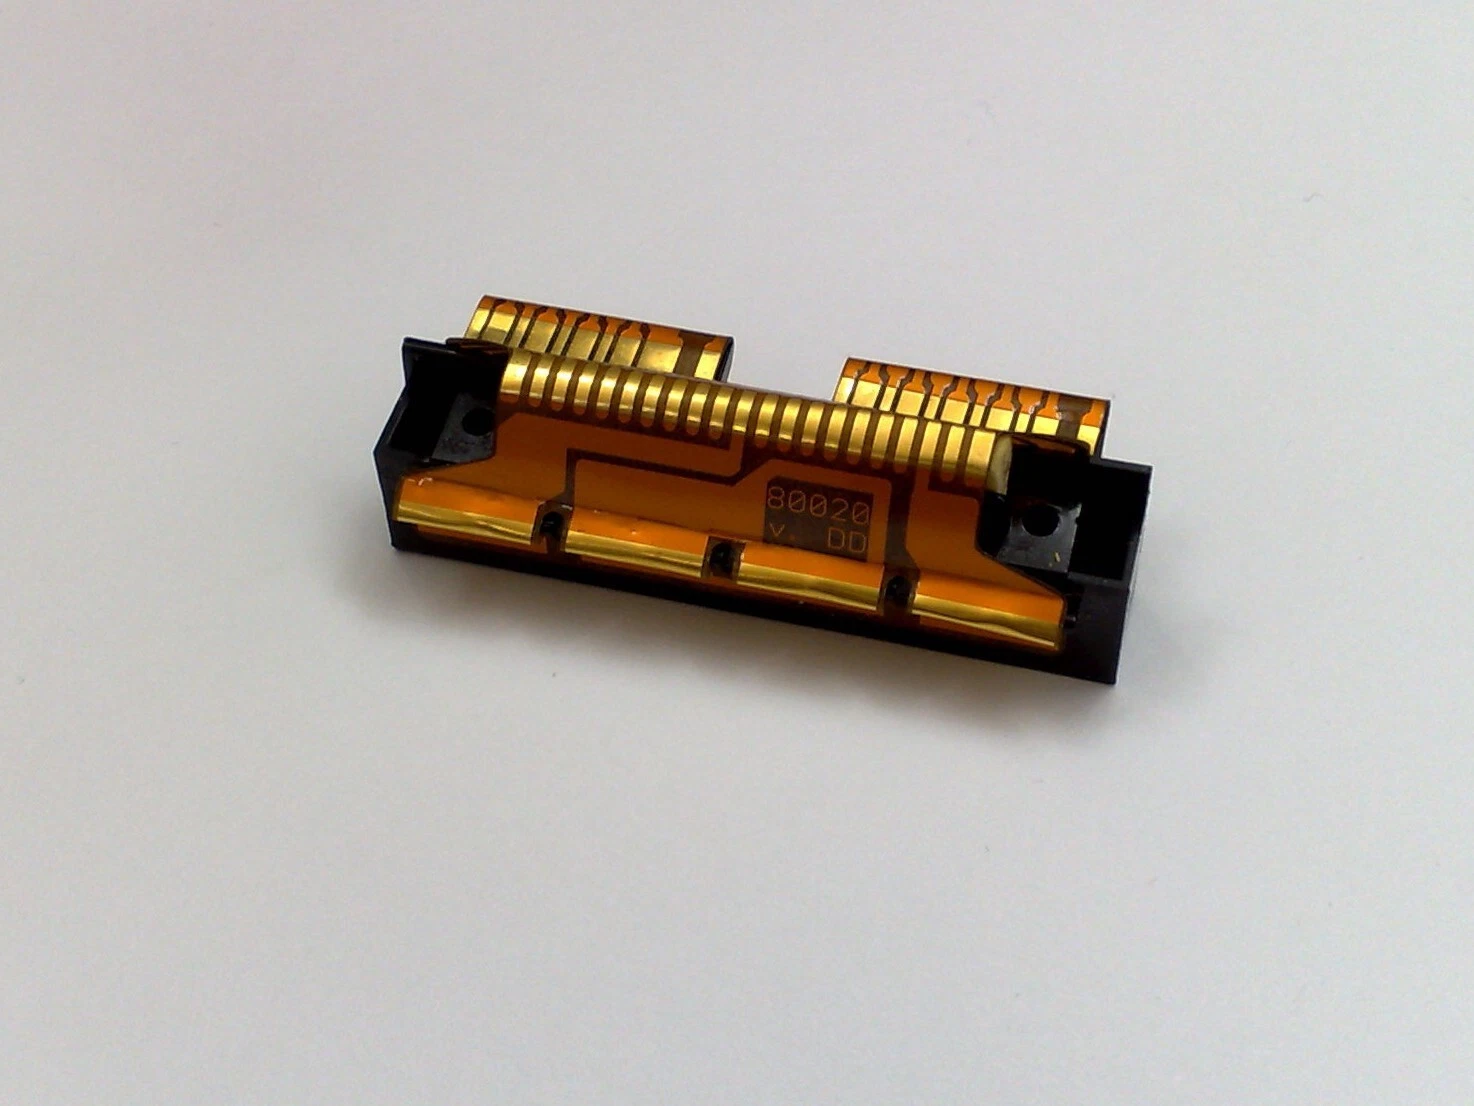
Description
This is an original battery bay for the HP-41C calculator series.
Installation Instructions
1. Opening the calculator
Begin by removing the four rubber feet. Use a small flat screwdriver to gently lift each one, making sure to also pull off the adhesive sheet beneath it. Take care—these feet will likely need to be reused. Store them somewhere safe, as they tend to stick to tools, clothing, or surfaces and can easily get lost.
Unscrew the four screws hidden under the feet. Turn them gently and slowly: the plastic posts they thread into are fragile after 30+ years and can crack or strip easily.
Remove the back cover of the calculator and set it aside. For easier handling, also remove the intermediate plastic piece located between the back cover and the main body. It fits in two ways, and we’ll re-install it properly later.
2. Removing the old battery/port module
Take out all four module covers or any installed modules.
Gently pull the old battery/port module upward. It is held in place by four vertical plastic tabs. Avoid twisting or prying sideways, as these tabs are brittle and can snap.
If the module feels stuck, it may be due to grease or dirt that has built up over time. It is not glued by design. In this case, push upward from the back connectors using a small screwdriver until it releases.
Clean the exposed plastic with mild soap and water or a lens cleaner. If any screw posts are broken, they will need to be repaired first with a back repair piece.
3. Installing the new module
Insert the new module carefully, ensuring the four vertical tabs are not bent. Do this without the module covers installed.
Press the module fully into place against the calculator body.
Re-install the module covers or modules to help hold the piece firmly in place.
4. Reassembling the calculator
Place the keyboard face down on a flat surface.
Re-fit the intermediate piece with its open side facing upward. Ensure the wider part points up, like an “open mouth.” This orientation is necessary for the calculator to close properly.
Position the back cover on top and reinsert the screws. Start with either the top or bottom pair. If aligned correctly, the screws should pass smoothly through the intermediate piece into the posts.
Tighten gently to avoid stripping the threads. If a post breaks, repairs become much more difficult and may require additional repair parts.
And that’s it—your HP-41C is now fitted with a new, reliable battery and port module!