Autosparepartstore


|
|
||||||

|

|

|

|
|||

|

|

|

|
|||


Product Details:
Shock absorber is very important to safety
It is recommended to replace the shock absorbers every 80,000 kilometers , and the shock absorber needs to be replaced in pairs.
20.000km: Please check your shock absorber
80.000km: Need to replace your shock absorber
100.000km: DANGER ! Please replace your shock absorber as soon as possible
Fitment: 1997-2000 Acura EL
1996-2000 Honda Civic
Interchange Part Number : 71291
Features:
Hardened Rods & NOK Seals;
Precision Robotic Welding;
Top Factory Certifications;
Premium Powder-Coated Finish;
Damper Engineered for Each Vehicle Application's
OE or Better Performance Level
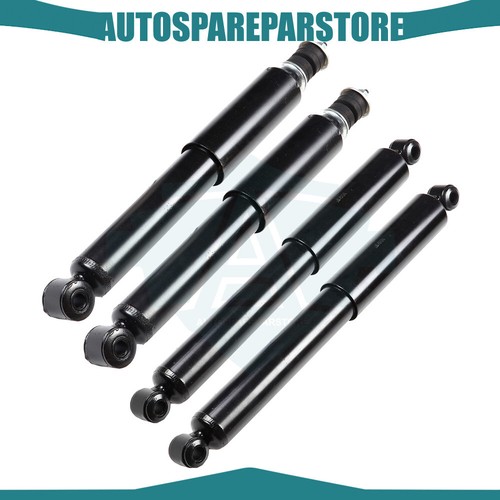
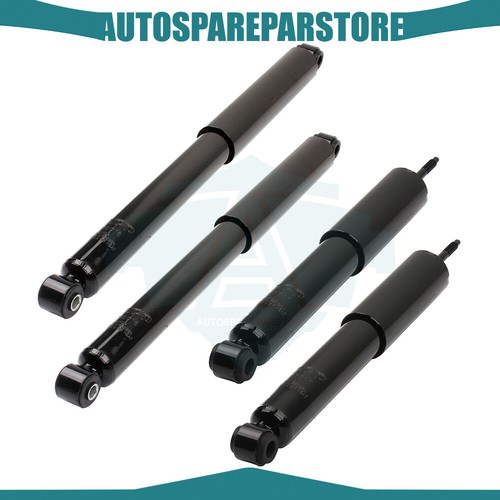
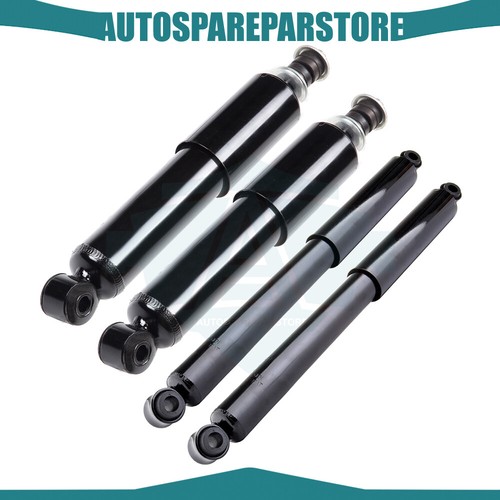
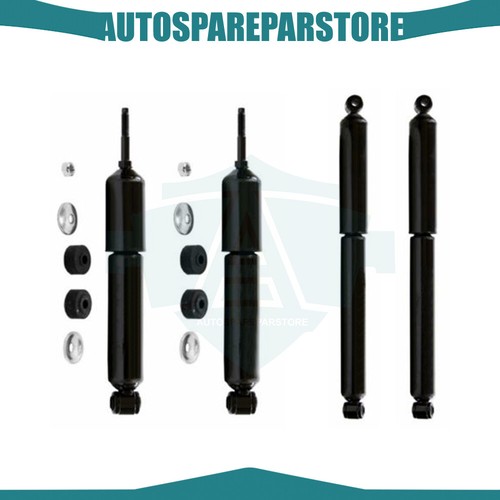
Quantity: 2 Pcs Front Left+Right Shocks
Note:
1. Look Above this product description (Item Specifics) for all part numbers, part brands, placement on vehicle and Compatibility.Make sure that is the correct fitment for your vehicle.
2. Bare shocks & struts set only, springs and mounts are not included.
Warranty: 1 year
How to Check Shock Absorbers?
If you feel like your vehicle's ride quality is not what it used to be, it is a good idea to know how to check shock absorbers. It is fairly simple and easy to do. And it can save you from an unnecessary visit to a garage, or inversely, indicate that you need to get the car to a professional.
STEP 1-Observe your car from the front. With the car on a flat surface, it should appear perfectly level, i.e. both sides being the same height off the surface.
If you actually know the specifications of your car's suspension, you can measure the height. If the height is at or below the minimum specs, then you should take the car to a professional for further evaluation and repair. Being at the "minimum" is just that. It is no longer at the ideal, and something has changed.
STEP 2-Push down on the front of the car to test for weak shock absorbers. This is not a scientific test and is somewhat subjective. But it can be helpful when taken in conjunction with other checks made.
Stand in front of the car and carefully place your foot on the bumper, or your knee on a surface that won't dent or bend; it doesn't have to be center. Shift your weight onto that point, pushing the car down. Then quickly remove your foot, or weight. The car should bounce up and return to its original position rather stiffly, without continuing to bounce. If it bounces more than a couple of times, this is an indication that perhaps the shock absorbers are weak.
STEP 3-Visually inspect the struts or shock absorbers. Look for signs of liquid that is or has been running down the shock absorber. If present, then your shock absorbers could be bad. Once the seals begin leaking, the shock absorber becomes ineffective.
You will need to get the car into a garage to confirm your observations and replace the shock absorbers. Note that you want to get a confirmation that the liquid tracks you observed are indeed emanating from leaking shock absorber seals. It could easily just be something splashed up from the road.
We'll ship the struts separately in two pakages if the full set is over weight. Notice please!
* HOW TO INSTALL :

Step 1: Before you lift the vehicle, loosen lug nuts one full turn.
Step 2: Jack up vehicle and use jack stands for safety & remove the tire from the rotor.
Step 3: (Wheel alignment is necessary after strut replacement.) Marking the position of all the bolts will help
keep the alignment close to original and save time aligning. Use a colored pencil to mark the old strut on the bolt.
Step 4: Use penetrating oil (such as WD40) to coat any rusted fasteners, let soak for approximately 1 hour.
Step 5: (Optional) While waiting for oil to soak, take this time to inspect all other components that may need
replacement (brake pads, rotors, brake hoses, ball joints, CV boots, tie rod ends, bushings, sway bars, etc).
Step 6: Remove any brake line or wire attachments from the strut body. Do not disconnect brake lines (if possible)!
Opening brake lines will require bleeding of the brake system.
Use extreme caution when removing brake lines from your struts, as any damage to your brake line can result in
expensive and time consuming repairs.
Step 7: Remove sway bar attached to the strut assembly or control arm.
Step 8: Remove the tie rod (only if it attached to the body of the strut, if not leave it attached to the steering knuckle).
Step 9: Remove the strut to knuckle bolts at the bottom of the strut. On some vehicles, the brake caliper and rotor
may need to be removed to gain access.
Step 10: Remove the upper mounting plate bolts located in the engine or trunk compartment. Do not remove the
center retaining nut! It is not safe to unload the spring from the assembly in this position.
Step 11: Carefully remove the old strut assembly from the vehicle. Be very cautious not to let the strut "drop" down
on your brake line, rotor or drum.
Step 12: Install the new Complete Strut Assembly in the reverse order as above (steps 11-6). Using an anti-seize
compound on all fasteners is suggested.
Step 13: Carefully double check your work and make sure everything is tightened to manufacturers torque specifications.
Step 14: Replace the tire the rotor and tighten to manufacturers torque specifications.
Step 15: Slowly lower the vehicle down after removing the jack stands. Pay very close attention to any odd sounds
when the vehicle is lowered onto the new Complete Strut Assemblies.
Step 16: It is very important that you immediately "road test" your vehicle right away to ensure that installation was done properly.
Listen and feel for common signs of incorrect installation while driving slowly over speed bumps, rough road or potholes.
| Item Specifics | |
|---|---|
| Brand | autosparepartstore |
| Manufacturer Part Number | AUT070761ORE |
| Type | Shock & Strut Set |
| Fitment Type | Direct Replacement |
| Placement on Vehicle | Left Right Front |
| Manufacturer Warranty | 1 Year |
| Custom Bundle | No |
| Included Hardware | Mounting Hardware |
| Features | Sealed |
| Modified Item | No |
| Adjustable | No |
| Gas Charged Shock | Yes |
| Interchange Part Number | 341203 |
| Other Part Number | 71291 |
| Kit or Single Part | Kit |
| Surface Finish | Powder Coat |
| OE Spec or Performance/Custom | OE Spec |
| Color | Gloss Black |
| Return Policy | 60 Days Free Return Or Exchange |
| Compressed Length | 10.000"(F) |
| Extended Length | 15.375"(F) |
| Travel Length | 5.375"(F) |
| Body Length | 9.563"(F) |
| Quantity | 2Pcs |
| Superseded Part Number | Shock and Strut |
| Universal Fitment | No |
| Item Length | 15.375"(F) |
| Feature | ESCP |
| Package Dimension (in.) | 18.9*7.09*3.54 |
| Gross Weight (LB) | 7.055 |

Check the compatible chart & Item specifics & Picture & Description before placing order, to make sure you will get the right part that fits your vehicle.
We accept multiple payment methods
Payments are expected within 7 days after the last winning auction is closed;
Otherwise Unpaid Item Dispute will be filed with eBay.
We stand behind every product we sell.
All of our brand new items come with a 30-Days money-back or exchange guarantee.
Any question or problem, contact us please.
We will always do our best to get your satisfaction.
Autosparepartstore
Shop Category Hot Item
New List Item
Excellent Delivery
Help & Info Payment Policy Shipping Policy Return Policy FAQ About Us |
Front Shocks Struts Left Right For 1996-2000 Honda Civic 1997-2000 Acura EL
Product Details: Shock absorber is very important to safety It is recommended to replace the shock absorbers every 80,000 kilometers , and the shock absorber needs to be replaced in pairs. 20.000km: Please check your shock absorber Fitment: 1997-2000 Acura EL Features: Hardened Rods & NOK Seals; Note: 1. Look Above this product description (Item Specifics) for all part numbers, part brands, placement on vehicle and Compatibility.Make sure that is the correct fitment for your vehicle.
If you feel like your vehicle's ride quality is not what it used to be, it is a good idea to know how to check shock absorbers. It is fairly simple and easy to do. And it can save you from an unnecessary visit to a garage, or inversely, indicate that you need to get the car to a professional.
STEP 1-Observe your car from the front. With the car on a flat surface, it should appear perfectly level, i.e. both sides being the same height off the surface. If you actually know the specifications of your car's suspension, you can measure the height. If the height is at or below the minimum specs, then you should take the car to a professional for further evaluation and repair. Being at the "minimum" is just that. It is no longer at the ideal, and something has changed.
STEP 2-Push down on the front of the car to test for weak shock absorbers. This is not a scientific test and is somewhat subjective. But it can be helpful when taken in conjunction with other checks made. Stand in front of the car and carefully place your foot on the bumper, or your knee on a surface that won't dent or bend; it doesn't have to be center. Shift your weight onto that point, pushing the car down. Then quickly remove your foot, or weight. The car should bounce up and return to its original position rather stiffly, without continuing to bounce. If it bounces more than a couple of times, this is an indication that perhaps the shock absorbers are weak.
STEP 3-Visually inspect the struts or shock absorbers. Look for signs of liquid that is or has been running down the shock absorber. If present, then your shock absorbers could be bad. Once the seals begin leaking, the shock absorber becomes ineffective. You will need to get the car into a garage to confirm your observations and replace the shock absorbers. Note that you want to get a confirmation that the liquid tracks you observed are indeed emanating from leaking shock absorber seals. It could easily just be something splashed up from the road.
We'll ship the struts separately in two pakages if the full set is over weight. Notice please!
* HOW TO INSTALL :
Step 2: Jack up vehicle and use jack stands for safety & remove the tire from the rotor.
Step 3: (Wheel alignment is necessary after strut replacement.) Marking the position of all the bolts will help keep the alignment close to original and save time aligning. Use a colored pencil to mark the old strut on the bolt.
Step 4: Use penetrating oil (such as WD40) to coat any rusted fasteners, let soak for approximately 1 hour.
Step 5: (Optional) While waiting for oil to soak, take this time to inspect all other components that may need replacement (brake pads, rotors, brake hoses, ball joints, CV boots, tie rod ends, bushings, sway bars, etc).
Step 6: Remove any brake line or wire attachments from the strut body. Do not disconnect brake lines (if possible)! Opening brake lines will require bleeding of the brake system. Use extreme caution when removing brake lines from your struts, as any damage to your brake line can result in expensive and time consuming repairs.
Step 7: Remove sway bar attached to the strut assembly or control arm.
Step 8: Remove the tie rod (only if it attached to the body of the strut, if not leave it attached to the steering knuckle).
Step 9: Remove the strut to knuckle bolts at the bottom of the strut. On some vehicles, the brake caliper and rotor may need to be removed to gain access.
Step 10: Remove the upper mounting plate bolts located in the engine or trunk compartment. Do not remove the center retaining nut! It is not safe to unload the spring from the assembly in this position.
Step 11: Carefully remove the old strut assembly from the vehicle. Be very cautious not to let the strut "drop" down on your brake line, rotor or drum.
Step 12: Install the new Complete Strut Assembly in the reverse order as above (steps 11-6). Using an anti-seize compound on all fasteners is suggested.
Step 13: Carefully double check your work and make sure everything is tightened to manufacturers torque specifications.
Step 14: Replace the tire the rotor and tighten to manufacturers torque specifications.
Step 15: Slowly lower the vehicle down after removing the jack stands. Pay very close attention to any odd sounds when the vehicle is lowered onto the new Complete Strut Assemblies.
Step 16: It is very important that you immediately "road test" your vehicle right away to ensure that installation was done properly. Listen and feel for common signs of incorrect installation while driving slowly over speed bumps, rough road or potholes.
Notification
Check the compatible chart & Item specifics & Picture & Description before placing order, to make sure you will get the right part that fits your vehicle. Payment Policy
We accept multiple payment methods Handling & Shipping
All orders except order with ambiguous address or with specific message from buyer or other problem will be shipped within 24 hours.
All orders in the continental 48 States will be shipped FREE of charge via FedEx or UPS or USPS from west or east warehouse at our discretion.
Orders outside the continental 48 States (Alaska, Hawaii, Puerto Rico, US territories, or International) will be required to pay a surcharge for shipping, and international orders will not be offered with free customs clearance service.
Return & Warranty
We stand behind every product we sell. All of our brand new items come with a 30-Days money-back or exchange guarantee. Contact Us
Any question or problem, contact us please. We will always do our best to get your satisfaction. All rights reserved. |
||||||||||||||||||||||||||||||||||||||||||||||||||||||||||||||||||||||||||||||||||||||||||||||||||||||||||||||||||||||||