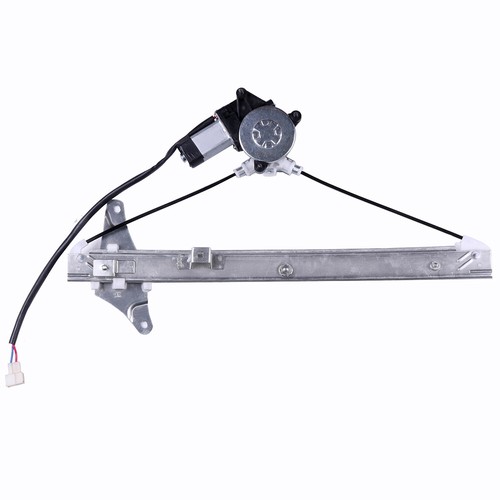
Fitting for the following vehicles:
For Chrysler 300 2015-2021 V6 3.6L Rear Left/Right RWD
For Dodge Challenger 2015-2018 V6 3.6L Rear Left/Right RWD
For Dodge Challenger 2019-2020 V6 3.6L Rear Left/Right RWD, 3.07 Ratio
For Dodge Challenger 2021-2022 V6 3.6L Rear Right RWD
For Dodge Charger 2015-2017 V6 3.6L Rear Left/Right RWD, 195mm Rear Axle 3.07 Ratio
For Dodge Charger 2018 V6 3.6L Rear Left/Right RWD, 195mm Rear Gear
For Dodge Charger 2019-2020 V6 3.6L Rear Left/Right RWD, 195 mm Ring Gear (7.6 In. Ring Gear)
For Dodge Charger 2021-2022 V6 3.6L Rear Left/Right RWD
NOTE: Only fit RWD(Rear Wheel Drive), not fit AWD(All Wheel Drive).
NOTE2: Only fit Engine V6 3.6L
Features:
Enhanced durability - using heat-treated steel universal joints, which have a longer lifespan than ordinary parts.
Silent operation - precision balancing technology reduces vibration and abnormal noise during driving.
Anti corrosion treatment - special surface coating to extend service life and adapt to various road conditions.
Smooth transmission - reduces vibration and noise, improves driving comfort.
Fast delivery - Orders are shipped on the same day to ensure you receive them as soon as possible.
CV axle replacement
Pro Tip
Additional specialized tools such as tie-rod end pullers, ball joint removers, and vehicle-specific sockets may be required
(1) Slightly loosen the wheel lug nuts. Raise and secure the vehicle. Remove the wheels. Remove the cotter pin. Unlock the spindle nut safety fastener according to the repair manual instructions.
Tip: Leave one side assembled while you work on the other so you can remember how things go back together.
(2) Loosen the nut with a proper socket and breaker bar. Another bar or large screwdriver wedged between the lug nuts can help hold the wheel in place. Brake application simplifies the wheel turn issue.
(3) On some vehicles, the brake caliper and rotor must be removed before proceeding. Refer to your repair manual for your vehicle's requirements. If you find yourself having to remove the brake caliper, suspend it from a point on the For Rame or wheel well with a length of coat hanger wire so it doesn't hang from its brake hose.
(4) Remove the cotter pin and castle nut from the lower ball-joint. Disconnect the ball-joint from the steering knuckle with a removal tool (your pickle fork is likely to come in handy here). Swing the knuckle and hub outward to free the outboard axle assembly.
(5) Gently wedge a pry bar or a large flat blade screwdriver between the axle and transmission. Carefully pry the axle assembly away from the transmission. Be careful not to damage any transmission seals.
(6) The drive axle assembly should now slide right out. Take a good look at the drive assembly location, and then remove. The new one will go back the same way.
(7) Grease the splines before insertion with gear grease. Insert the replacement drive axle assembly and reverse the disassembly process. Torque all fasteners to specification. Don't forget to use new cotter pins.
Notes:
(1) Please kingly check the fitment information of this set, using the drop down fitment chart to confirm the compatibility.
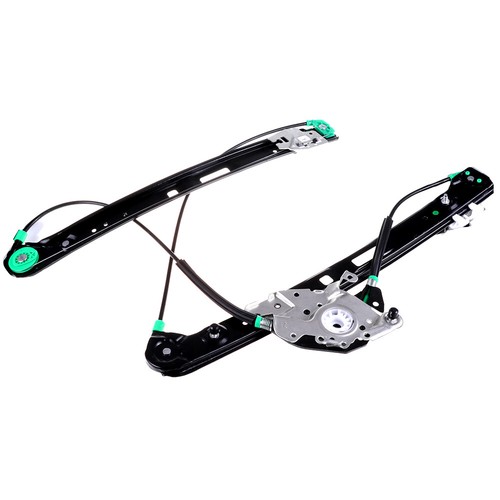
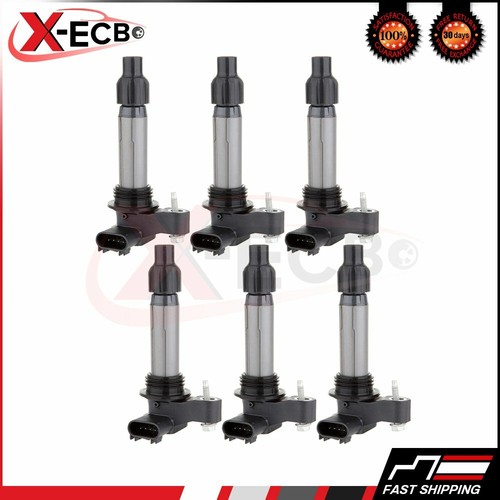
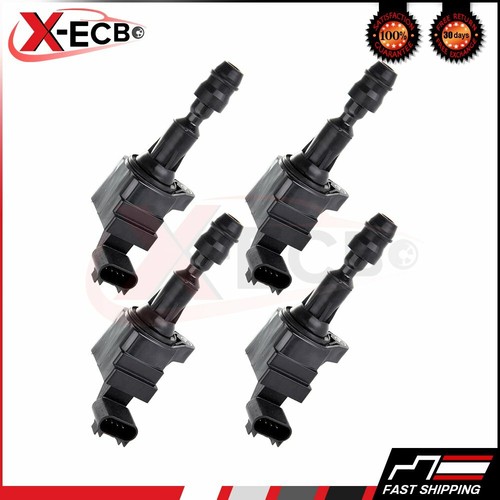
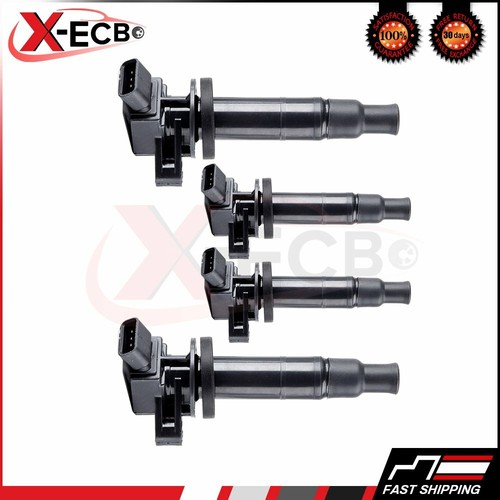
(2) Please refer to the first product image for the components list of this set.
(3) We always check every set before shipment, if there are any defects upon receiving or any other quality problems of our product, please kindly message us, we will solve your problems patiently.