| Product name | Ink cartridge, Compatible ink cartridge |
| Suitable printers |
For Epson Stylus Pro 4900 For Epson Stylus Pro 4910 |
| Cartridge number |
4900 : T6531 T6532 T6533 T6534 T6535 T6536 T6537 T6538 T6539 T653A T653B 4910 : T6551 T6552 T6553 T6554 T6555 T6556 T6557 T6558 T6559 T655A T655B |
| Chip type |
Installed the stable cartridge chip |
| Color |
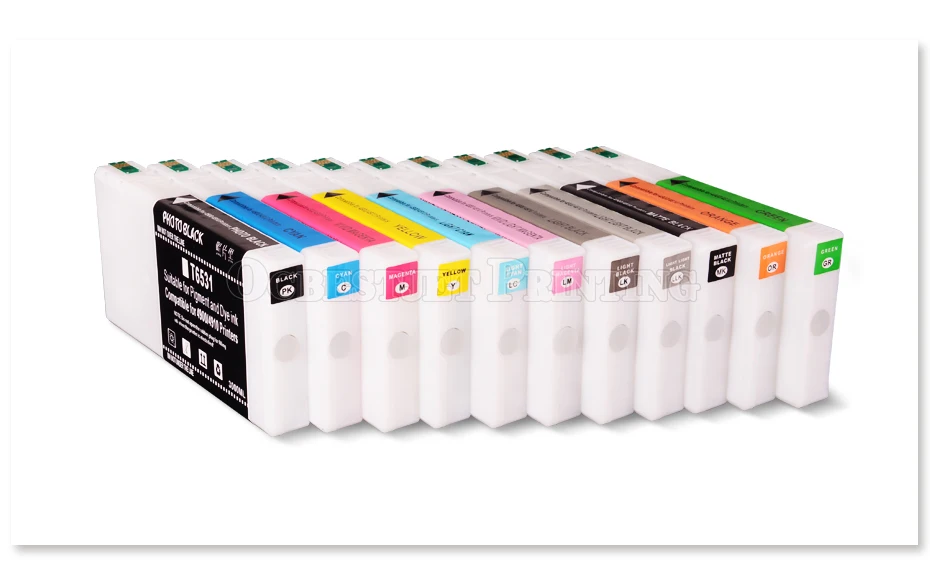
PBK C M Y LC LM LK LLK MBK OR GR |
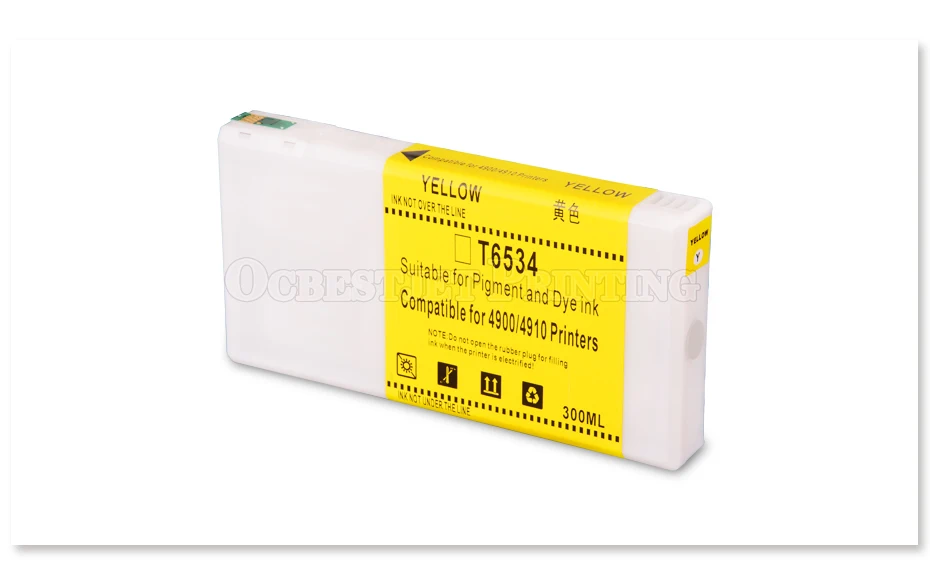
| Cartridge capacity | 300ml/pc |
| Ink type |
Filled with 300ml pigment ink (UltraChrome HDR Ink) |
| Warranty |
1:1 replace any defective |
| What's in package |
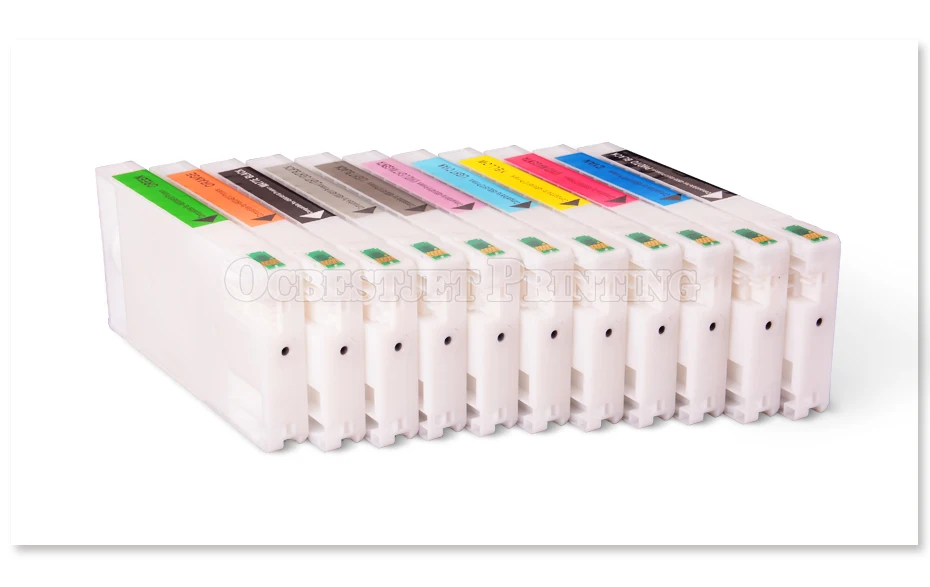
1 Piece × Photo Black ink cartridge 1 Piece × Cyan ink cartridge 1 Piece × Magenta ink cartridge 1 Piece × Yellow ink cartridge 1 Piece × Light Cyan ink cartridge 1 Piece × Light Magenta ink cartridge 1 Piece × Light Black ink cartridge 1 Piece × Light Black Black ink cartridge 1 Piece × Matte Black ink cartridge 1 Piece × Orange ink cartridge 1 Piece × Green ink cartridge |



Replacing ink cartridges
Before you begin a large print job, you should check your ink levels. If one of your cartridges is low, you can replace it before you start.
Or you can wait until the ink runs out, replace the cartridge, and then continue the job without any loss of print quality.
However, it is best to replace a low ink cartridge before starting a large print job.
How to replace
Before you start, make sure the printer is powered on. Then follow these steps to replace an ink cartridge:
1. Note the color of the cartridge that is low or empty. This is the cartridge you need to replace.
2. Press the ink compartment cover to open it.
3. Press in the cartridge you want to replace.The cartridge pops out.

4. Remove the empty ink cartridge from the printer.

5. Make sure the replacement cartridge is the correct color and remove it from its package.
6. Gently shake the cartridge for about 5 seconds before installing it.
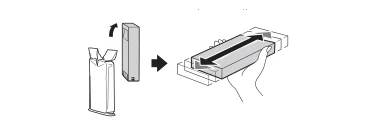
7. Hold the cartridge with the arrow pointing toward the printer. Then insert the cartridge into the slot. Don’t force it in.

8. Close the ink cover.Once the cartridge is installed,the printer returns to its READY state.