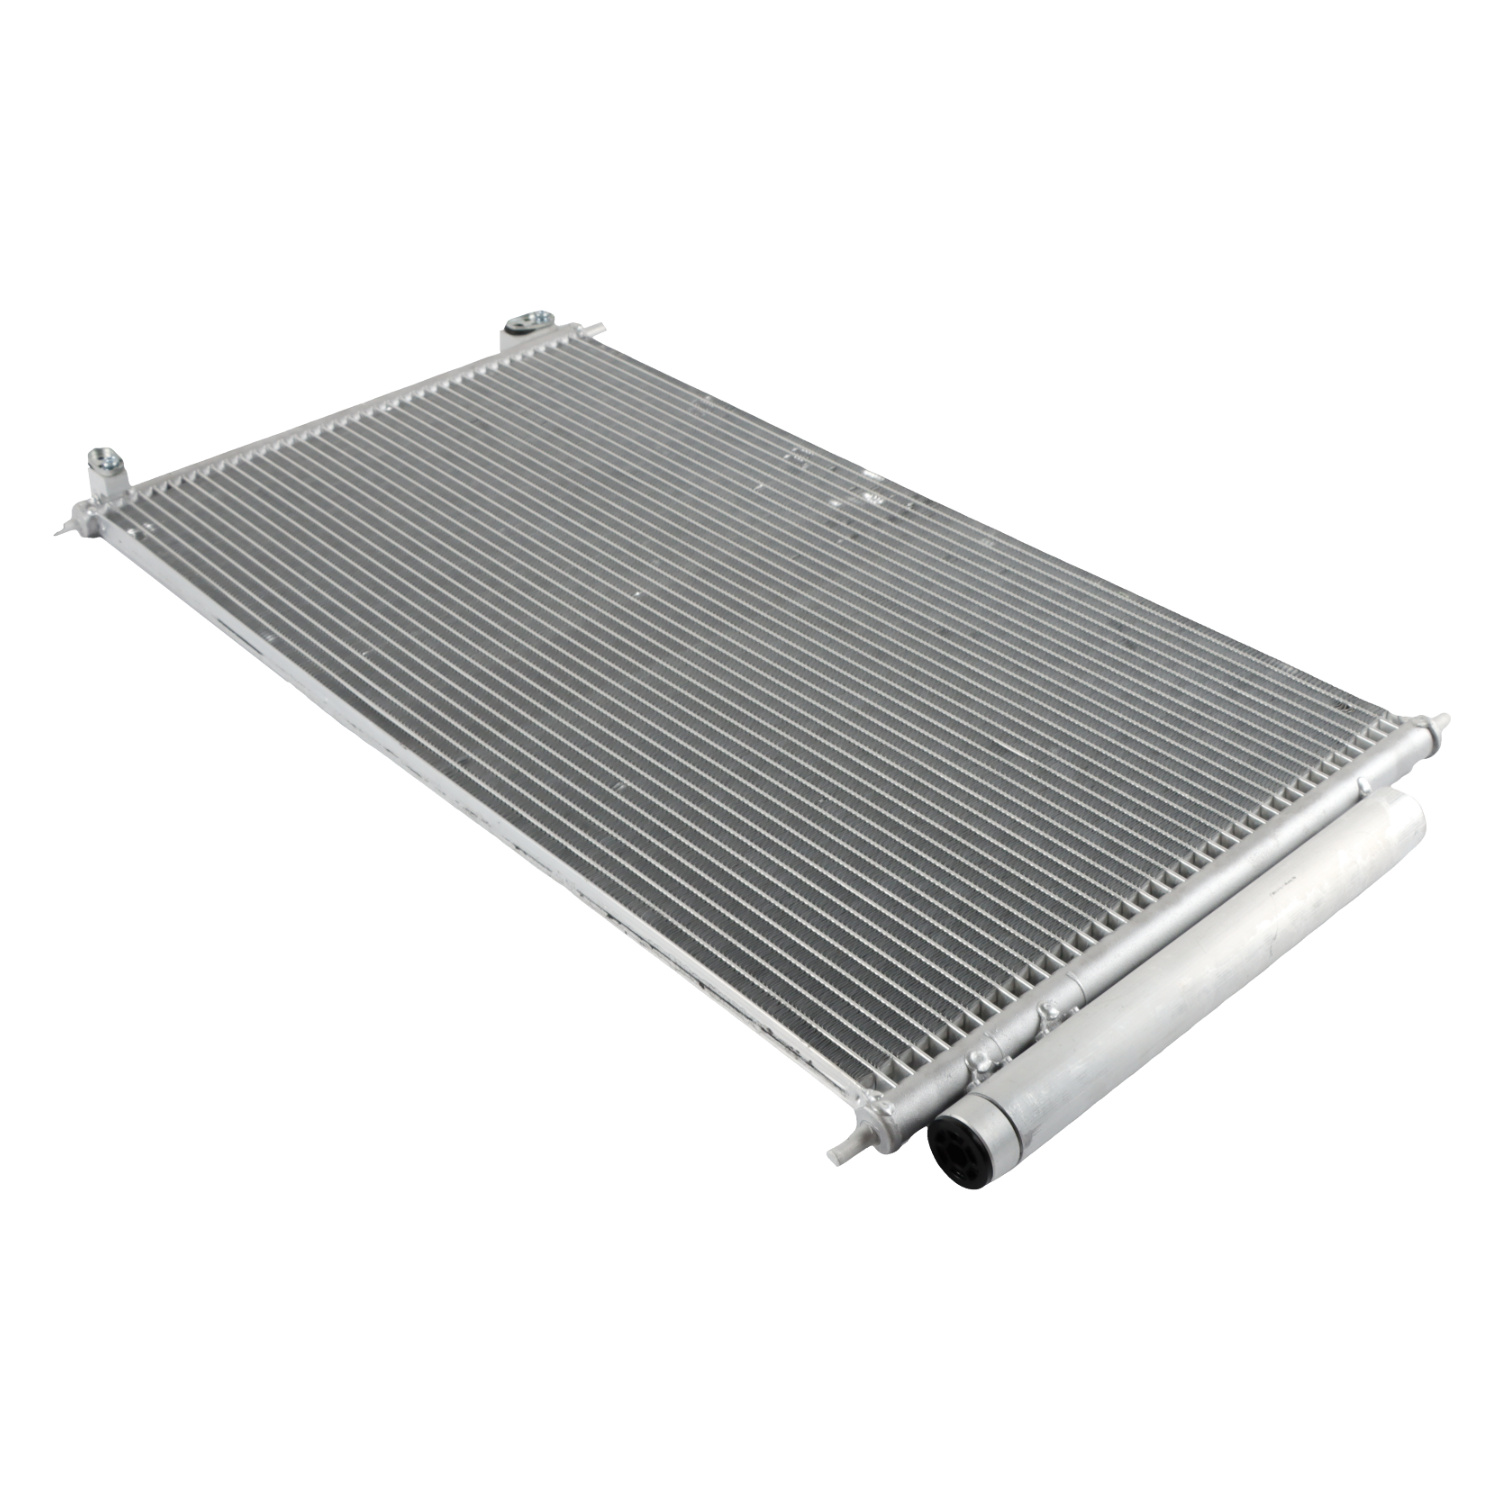
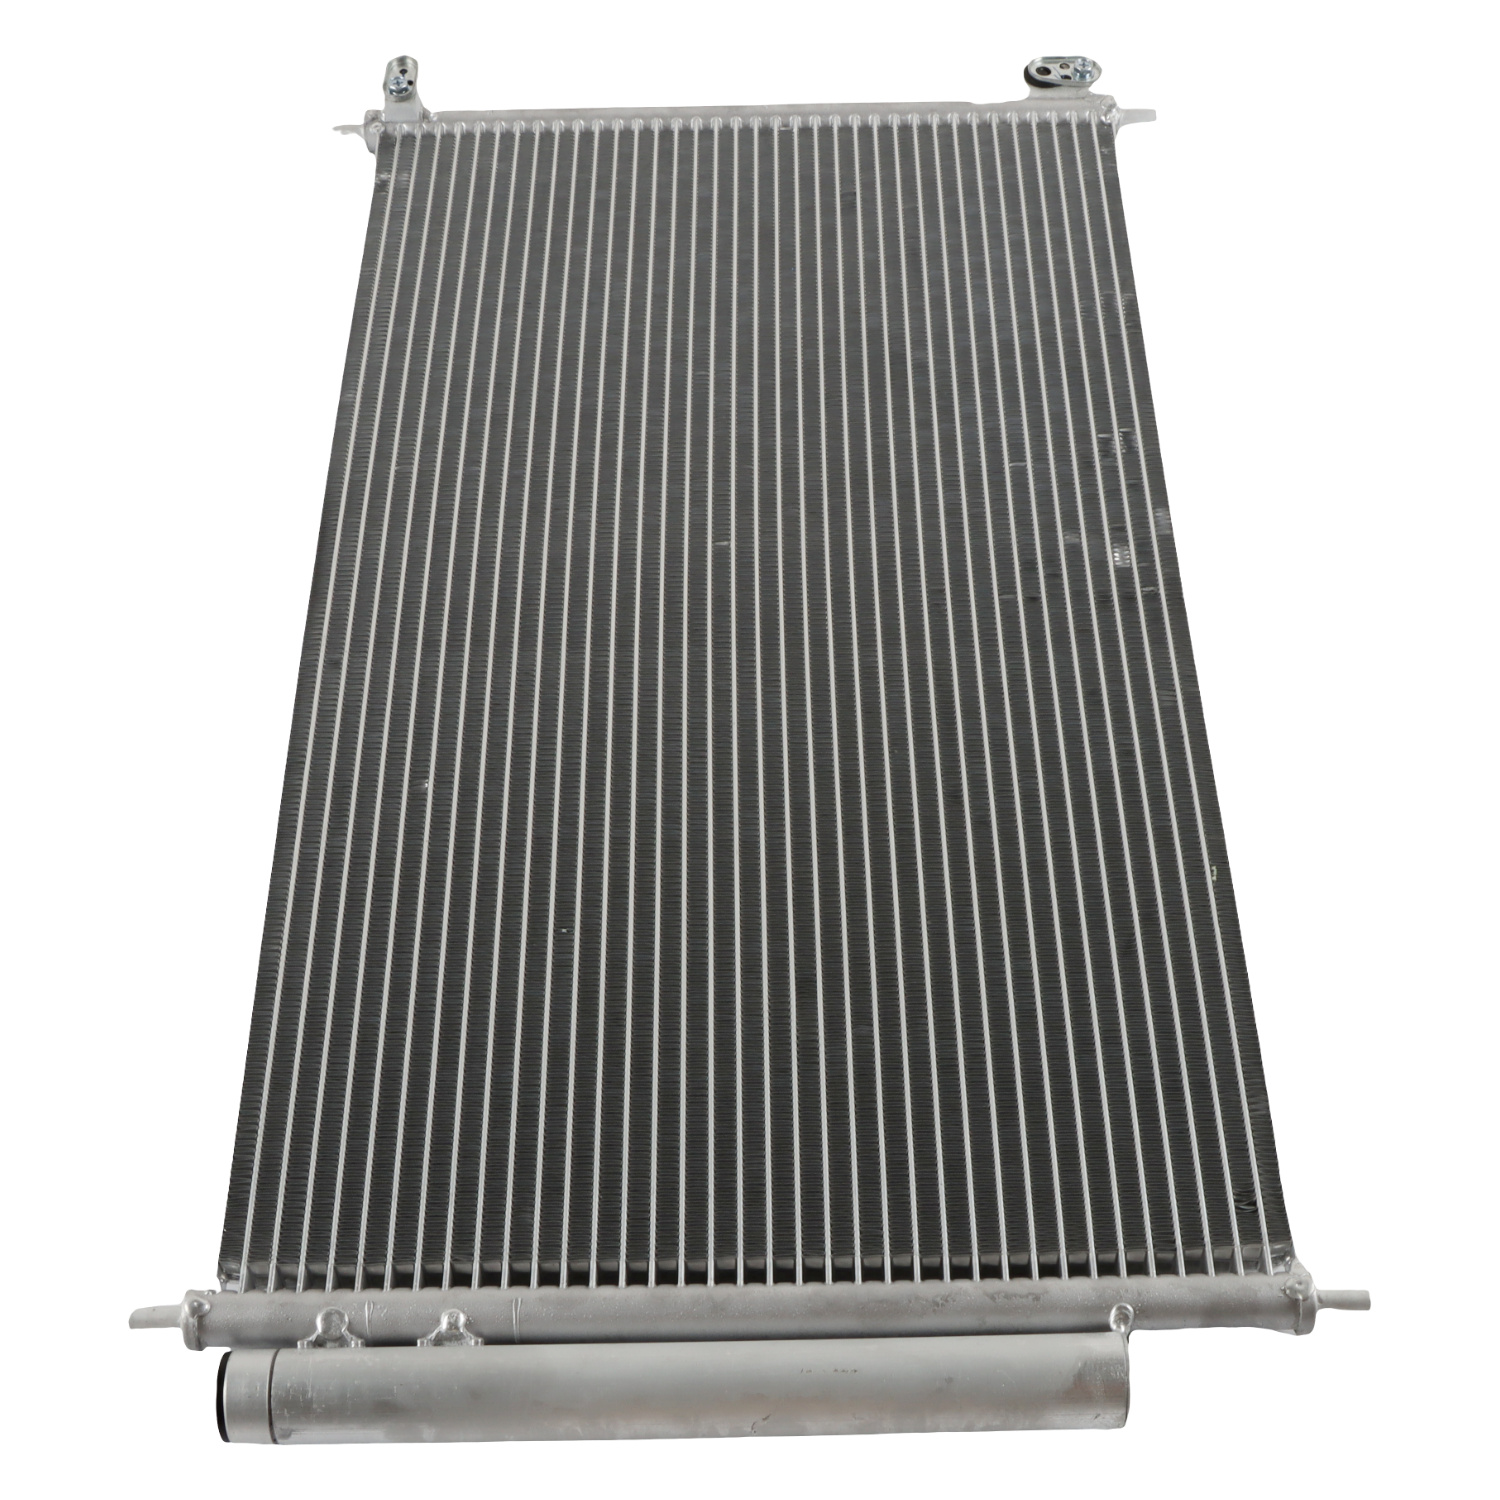
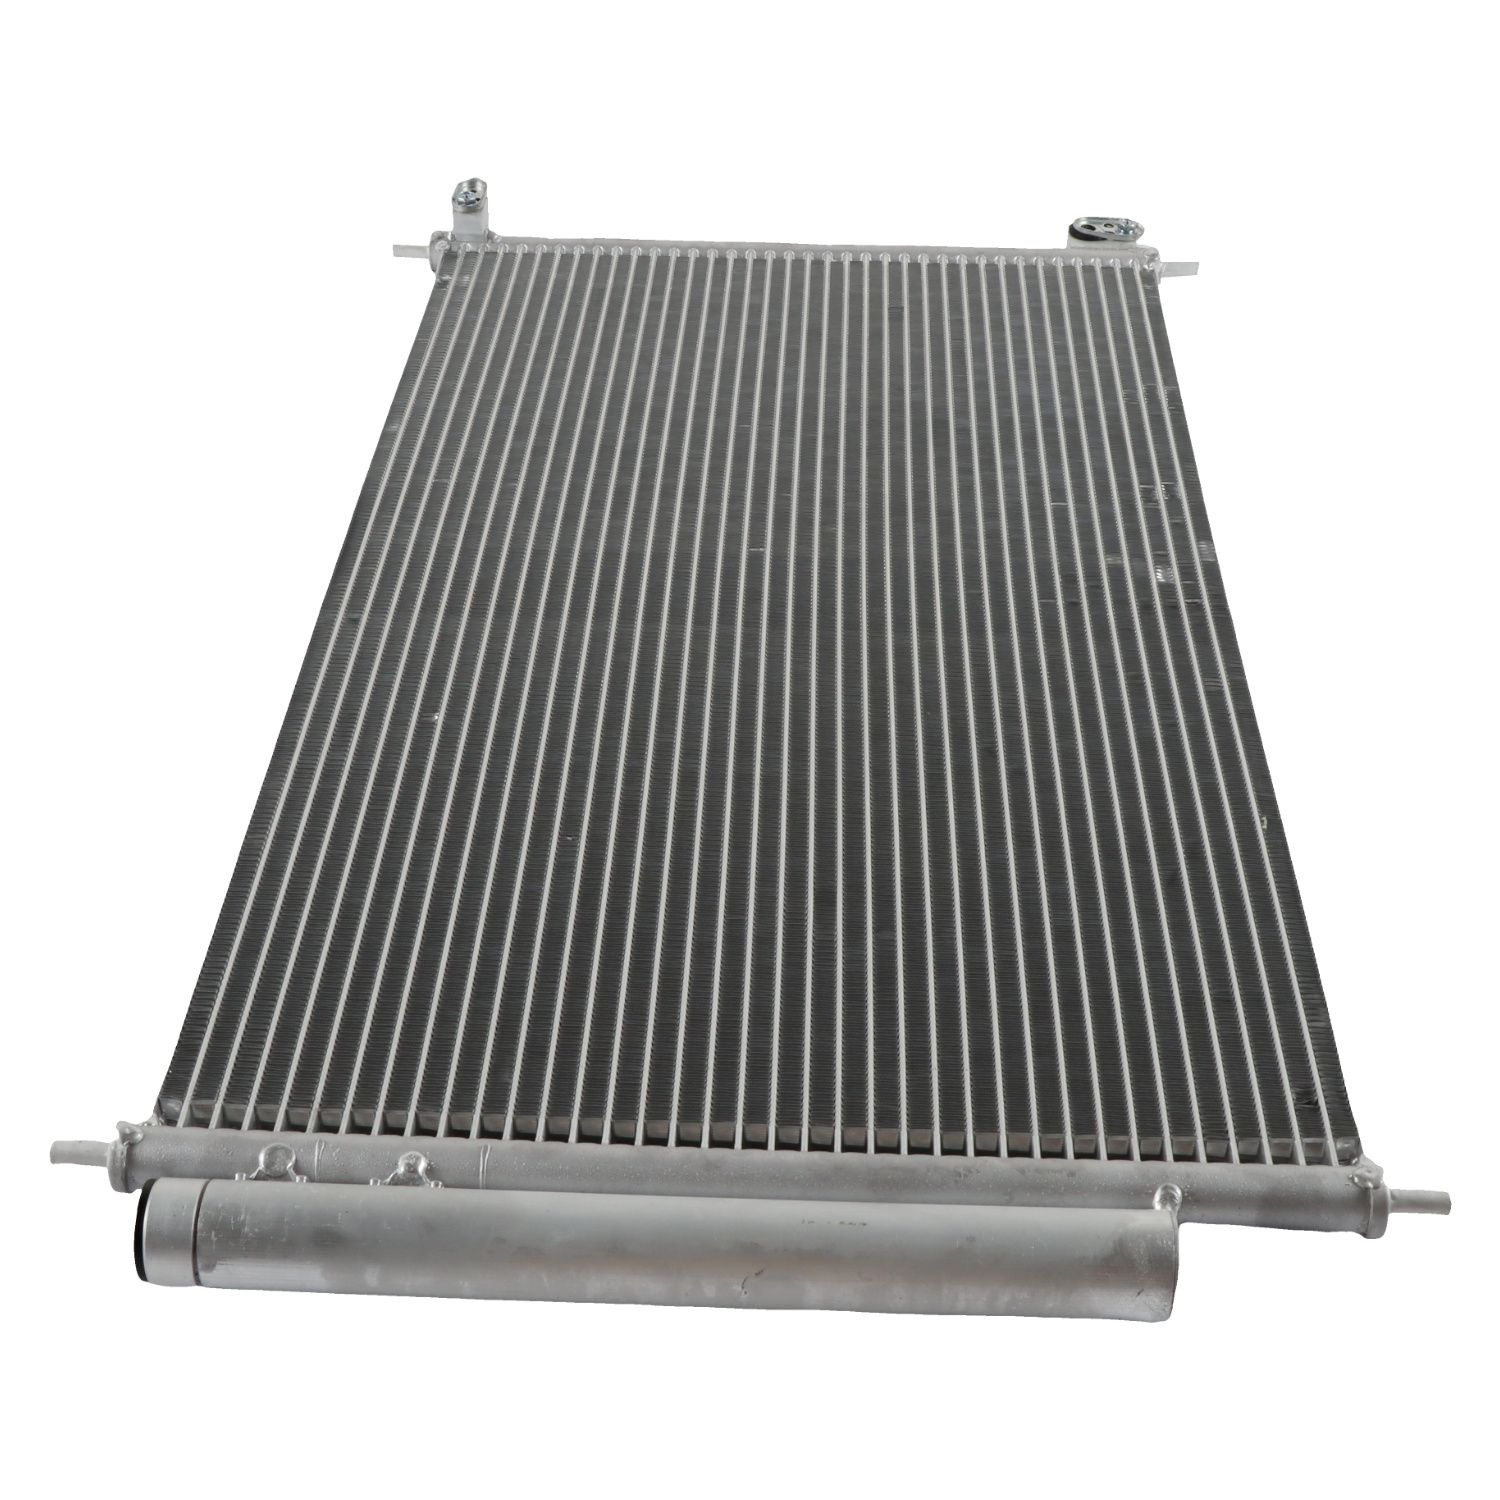
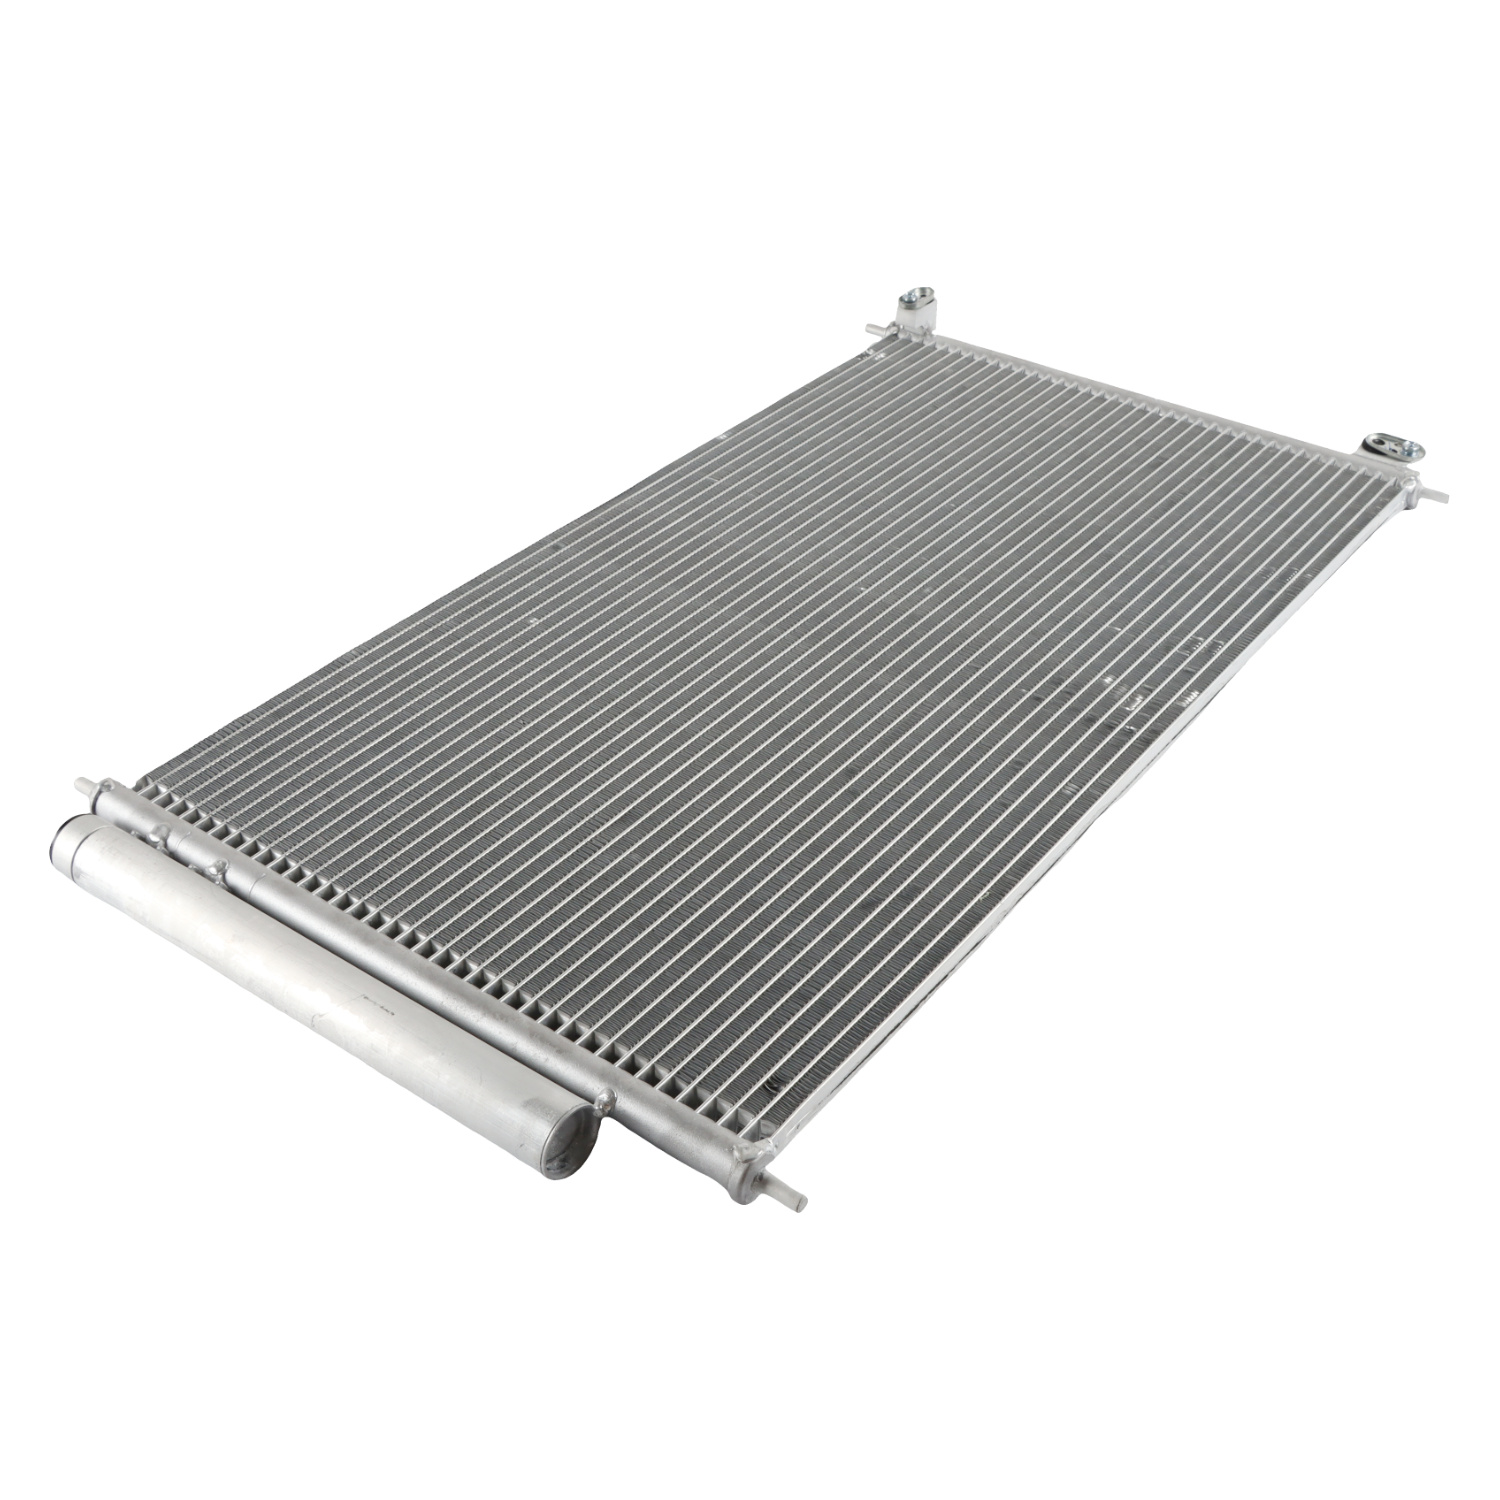
AC Condenser for 2012-2015 Honda Civic Sedan 3965
Specifications:
Material: Aluminum
Color: Silver
Placement on Vehicle: Front
Quantity: 1
Core Height (IN): 368mm
Core Length (IN): 674mm
Core Thickness (IN): 16mm
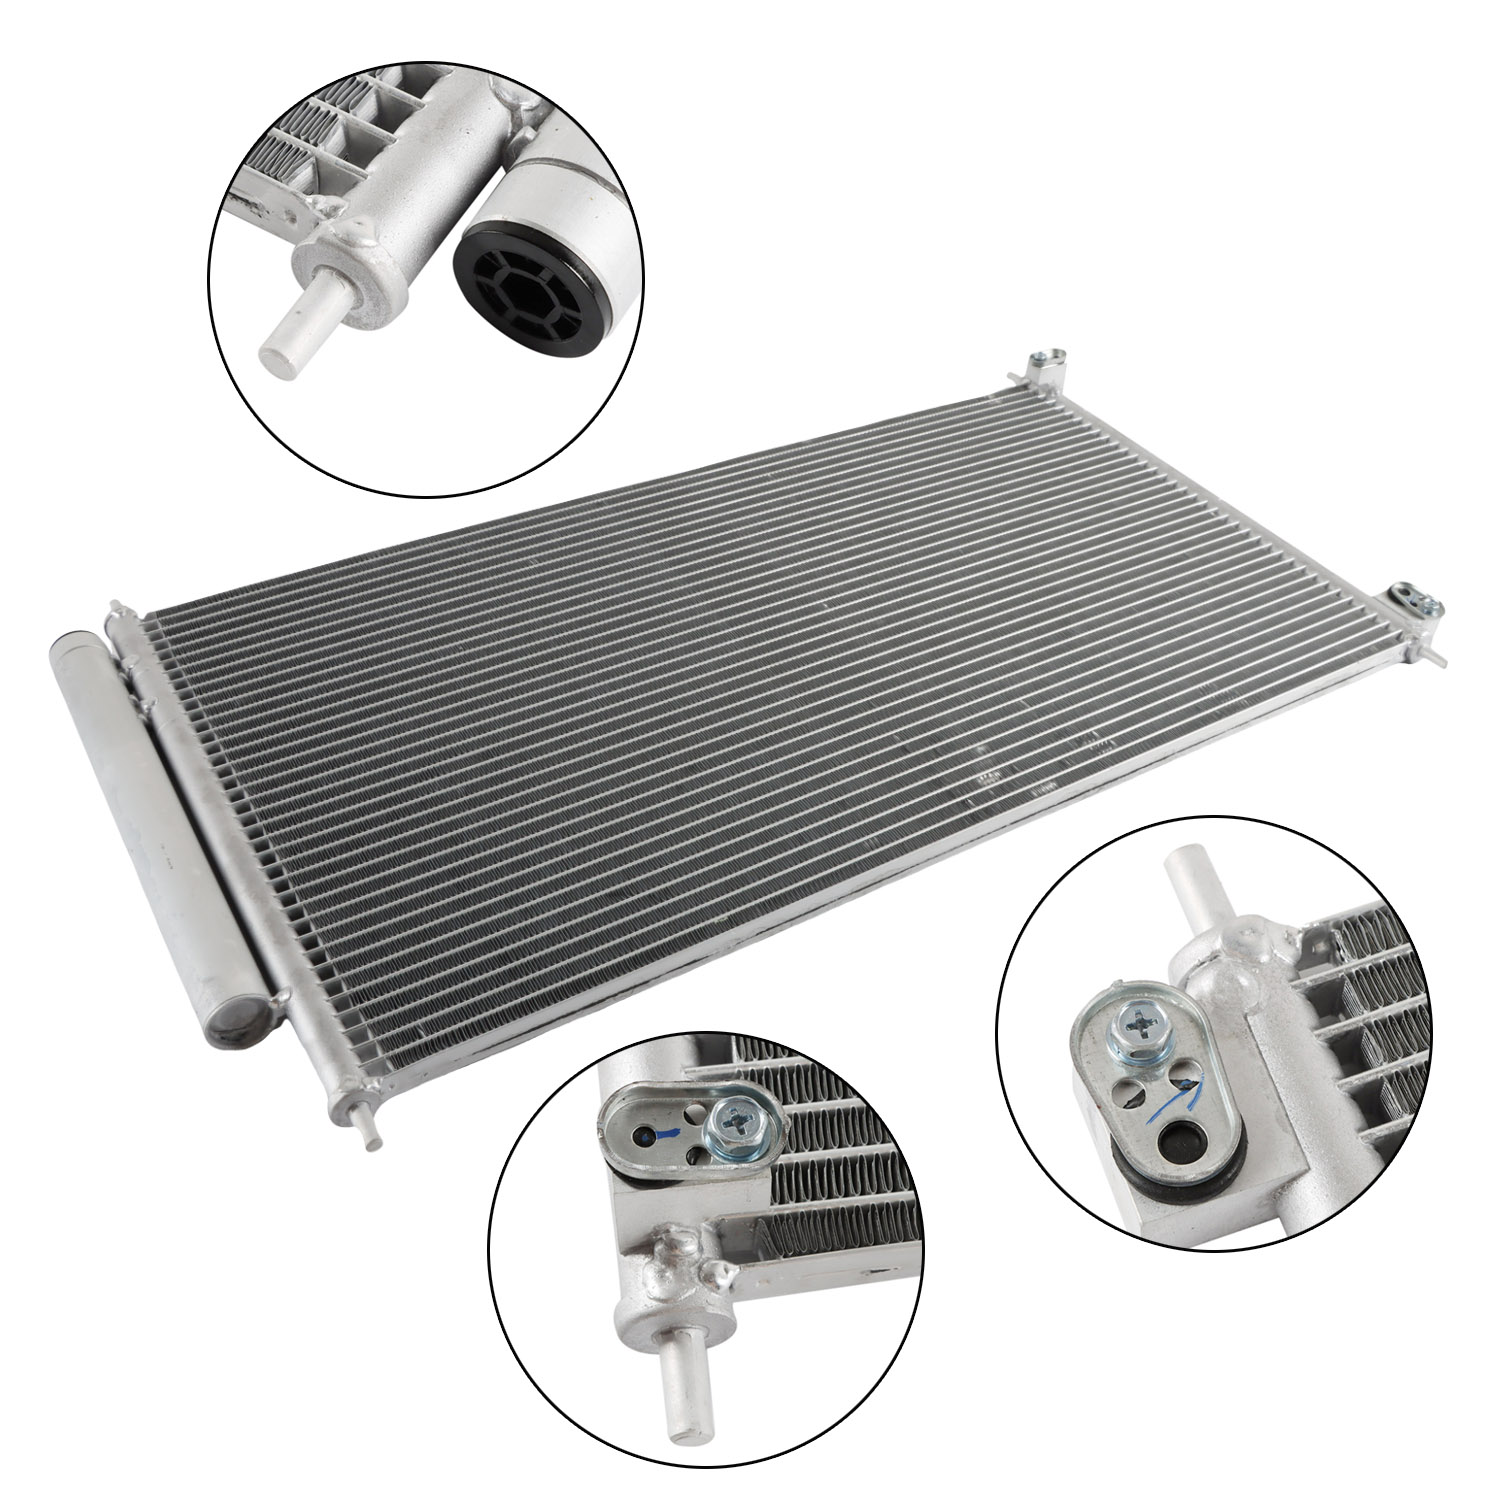
Inlet Diameter (IN): φ15.5
Outlet Diameter (IN): φ10.15
Built-in Receiver/Dryer: Yes
Part Number: 3965
Interchange Part Numbers:
73965, 80110TR0A02, HO3030156
3965
Fitment:
for Acura
2013-2022 ILX Base
2013-2015 ILX Dynamic
for Honda
2012 Civic DX
2012-2015 Civic EX
2012-2015 Civic EX-L
2012 Civic GX
2012-2015 Civic HF
2012-2015 Civic Hybrid
2012-2015 Civic Hybrid-L
2012-2015 Civic LX
2015 Civic SE
2012-2015 Civic Si
2013-2015 Civic (submodel: DX, Natural Gas, Touring)
Package Include:
1pc AC Condenser
Features:
1. Built to strict quality control standards 100% factory tested
2. Easy Installation,100% Compatible with OEM Parts, meets Original Equipment Manufacturer (OEM) Standards
3. Mechanically tested prior to leaving the factory ensures optimal performance and enhanced durability.
4. Perfect match for the original car.
5. Louvered aluminum fins and tubes are bonded through a unique furnace-brazing process with premium quality aluminum for maximum heat dissipation.
6. The condenser is part of the A/C system. It receives the hot, high-pressure gaseous refrigerant from the compressor and cools it to a warm liquid state, although still under high pressure.
7. The Condenser is located right in front of the radiator. High pressure (hot) refrigerant travels through it and cools off as air passes through.
Attention:
Step 1: Disconnect Power Supply.
The first step, as with any project that involves electricity, will be to disconnect the power supply or turn it off at the breaker. Many central air conditioning units have their own 220 breaker. On others, the breaker will be in the breaker panel for the rest of the home.
Step 2: Test the Condenser
Testing the condenser will indicate if the problem is actually with the condenser, or with another component of the air conditioning unit. It will likely also be determined at this point if the condenser needs to be replaced with a newer model that is compatible with a newer type of coolant.
Step 3: Remove the Condenser
Once it has been confirmed that the problem with the air conditioning unit is in fact the condenser, it needs to be removed. The coolant lines will be clamped and cut, followed by the removal of the air conditioner condenser.
Step 4: Replace the Condenser
The new condenser is installed in place of the old one. The coolant lines will be reconnected with the condenser, usually with silver soldering. The clamps are removed and a vacuum is put on the system to remove any air from the lines and make sure coolant is at the proper levels. If it is not, the coolant may be replaced or added to (which is referred to as been charged or recharged). If a different type of condenser was needed due to using an obsolete type of coolant, other components such as controls and/or coils may also need to be replaced, but components such as ducts and blower will likely not need to be replaced.
Step 5: Testing the Air Conditioner
Once all of the above steps have been completed, the air conditioning system will need to be tested. The power supply needs to be restored, and the system turned on by setting the thermostat in the home to "cool" and lowering the desired temperature on the thermostat.This should initiate the air conditioner to start up. If it does not come on, additional testing of other components may be required.
Note:
1.Disconnect the negative battery cable.
2.Inspect the condenser for cracks that can lead to leaking.
3.Remove any grilles, supports, lock braces to gain access to the condenser.
4.Remove the condenser's refrigerant lines. Cap these lines immediately
5.Remove the condenser mounting bolts.
6.Pour a small amount of compressor oil into the line fittings. Reconnect the A/C lines. Replace all O-rings
7.Evacuate all remaining refrigerant using a specific AC machine that pulls a vacuum on the system.
8.Reconnect the battery cable.Test A/C system by measuring the temperature coming out of vents inside the vehicle.