1. Wrap one turn of TFE tape around the test head of the sharp edge tester; the overlap must not exceed 0.1 inches (0.25 mm).
2. After securing the test specimen, the position of the test edge must not shift or bend.
3. When the edge of the assembled toy comes into contact with the test tip, if that position is unsuitable for testing, the test specimen should be repositioned; however, if repositioning would affect its hardness, another object may be used to maintain its hardness, provided that the support area of that object does not exceed that of the test specimen.
4. The angle between the tester and the end face of the edge being tested shall be 90° ± 5°.
5. The point of contact between the edge of the test object and the adhesive tape shall be located at the center of the tape.
6. The test object shall be tested in the most unfavorable position.
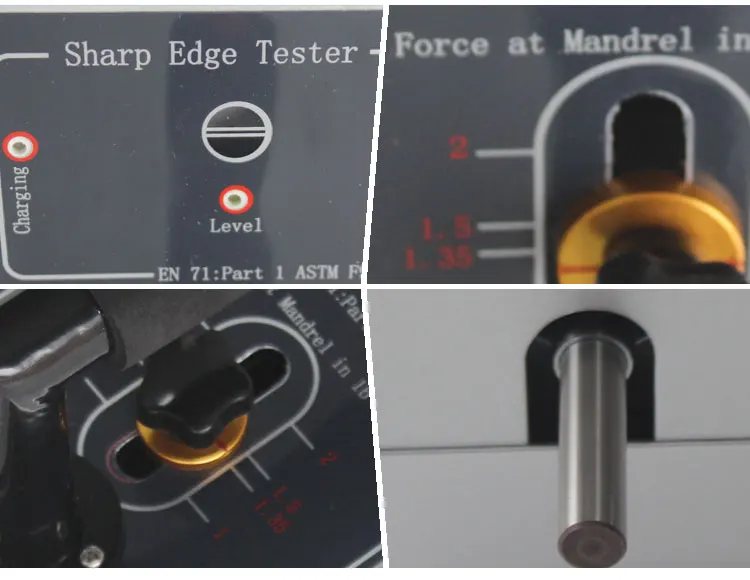
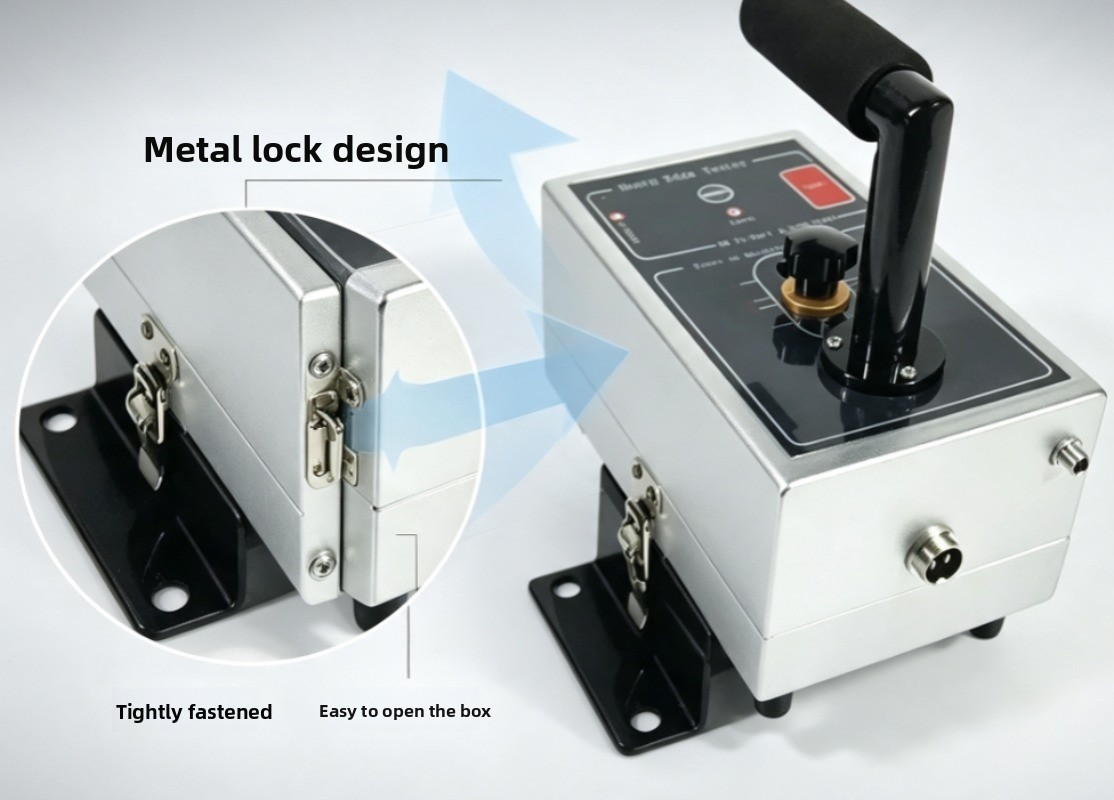
7. The force setting on the sharp-edge tester shall be set to 1.35 pounds (6 newtons).
8. Apply force to the adhesive tape in the upward direction until the indicator light illuminates; at this point, the force applied to the end of the test edge is 1.35 pounds.
9. Turn on the sharp-edge tester and rotate its shaft one full revolution.
10. Carefully remove the adhesive tape, taking care not to enlarge the cut, and measure the length of the cut with a steel ruler.
11. If the length of the cut is greater than 0.5 inches (12.5 millimeters), the edge being tested is considered a sharp edge.