Built for the Road & Affordable – Without Breaking Your Wallet!
AURA™ Underglow Flexible LED strips are built so you don’t need to drill! Constructed with flexible LED strip cased in silicone.
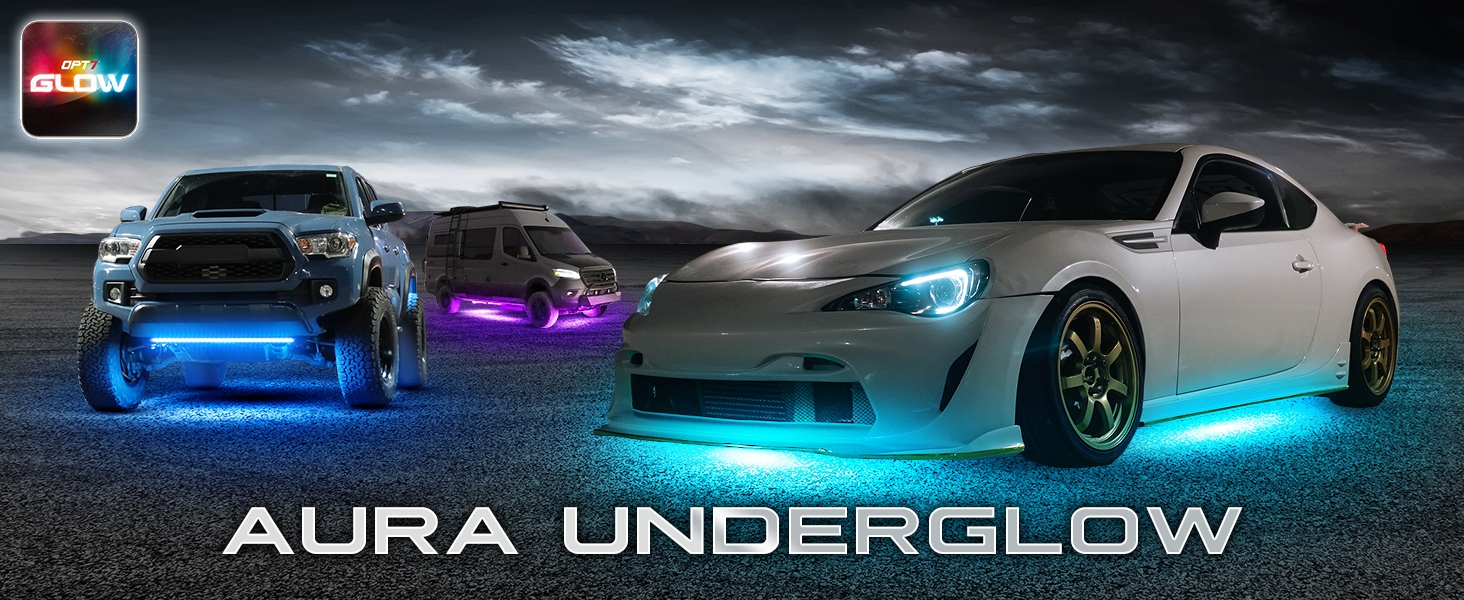
AURA™ LED Strips
IP67 Waterproof & Dust-Proof for Ultimate Durability! Designed for reliable performance in any weather, our strips feature a fully silicone-sealed construction for maximum protection. Each set includes mounting brackets and zip ties, ensuring secure installation and stability. Enjoy peace of mind knowing your AURA™ LED strips will stay in place, no matter the conditions!
Easy Installation
With our exclusive design, the LED strips allow brightness at an output of more than 100% even in daylight, get ready to turn heads. Power up the light strips to positive and negative 12V battery terminals with our tested inline fuse power wire to prevent overdrawn on voltage.
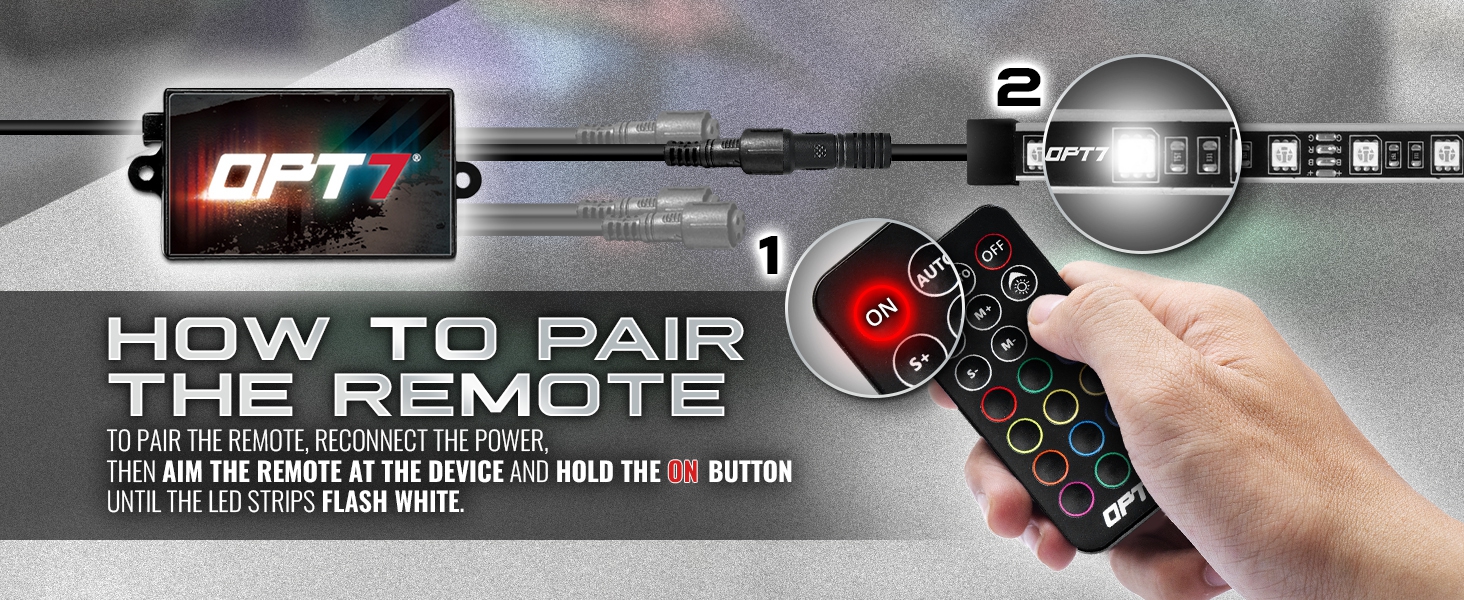
Seamless Dual Control
Unlock endless lighting possibilities with two powerful control options—designed for ease and flexibility.
- One OPT7 GLOW APP(Bluetooth)
- One E-Z Handheld Remote
OPT7 GLOW - Supreme & Dominant APP
Experience limitless lighting control with the OPT7 GLOW APP. Designed by OPT7 for maximum functionality, it offers stunning effects, vibrant colors, and music-sync features—all in one intuitive interface. Perfect for everyday drives or party nights.
APP Highlights:
- Unlimited Color Choices: includes brightness dimming selections and light speed
- Music Rhythm Modes: Supports Phone MIC (Android Auto) and Music Playlists. Refer to the user guide for details
- Light Effect Animations: Animated effects allow you to effortlessly design your own light show
- Dual Control Ready: Control your lights with the APP or the E-Z remote.
- Easy Setup: Download available for iOS 7.0+ and Android 4.3+.
- Quick Start: Scan the QR code on the package for app download and installation guides.
E-Z Programming
Easily switch colors and patterns with the feature-rich E-Z Remote—no APP required.
- 12 Solid Colors
- 19 Modes
- 8 Levels Speed
- 8 Levels Dimmer
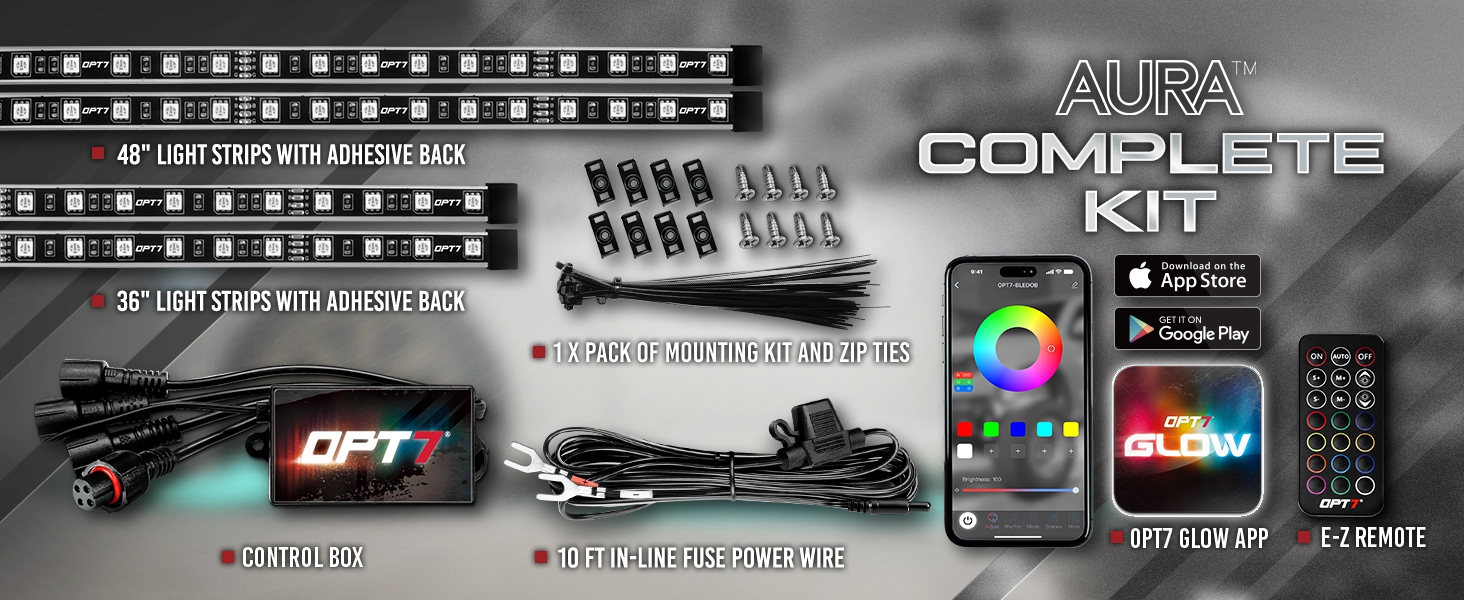
AURA™ Underglow Flexible LED Strip Kit includes:
- 1 x OPT7 Glow Underglow Control Box
- 1 x 21-Key Handheld Remote
- 2 x 48" RGB Light Strip w/ Adhesive Back + 8ft Extension Wire Attached
- 1 x 36" RGB Light Strip w/ Adhesive Back + 18ft Extension Wire Attached (Rear)
- 1 x 36" RGB Light Strip w/ Adhesive Back + 8ft Extension Wire Attached (Front)
- 1 x 10ft In-line Fuse Hardwire Power Harness
- 1 x Pack of Mounting Kit and Zip Ties
Universal Fitment
OPT7 includes everything you need to get your ride setup and thrive even in the harshest conditions. Universal fit for all vehicles: car, SUV, pickup truck, jeep, ATV, UTV, RV motorhomes.
Automotive Adhesive Tape
Our premium strip kit features strong, high-quality binding tape.
Tips on Applying Adhesive LED Strips Securely:
1. To prep the area you wish to mount the LED strip, dampen a clean cloth in warm water, then scrub the surface to remove debris. Any grime left behind could prevent the LED strip from sticking, so thoroughly clean the surface until it’s free of dirt and scuff marks.
2. Remove any moisture left over with a clean, dry cloth or give the surface 30 minutes to air dry. Next, use the adhesive booster that we provide to wipe the area for a ready to stick surface.
3. Peel the adhesive backing from one end of the LED strip. Position the LED strip carefully on the desired surface, ensuring proper alignment. Press firmly to secure, working gradually from one end to the other. For best results, avoid repositioning the strip once it's adhered.
4. Align the arrows on the pins to ensure secure connections during installation. This step is crucial as it prevents improper installation, which has been causing color issues for some users.