

STORE CATEGORIES

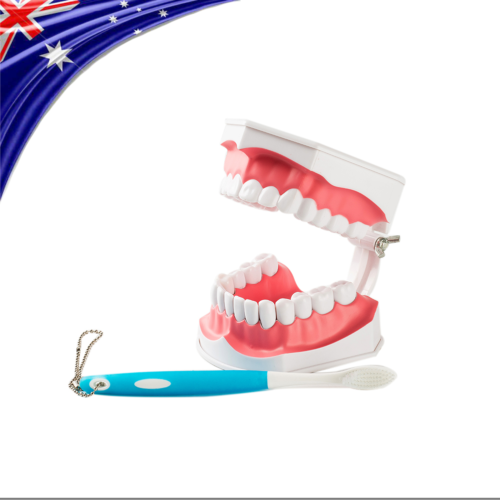
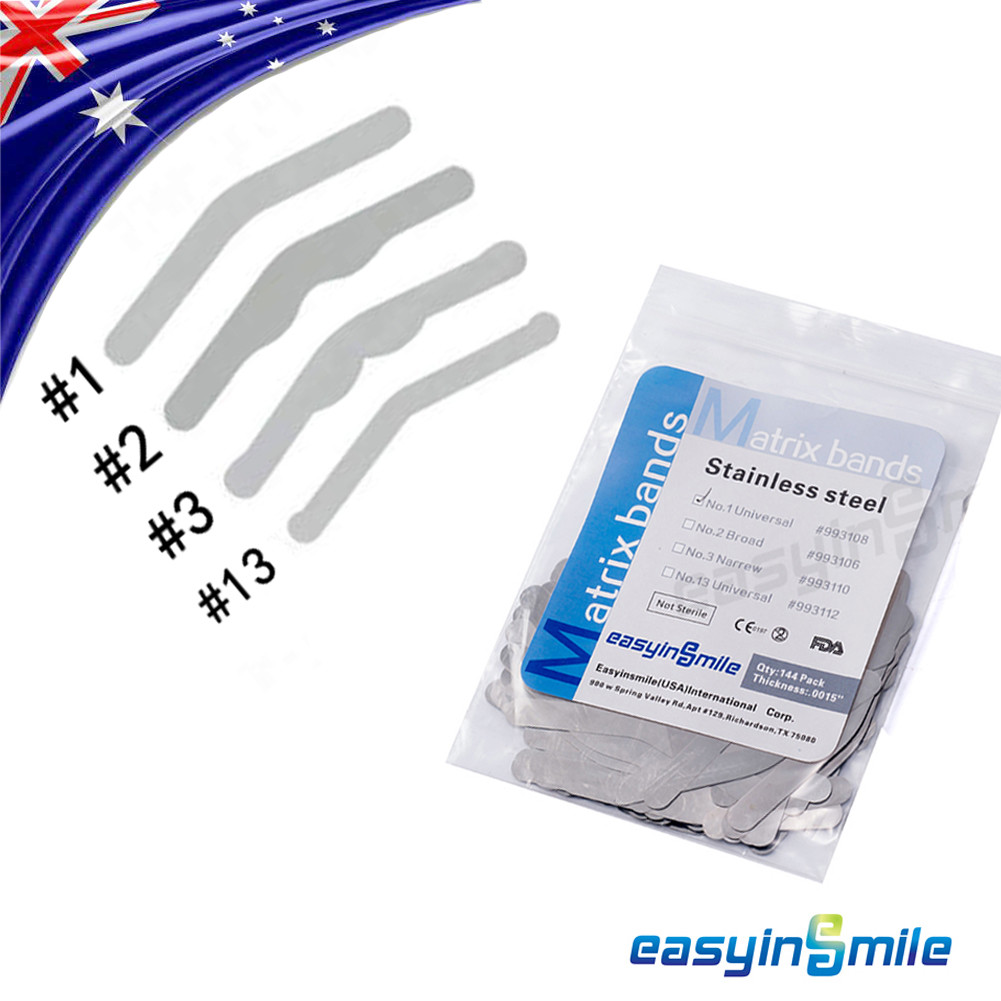
RECOMMANDATION


1x EASYINSMILE Dental Plaster Powder Trap Filter Separator For Dental Office Lab


Product Description
General Introduction:
The plaster separator can be mounted under the drainage system very quickly .Any floating matters such as plasters,resins can be collected by the compact plaster separator and it prevents any possibility of clogging in the drainage system.
Features:
1.Brand:Easyinsmile
2.Color:White
3.Size: L39cm*W29cm*H24cm
4.Easy to use: Simple installation and effortless operation.
5.clean by alcohol and disinfectant.


Package List:
1Pc
Installation Instructions and User’s Guide
This Plaster Trap has been designed and approved by Water Board Authorities. When installed and maintained properly, this unit will give many years of service and help protect our Environment.
THE PLUMBER
- Locate the Clay/Plaster Trap in a position that provides a minimum of 250mm clearance from lid to underside of bench top for removal of lid and inner filter basket
- Connect 50mm trap to sink bowl and inlet on the CA-1 and ensure water level of trap is a minimum of 200mm above water level of Clay/Plaster Trap.
- Test all connections for leaks
THE USER
- Do not dispose of acids, chemicals or any other substance unsuitable for normal sink waste through this trap
- Do not dispose of large quantities of Plaster/Clay through this Trap
- When washing down implements used, ensure enough water is used to clear the “S” trap connection to Clay/Plaster Trap
- Maintenance will depend on usage – a trap used daily with high volumes of clay/plaster will require more frequent cleaning
- Empty basket and flush out trap and tank if left in an unused state for long periods of time (eg School Holidays etc)
MAINTENANCE INSTRUCTIONS
- Remove lid from Clay/Plaster Trap
- Push inner basket tank away from inlet
- Remove inner basket tank from trap
- Remove wave/filter screens and clean
- If the Clay/Plaster Trap itself needs cleaning, drain the tank before disconnection, then remove the tank and clean as require and reconnect. Refer to Installation Instructions.
Payment
With Paypal,you can pay easily,quickly and securly.
Please pay as soon as possible if you like the products,as that will allow us to post your item to you sooner.
Tips: Shipping Combine is Provided
How to make a Shipping Combine?
Step1: Add the items to your cart.
Step2: Click the "Request total from seller"
Step3: Wait for the invoice form seller.
Step4: Make a payment after receive the invoice.
Delivery details
1. The package will be posted within 1 working days.
2. About 5-8 days delivery from AU warehouse, if the item location is in Australia.(Please contact us if you didn’t receive it within 15 days.)
3. About 20-28 days delivery from CN warehouse, if the item location is in China. (Please contact us if you didn’t receive it with in 35 days.)
4. Tracking number is provided, you can check it online.
5. Please make sure that the delivery address is correct.
6. Please be advised that some items aren’t ship able to P.O.Box because the size of the item.
7. Any problems, welcome to contact us. We'll help you.
Terms of sales
About Warranty:
We guarantees new equipment other than accessories to be free from defects in workmanship and materials for a period of twelve months (six months for spare parts) from the date of shipment under normal use and service. Our company's obligation under this warranty is limited to repairing, at our company's option, any part which upon our company's examination proves defective.
Return Policy
If you receive a defective item which you want to return, please contact us within 2 days from the day you receive the item. All return items must be returned with its original packaging and accessories. If we confirm the damage happened during the shipment, we will bear the shipping cost for return.
We will refund the money to you when we get the return items. Or replace item for you free of charge.
Statement:
The sale of this item may be subject to regulation by the U.S. Food and Drug Administration and state
and local regulatory agencies. If so, do not bid on this item unless you are an authorized purchaser.
If the item is subject to FDA regulation, I will verify your status as an authorized purchaser of this
item before shipping of the item.
About us
Easyinsmile(USA)International Corp. is a professional Large-scale Manufacturer of all types of dental instruments and related products,integrating development and production.Our company regards"Reasonable prices,efficient production time and good after sale service" as our tenet.We hope to cooperate with more customers for mutual development and benefits.We welcome potential buyers to contact us.
Contact us
We always go for 100% customer satisfaction.Postive feedback means a lot to us.
If you have any queries,please contact us via Ebay.We will reply you as soon as possible.
We will appreciate it if you please email us before leaving any negative feedback.If there is any problem,we can work together to resolve it.
YOUR MAY ALSO LIKE


Copyright © 2017 easyinsmiledentist2017. All Rights Reserved.

