Welcome European customers to our shop,we have this product in our Germany Warehouse,so we will ship this product from Germany to you directly |
| |||||||||||||||||||||||||||||||||||||
Package included:
- 1Set 3 Axis 3018-PRO CNC Router Engraving Machine 220V
- 3x Limit switches (XYZ axis)
- 1x Emergency stop
- 1x GRBL 1.1f Control Board
- 1x Offline controller
- 1x 775 spindle motor with ER11 Collet
- 1x 24V DC 5A Power Supply
- 10 x Tip 0.1 mm, 20° φ3.175 mm Drill Bits
- 4x Plate clamps
- 1Set Allen Wrench
- 2x ER Wrench
- 1x Brush
- 1x Spindle motor harness 60cm
- 3x Stepper motor harness 60cm
- 1x 4G USB flash drive include the english user manual & GRBL software
Product Description

Requires assembly

Specification:
- Working area: 300x180x45mm (11.8" x 7.1" x 1.8")
- Frame size: 420x350x270mm (16.53" x13.78" x 10.63")
- Spindle: 775 100W spindle motor (24V:10000r/min)
- Processing thickness: 4.5cm (1.8") (height 6.4cm)
- Material: PA6 nylon & aluminum profile
- Screw rod: T8 screw rod, lead 4mm, double copper nut to eliminate backlash
- Spindle Chuck: ER11 Collet (can be equipped with 0-7mm)
- Step motor: Nema17 stepper motor 34MM,1.33A,0.3N.m,43oz-in
- Power supply : 24V 5.6A power adapter (input voltage 110-240VAC)
- Support System: Windows XP SP3,Win 7,Win 8,Win 10 (32/64 can be);Linux
- Connection: PC-USB connection
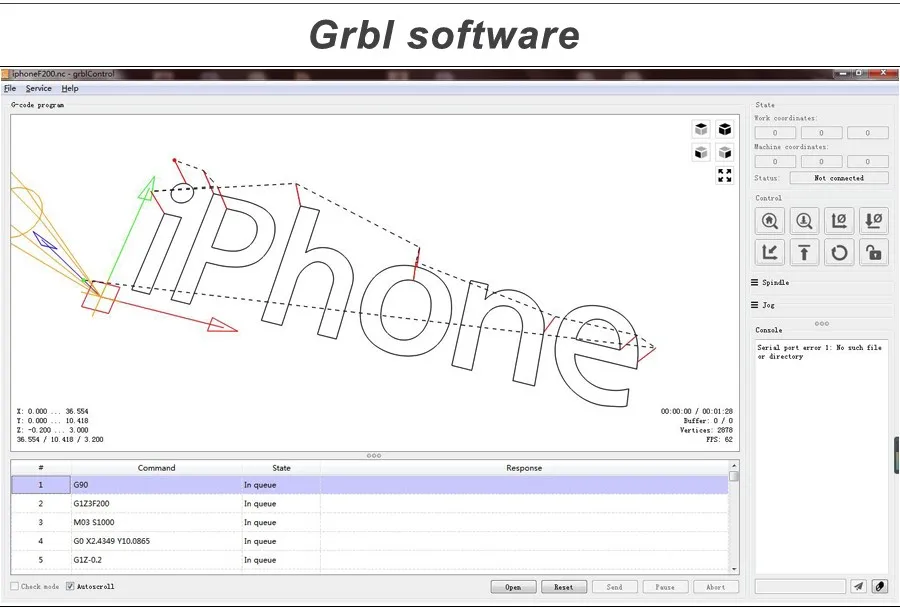
- Software: GRBL controller/candle
- Supporting file: G-code (.nc/.txt/.tape/.gcode)
- Processing accuracy: about 0.2mm

Q&A
Q: What materials can the milling cutter generally engrave or cut?
A: Wood, acrylic (acrylic), pcb, pvb, soft metal, iron, glass, stone etc.
Q: What thickness of wood or acrylic can generally be cut by module?
A: 3-5mm wood board (acrylic), speed setting 100, power setting 1000 by module; Multiple cuts can cut 12mm wooden boards by spindle.
Q: What format files does the Grbl control(Candle) software support?
A : Support Gcode files of nc, ncc, ngc, tap, txt
Q: The X,Y and Z axis of the machine cannot be moved,what should I do?
A: First check whether the wires are correctly connected, whether the power switch of the control board is pressed, and then check whether the coupling is off.
Q: What should I do if the control board cannot be connected?
A: Exit the software, unplug the wire, and reconnect it. Or update the firmware.
|
|
|
|---|---|---|
775 spindle motor 100W 10000RPM
| With E-stop & XYZ Limit switches
| GRBL controller board
|


Advantages
- Add emergency stop button port, probe port and XYZ limit port.
- The terminal of limit switch,tool setting and emergency stop button are all 2-pin 2.54mm sockets.
- Add the outer casing: protect control board in transit,to avoid short circuit problem during use;
- Add the power button switch;
- Cancel the drive module,use integrated imported stepper motor drive,with short circuit protection,and integrated heat dissipation aluminum alloy;
- Add the fan port to force heat dissipation;
- Add offline recognition,can insert offline modules and computers at the same time.Offline will automatically identify if there is computer control.
- Enhanced spindle drive,can support 20000rpm spindle.support more powerful spindle.
- Improved USB interface: The original USB interface is patch soldering, transport collision and improper use, easy to drop, now changed to plug-in, very strong;
- The spindle drive increases the optocoupler isolation, which makes the control board generate less heat, and the spindle speed adjustment is more linear and safer.
|
|
|
|---|---|---|
Port specifications
| Support two engraving methods
| Compared with the old version
|


Main Page
- Ctrl: Machine Control; File: Use the Gcode file; Press [Y+] [Y-] to select; Press[Ok] to Enter
Control Page
- X± Y± Z±: Moving Axis
- OK/Spindle: Spindle ON/OFF
- Exit/Step: Change Step/Exit (long press)
- How to increase the spindle power: After pressing the spindle button, press and hold the OK button and the Z+ button simultaneously to increase the speed.
- How to decrease the spindle: After pressing the spindle button, press and hold the OK button and the Z- button simultaneously to decrease the speed.
File Page
- Common supported formats include nc. tex. tap.
- Press [Y+] [Y-] to select file
- Press [Ok] to Enter
- Press [Ok] to begin if you are ready
- Note:Long press [Exit] to stop machining

About Basic Machine Tests
After the machine is assembled, you can perform basic machine tests. The following is the recommended start up qequency for the system:
- 1. Confirm tha the USB cable of the control board is plugged into your cpmputer, and then start the computer.
- 2. Start the software and verify in the status window that no errors are displayed. Under normal circumstances, when the control board is connected to the software, it will display " Idle ". If a red error " Alarm " appears, you need to click the " Reset " of the softwware with the mouse, and then " unlock " o reach the " Idle " state.
- 3. Make sure that the 24V power supply is connected to the control board first, and then the other end is connected to 110-220V. Press the " on/ off " button on the control panel.
- 4. Next, click the " Spindle " button to ture on the spindle motor. Move the slider left anf right to verify whether the motor speed changes.
- 5. Adjust the value of " Feed " to the range of 200 to 500. Use the mouse to click the direction button on the left to confirm whether the x axis and y axis are moving. In a slimilar manner, click the up and down buttons on the far right to verify that the z axis moves normally. If thre is no problem with all these tests, it means that your engraving machine can work normally. Shut down the maching using the reverse start process.
- 6. Close the control panel.
- 7. Unplug the 24v DC power from the power supply.
- 8. Close the software program and turn off the computer. Remember, if you run the machine offline, the use cable must be disconnected for the control board.


|
